
As a Shopify expert, I often work with high-growth merchants who are seeking a way to escape the "midnight launch" cycle. We have all been there. You are sitting at your computer at 11:59 PM on a Thursday, waiting to manually click "Publish" on a new theme for a Friday morning sale. Then, you have to remember to do it all again on Monday morning to revert the store to its original state.
This manual approach to ecommerce maintenance services is not just exhausting; it is a significant risk factor for human error. One missed click or a delayed login can lead to lost revenue and a disjointed customer experience. This is precisely why we developed the Maestro Theme Scheduler.
In this guide, I will walk you through the essential first steps to transition your Shopify or Shopify Plus store into a hands-free, automated powerhouse. Whether you are managing custom Shopify themes or standard layouts, the "set it and forget it" nature of Maestro is designed to give you back your time.
Why Merchants are Switching to Automated Scheduling
Before we dive into the "how," it is vital to understand the "why." Automating your storefront updates provides several immediate advantages:
- Eliminate Human Error: Ensure your sales start and end exactly when they should, without relying on manual intervention.
- Operational Efficiency: Free up your marketing and development teams to focus on strategy rather than execution.
- Consistency Across Channels: Align your storefront changes with your email marketing and social media campaigns perfectly.
- Enhanced Reliability: Provide a seamless experience for global customers who may be shopping in different time zones.
Once you realize that Shopify Plus development should focus on growth rather than repetitive tasks, you will see why a scheduler is a non-negotiable tool for your tech stack.
Step 1: Install and Synchronize Your Environment
The first step toward a hands-free storefront is ensuring the app is properly integrated with your existing themes.
- Navigate to the Shopify App Store: Locate the Maestro Theme Scheduler and add it to your store.
- Open the Maestro Dashboard: Once installed, go to your Shopify Admin, click on Apps, and select Maestro.
- Confirm Theme Visibility: Ensure the dashboard displays your current live theme and all your draft or duplicate themes.
- Check Permissions: Ensure the app has the necessary permissions to read and write theme data.
If your themes are not appearing immediately, use the "Resync" button to refresh the connection. This ensures Maestro is ready to handle your Shopify design services updates.
Step 2: Plan Your Initial Automation Strategy
I always recommend that merchants start with one clear, testable campaign before attempting complex multi-page transformations. This allows you to understand the logic of the app without overwhelming your workflow.
Consider these three common scenarios:
- The Seasonal Swap: Switch to a "Holiday" theme on a specific date and revert automatically after the event.
- The Promotional Banner: Show a specific hero section for a 48-hour flash sale.
- The Recurring Weekend Sale: Automatically display a "Free Shipping" bar every Friday through Sunday.
Identify your Start Date, End Date, and Target Elements (entire theme versus specific sections). Having this plan on paper makes the configuration process significantly smoother.
Step 3: Schedule a Full Theme Swap for Major Launches
For significant events like Black Friday or a brand refresh, a full theme swap is often the best approach. This allows you to prepare an entirely different layout in a draft environment before it goes live.
Prepare Your Theme
Navigate to your Shopify Admin, go to Online Store, then Themes. Select your current live theme and click Duplicate. Rename this duplicate to something clear, such as "Black Friday 2026 Layout." Customize this duplicate theme with your new banners, navigation changes, and promotional styling. Keep it as a draft.
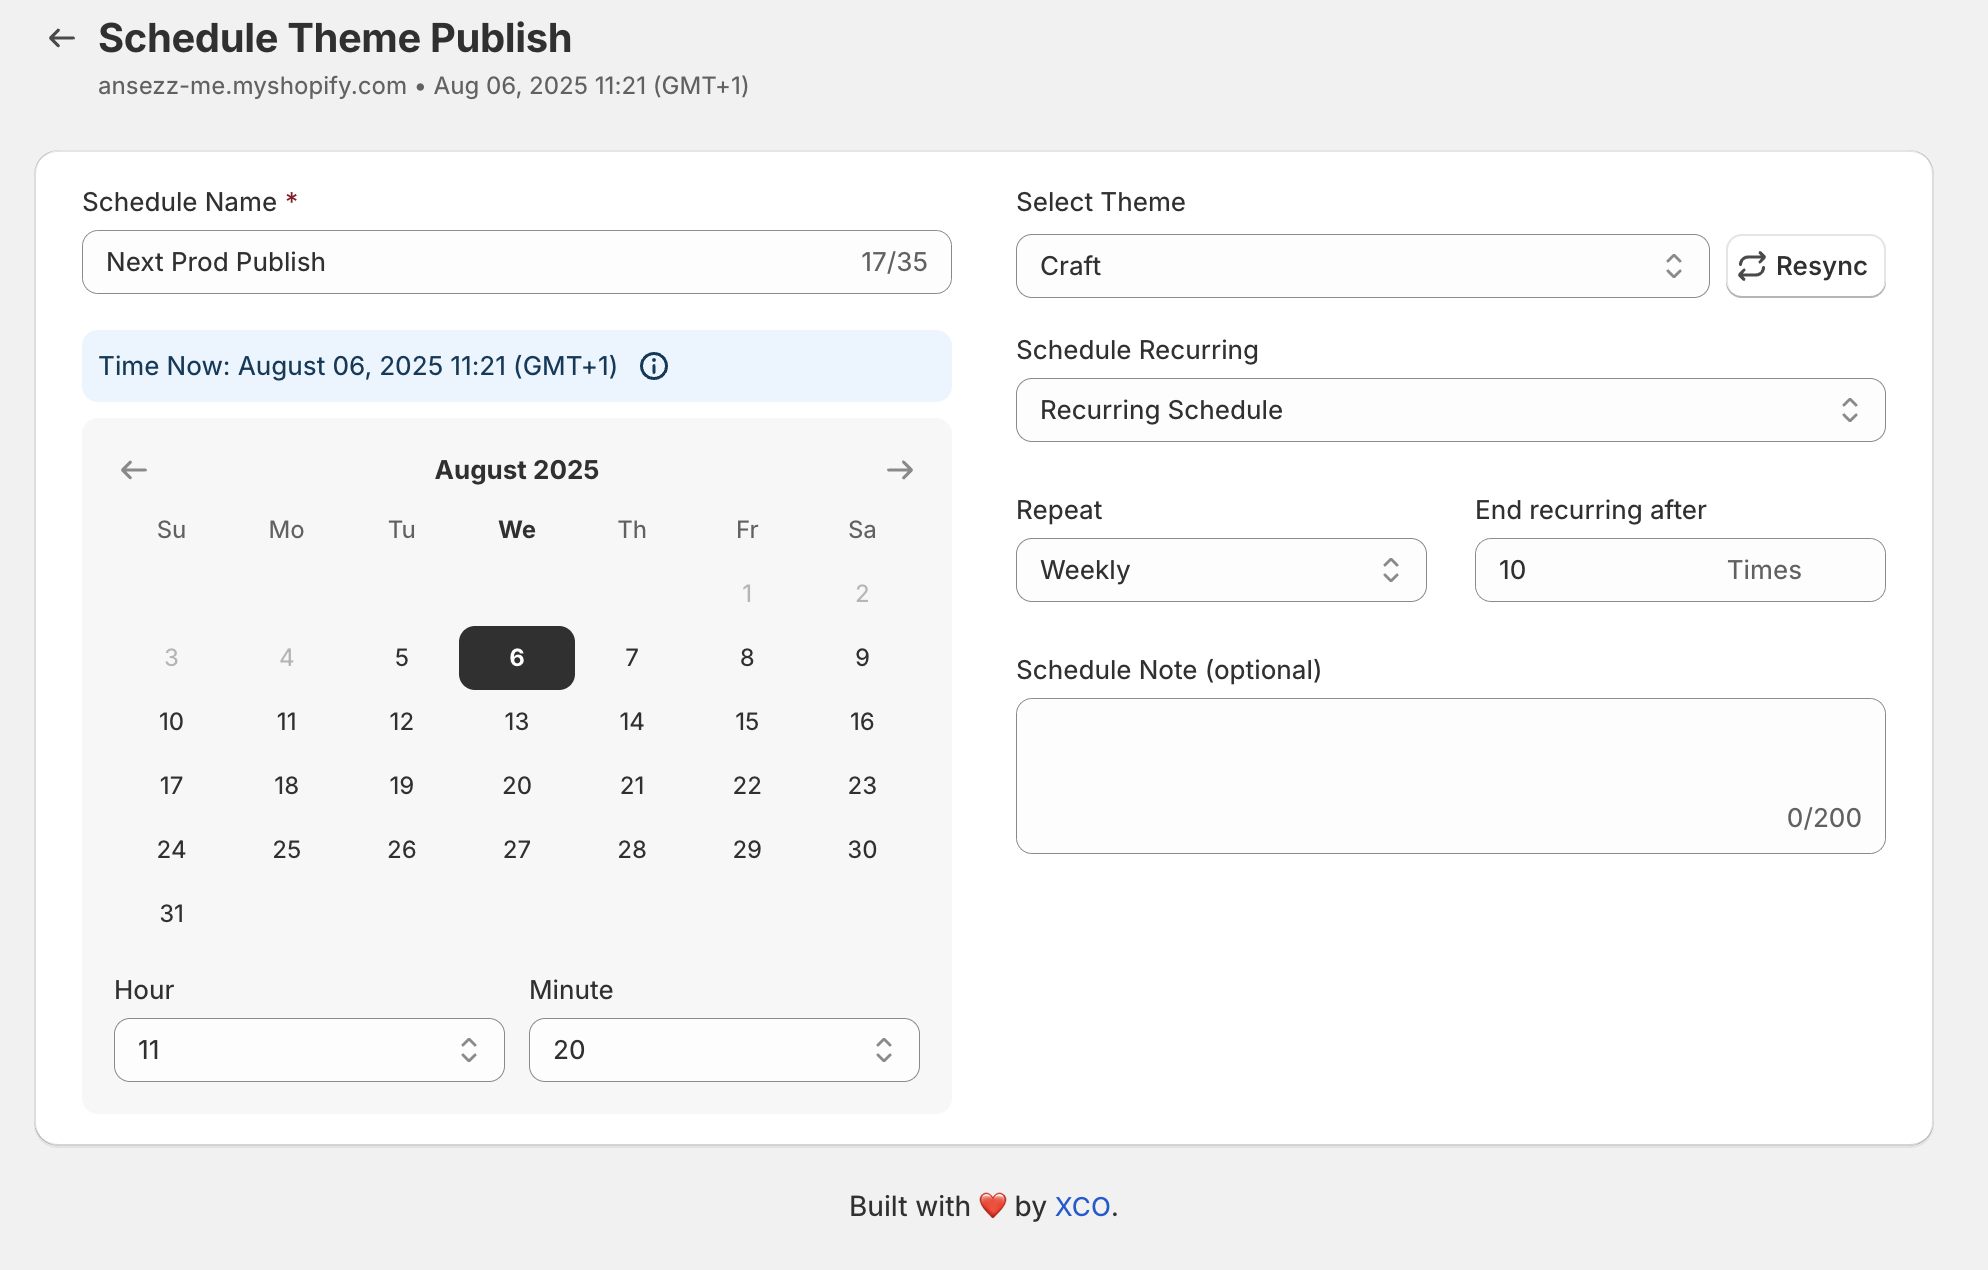
Configure the Schedule in Maestro
Open the Maestro app and navigate to the Schedule Themes section.
- Create a Schedule Group: Give it a name like "Black Friday Launch."
- Set the Start Action: Choose your "Black Friday 2026 Layout" theme and set the exact date and time for it to go live.
- Set the End Action (Rollback): Choose your original "Main Live Theme" and set the date and time for the sale to end.
- Save and Activate: Maestro will now handle the switch and the rollback automatically.
This process is a vital part of professional ecommerce maintenance services, ensuring your store stays fresh without manual labor.
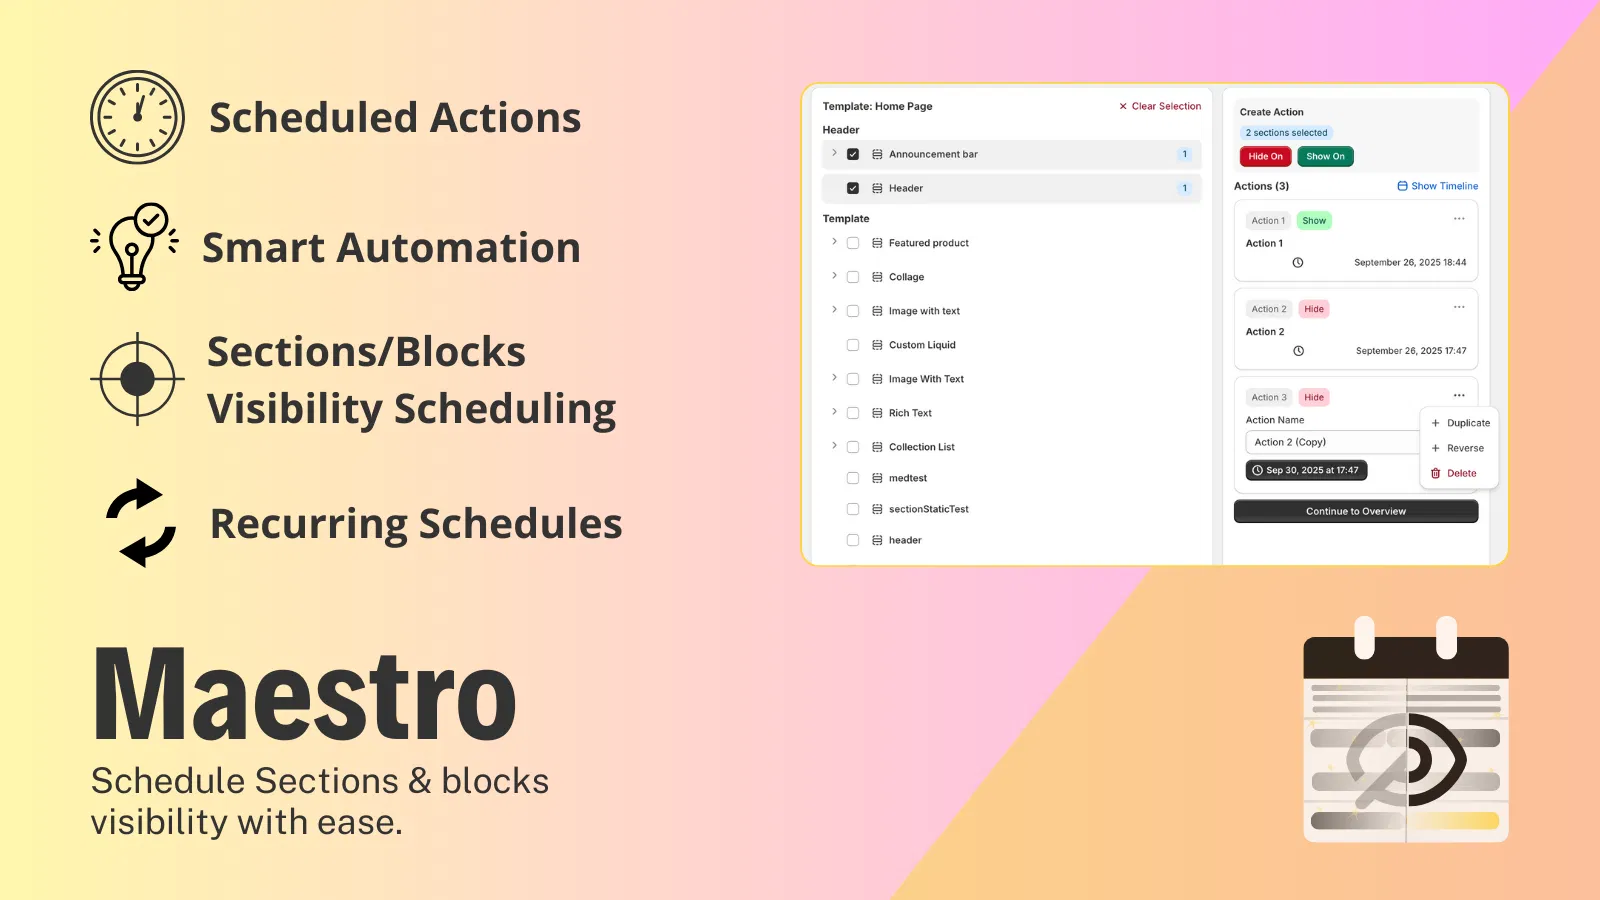
Step 4: Automate Section and Block Visibility
Often, you do not need to change your entire theme. You might simply want to toggle a specific section, such as a countdown timer or a promotional collection list. This is where Maestro’s granular control shines.
Identify the Target Section
Go to your Theme Editor (Customize) and find the section or block you want to control. Note the name of the section so you can easily identify it within the Maestro interface.
Create the Visibility Schedule
In the Maestro dashboard, select Schedule Content for your current live theme.
- Select the Template: Choose the page where the section exists (usually the Home page).
- Locate the Section: Find your section in the left-hand sidebar of the Maestro interface.
- Apply Changes: You can toggle the visibility to "Show" or "Hide" at specific times. You can even change specific settings, such as updating the text in a banner or changing a background image for a specific period.
- Set Recurring Rules: If this is a weekly promotion, use the recurring option to repeat the schedule every week.
This level of detail is essential for Shopify Plus development where precision and timing are paramount for conversion rates.

Step 5: Conduct a Sanity Check
Before you fully commit to a high-stakes launch, I highly suggest running a micro-test. This builds confidence in the system and ensures your time zones and settings are aligned.
- Create a Test Schedule: Set a minor change (like changing a single word of text) to happen five minutes from the current time.
- Monitor the Storefront: Use an incognito browser window to visit your store at the scheduled time.
- Verify the Change: Confirm the update appeared exactly when expected.
- Verify the Rollback: Ensure the change reverts once the test end-time is reached.
Once you have verified that the logic holds, you can delete the test and set your actual campaign live.
Best Practices for a Truly Hands-Free Storefront
After completing the initial setup, you can optimize your workflow by following these expert tips:
- Standardize Naming Conventions: Use clear names for your schedule groups, such as "2026_Q2_SummerSale_Homepage." This makes it easier to manage multiple campaigns simultaneously.
- Group Related Changes: If you are changing a hero banner and an announcement bar for the same sale, put them in the same schedule group. This ensures they always act in unison.
- Audit Your Time Zones: Double-check that your Shopify store's time zone matches the time zone you are using in the Maestro scheduler to avoid premature launches.
- Clone Successful Campaigns: If a specific "Weekend Sale" configuration worked well, clone the group and simply update the dates for the following month.
Conclusion: Taking Control of Your Time
Transitioning to an automated storefront is a proactive step toward scaling your business. By implementing the Maestro Theme Scheduler, you remove the burden of manual ecommerce maintenance services and ensure that your custom Shopify themes are working for you around the clock.
The ability to schedule theme publishing and automate section visibility is not just a convenience; it is a competitive advantage. It allows you to plan your marketing calendar months in advance, knowing that your store will execute your vision perfectly while you sleep.
If you are ready to optimize your workflow and professionalize your store management, starting with these simple steps is the best way forward. If you need assistance with more complex Shopify Plus development or integration needs, our team at XCO Agency is here to help you navigate the process.
Ready to get started? Explore our Maestro Theme Scheduler documentation or contact us today to see how we can help you build a truly hands-free ecommerce experience.