
As a Shopify expert, I often work with merchants who feel like they are tethered to their computers. They are waking up at midnight to launch a collection, manually changing 400 product prices for a Flash Sale, or spending hours deleting "Sale" tags once a promotion ends. This manual overhead is not just exhausting; it is a major bottleneck to scaling.
When you are focused on the minutiae of catalog maintenance, you are not focused on growth. High-growth brands do not manage their stores manually. They use automation to handle the heavy lifting.
If you are seeking a way to reclaim your time while ensuring your store remains dynamic and updated, you need to rethink your approach to Shopify store setup. By implementing a few strategic automation hacks, you can transition from a manual operator to a strategic owner.
Using the Product Scheduler by Maestro app, you can automate almost every aspect of your catalog management. Here are seven hacks to help you run a hands-off store.
1. Eliminate Midnight Launches with the Draft Helper
The most common pain point for e-commerce managers is the "New Arrival" launch. Usually, this involves keeping products in "Draft" status and manually hitting "Publish" at a specific time.
The Draft Helper feature allows you to schedule the status of your products in advance. You can set products to move from Draft to Published, or even Archive old items when a season ends.
- Avoid human error: No more forgetting to publish a key item during a high-traffic launch.
- Coordinate with marketing: Ensure your products go live exactly when your email blast or social media post goes out.
- Automated cleanup: Schedule end-of-life products to move to "Archived" status automatically, keeping your collections clean.

2. Master Seasonal Sales with Automated Tag Management
Tags are the engine behind Shopify’s automated collections and site navigation. However, managing them manually during a sale is a nightmare.
As a Shopify expert, I recommend using automated tag scheduling to handle your seasonal transitions. Instead of manually adding a "Summer Sale" tag to hundreds of items, you can schedule the app to add and remove these tags at precise times.
How to set up automated tagging
- Navigate to the Product Scheduler by Maestro dashboard.
- Select the group of products you wish to tag (by collection or search).
- Choose the "Add Tag" action and set your start date.
- Set a "Remove Tag" action for the exact moment the sale ends.
This ensures that your "Sale" collection, which likely relies on a "Sale" tag, populates and depopulates itself without you lifting a finger. This is a vital step for maintaining conversion rate optimization by ensuring customers never land on an empty or outdated collection page.
3. Implement Precision Price Drops and Rounding Rules
Pricing is one of the most powerful levers for conversion, but it is also the most tedious to update. If you want to run a weekend promotion, you have to change the price and the "compare at" price for every variant.
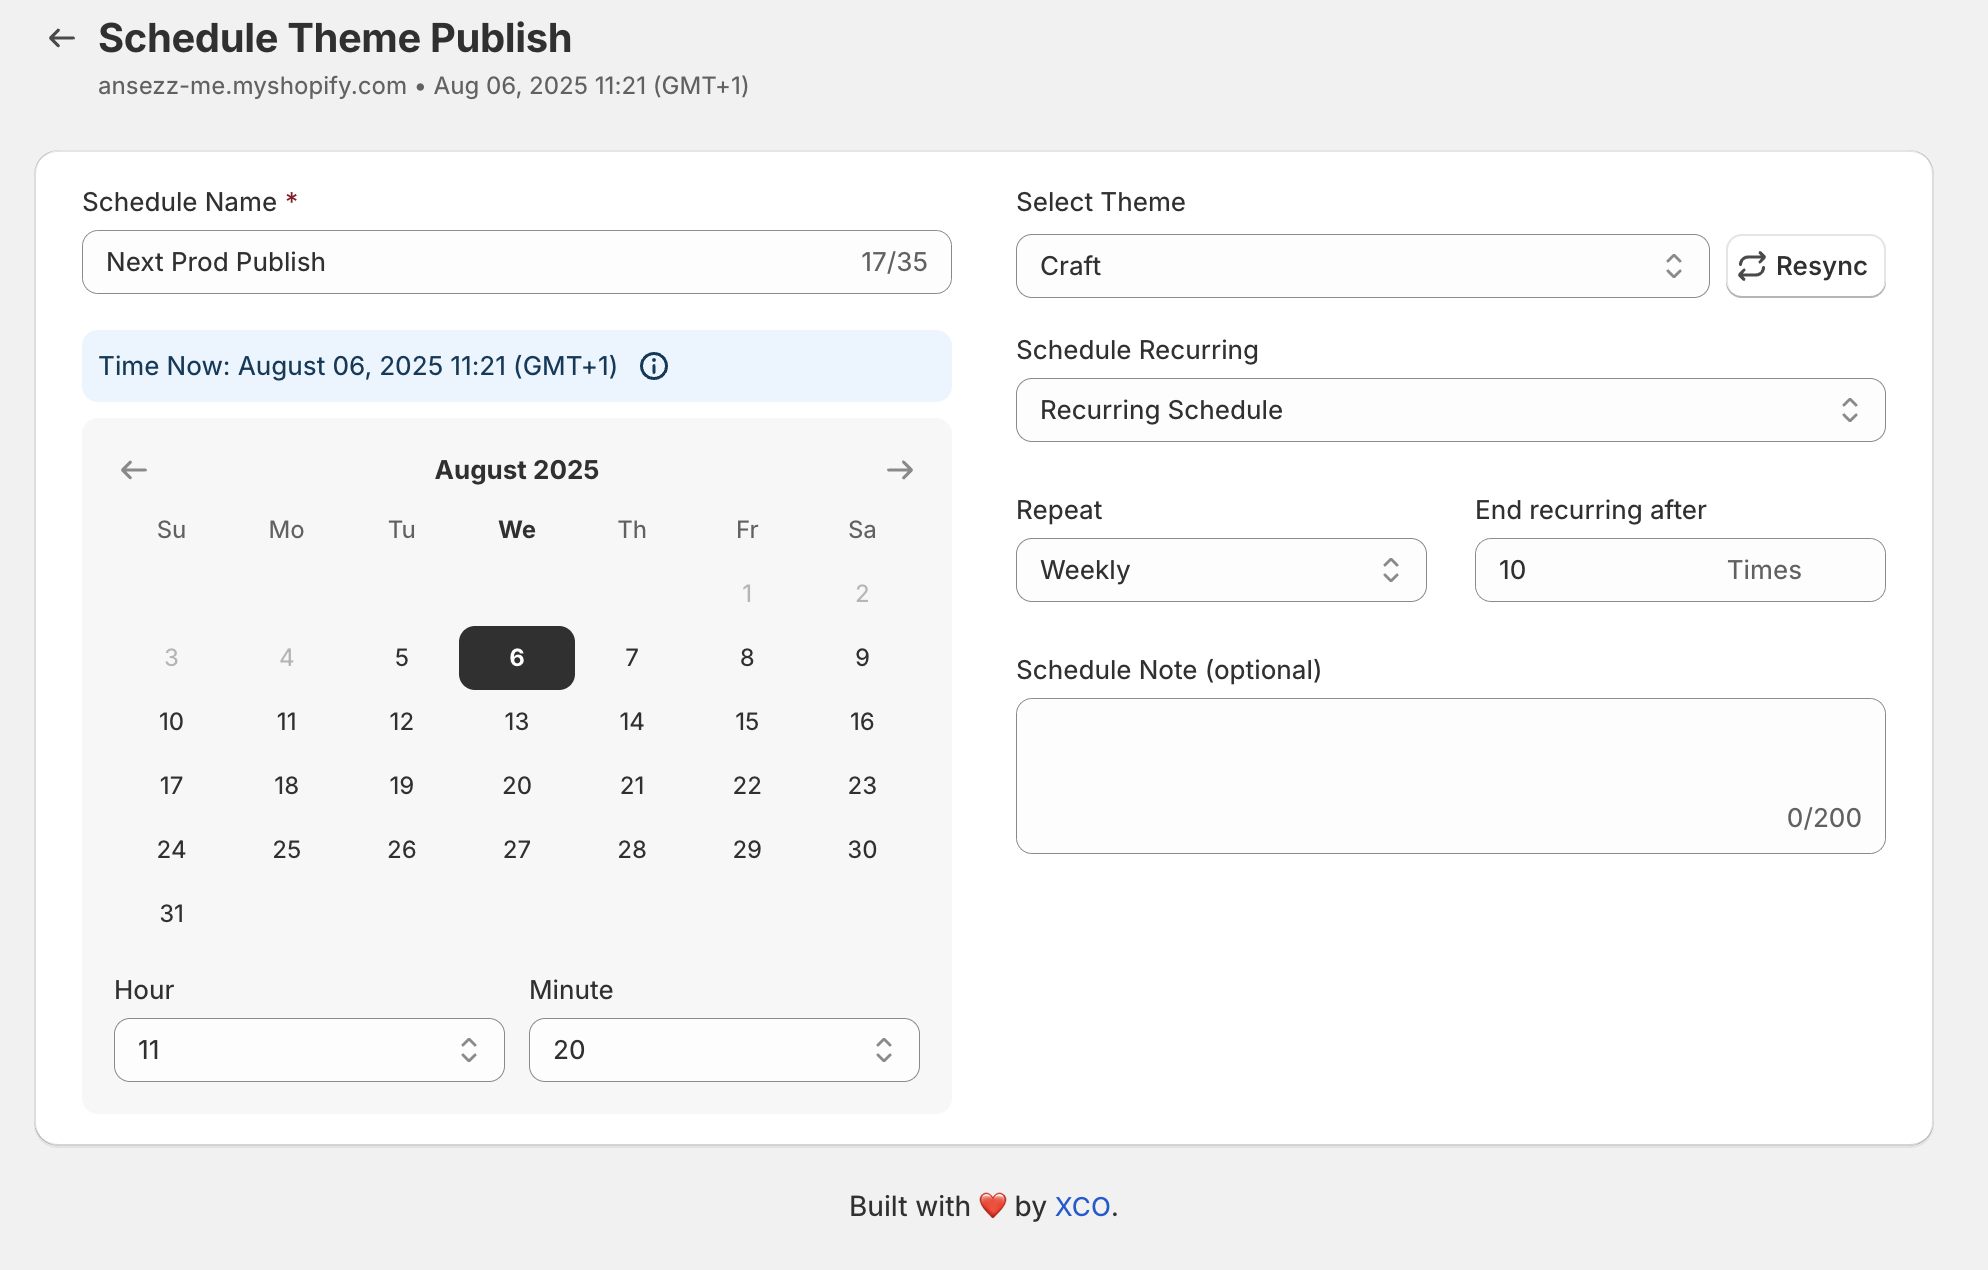
Product Scheduler by Maestro allows you to schedule price increases or decreases in bulk. More importantly, it includes "Rounding Rules."
- Psychological Pricing: Automatically round all sale prices to end in .99 or .95 to maintain a consistent brand feel.
- Bulk Adjustments: Increase prices across an entire category by a percentage or a flat dollar amount.
- Automatic Rollbacks: Schedule the prices to return to their original state the moment the promotion ends.
4. Leverage Dynamic Collection Sorting
The order in which your products appear can significantly impact your sales. During a launch, you want "New Arrivals" at the top. During a clearance event, you want the highest-discounted items first.
Manually re-sorting collections is a low-value task that consumes high amounts of time. You can use scheduling tools to change the "Sort Order" of your collections based on the time of day or specific event dates.
- Morning vs. Evening: Show different products based on when your customers are most active.
- Campaign Alignment: Push promotional items to the top of the "All Products" page during a sale event.
- Performance Optimization: Switch sorting to "Best Selling" automatically after the initial launch buzz settles.
5. Automate Inventory-Based Visibility
Nothing kills a customer's experience faster than clicking on a product only to find it is out of stock. While Shopify has basic inventory settings, "out of stock" items often still clutter up collection pages, pushing available items further down.
By using inventory automation hacks, you can schedule products to hide or move to the end of a collection when inventory hits zero.
Step-by-step visibility setup
- Identify products that are prone to frequent sell-outs.
- Set a schedule to monitor inventory levels via the app.
- Configure an action to change the product status to "Draft" or "Archive" once stock is depleted.
- Schedule a "Re-publish" action for when you know a restock shipment is arriving.
This proactive step keeps your store looking fresh and prevents "out of stock" frustration, which is essential for ecommerce maintenance services.
6. Sync Global Market Prices Effortlessly
If you sell internationally using Shopify Markets, managing price fluctuations across currencies can be a full-time job.
As a Shopify expert, I often see merchants struggle with maintaining margin parity across different regions. Use the Product Scheduler to set specific price rules for different markets. If you need to raise prices in the UK market due to shipping cost increases, you can schedule that change to happen globally across all relevant SKUs simultaneously.
7. Bulk SEO and Metafield Updates
Your store setup is never truly finished because SEO requirements and metadata needs are always evolving. Perhaps you need to add a "Eco-Friendly" metafield to a specific line of products for a month-long sustainability campaign.
Instead of editing each product page, use the bulk edit and scheduling features to update descriptions, SEO titles, and metafields in one go.
- Timed Content: Add promotional banners or text to product descriptions that only appear during a specific holiday.
- Search Optimization: Bulk update image alt text or SEO descriptions before a major shopping season like Black Friday.
- Data Integrity: Ensure all products in a specific category have consistent metadata for better internal filtering.
Conclusion: Build a Proactive Store
Relying on manual catalog tweaks is a reactive way to run a business. It leaves you open to human error, missed deadlines, and operational burnout. Transitioning to an automated workflow is a vital step for any merchant looking to scale.
By utilizing the features within the Product Scheduler by Maestro app: from the Draft Helper to automated rounding rules: you ensure your store is always optimized, updated, and ready to convert.
Automating your store setup does not just save time; it provides the professional consistency that customers expect from leading brands. If you are ready to stop wasting time on manual tweaks and start focusing on your growth strategy, it is time to put your catalog on autopilot.
Are you looking for more advanced ways to optimize your store performance? Book a meeting with our Shopify experts today to discuss how we can streamline your operations.