
As a Shopify expert, I often witness the same midnight struggle among e-commerce founders. It is 11:58 PM on a Thursday, and a marketing team is huddled over their laptops, frantically refreshing the Shopify admin to manually hit publish on a new theme or toggle a promotional banner for a Black Friday sale. This manual approach is not just exhausting, it is a significant risk to your conversion rate optimization.
If you are seeking a way to reclaim your sleep while maintaining a high-performance storefront, you have likely come across the Maestro Theme Scheduler. While the app is packed with sophisticated automation features, the core concept is remarkably simple. I have designed this guide to explain exactly how it works and why it is a vital tool for your shopify store setup in under three minutes of reading time.
Why Merchants are Switching to Automated Scheduling
Before we dive into the how, we must understand the why. Modern e-commerce moves at a pace that manual updates cannot match. Merchants often face several roadblocks when managing custom shopify themes without automation.
- Manual errors during late night updates that lead to broken layouts or missing assets.
- Inconsistent customer experiences where a sale ends but the promotional banner remains live for hours.
- High operational costs associated with having developers or site managers on standby for weekend launches.
- Missed opportunities for conversion rate optimization by failing to show the right content at the peak traffic time.
By moving to an automated system like Maestro, you eliminate these friction points. You transition from being a manual operator to a strategic director of your brand.
The Three Pillars of Maestro Theme Scheduler
To understand Maestro in under three minutes, you only need to grasp three main functionalities. These three features form the backbone of the app and provide the flexibility needed for both small boutiques and high-volume Shopify Plus stores.
1. Automated Theme Publishing
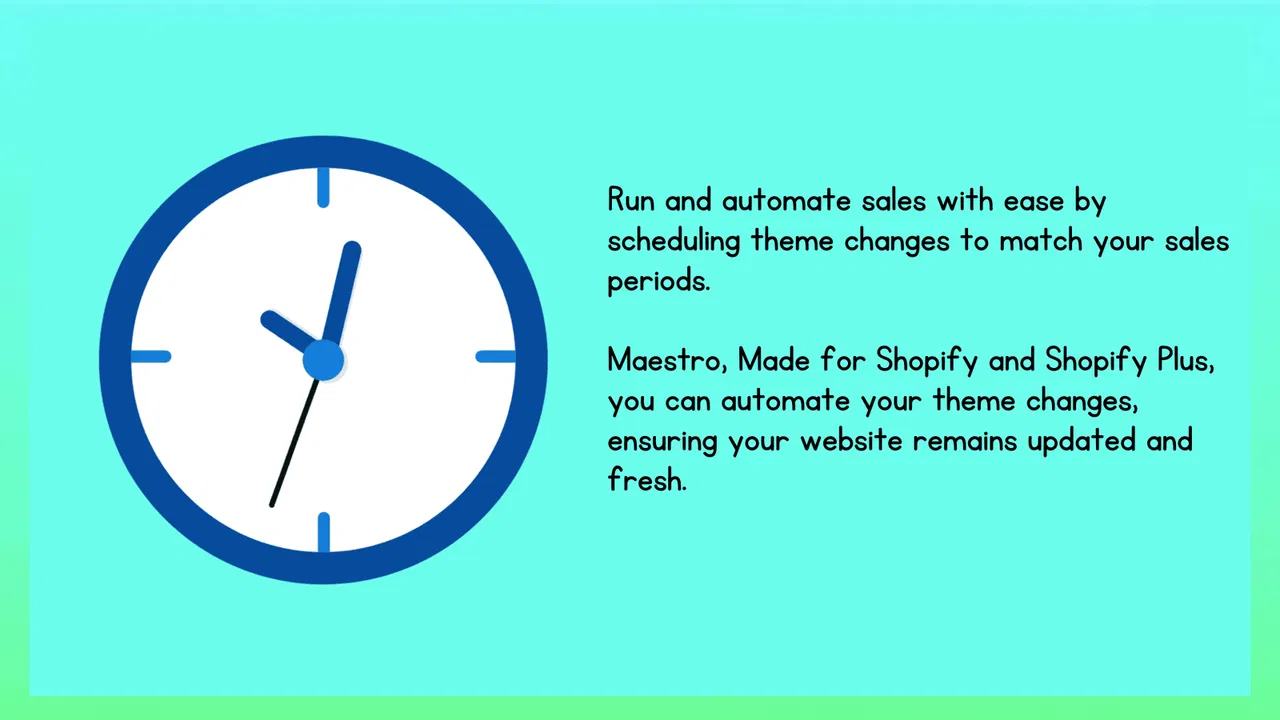
This is the macro level of store management. Instead of manually switching your entire theme, you can schedule a pre-prepared theme to go live at any specific date and time. This is particularly useful for major seasonal shifts or complete site redesigns.
Once your new theme is ready in your library, you simply select it within the Maestro interface, pick your launch time, and the app handles the rest. It ensures that the transition is seamless for your customers, maintaining site stability during high-traffic periods.

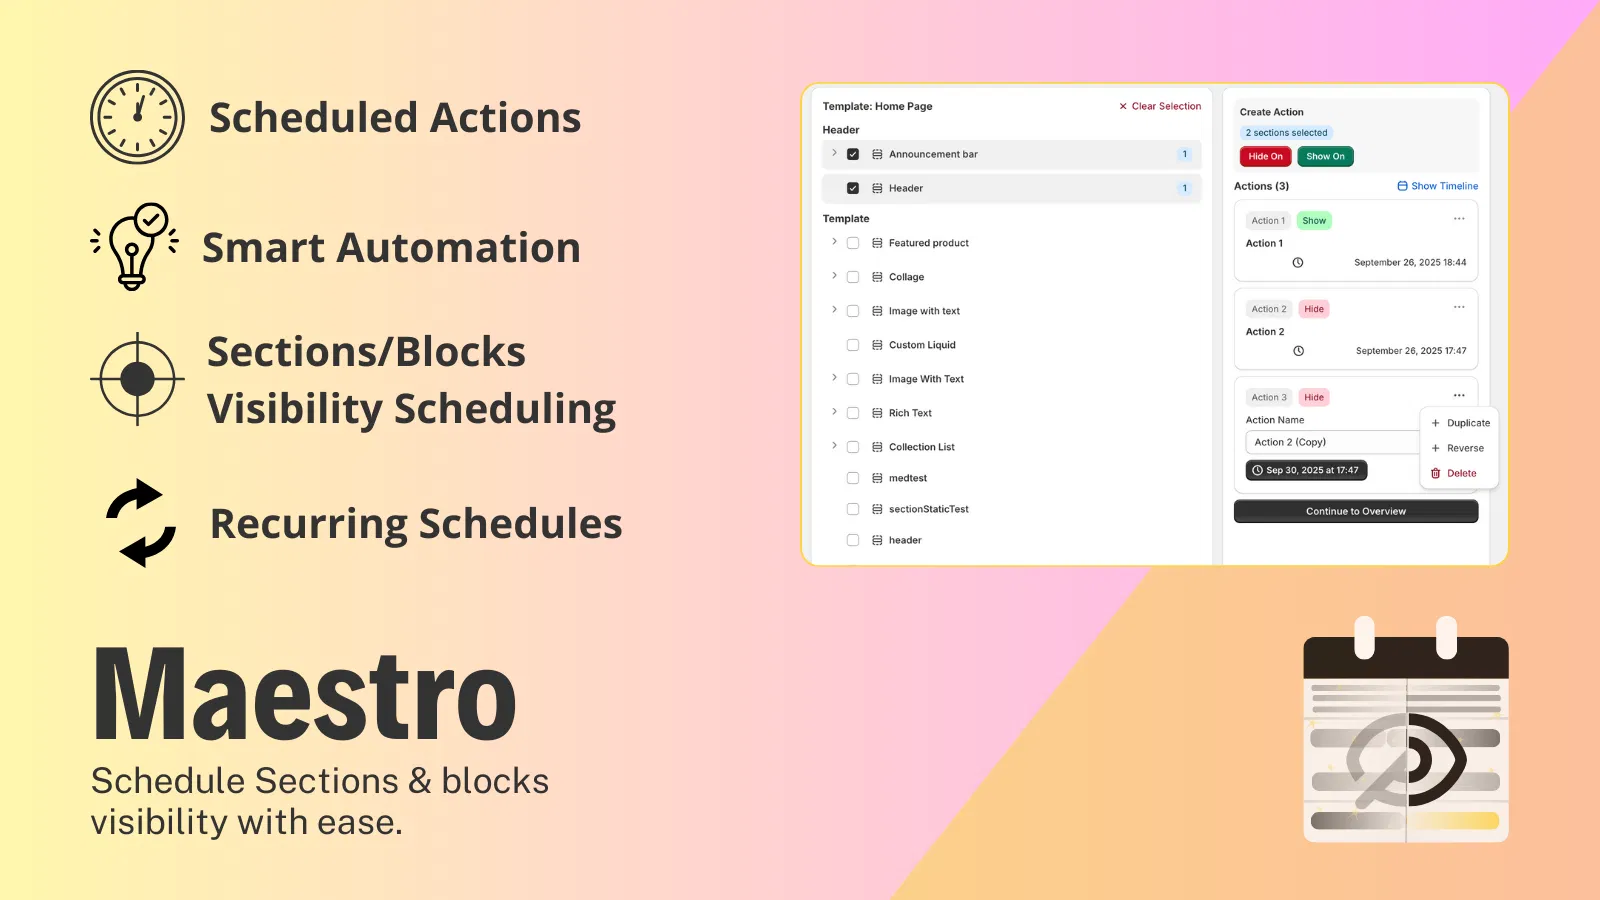
2. Section and Block Visibility Control
Most of the time, you do not need to change your entire theme. You might just want to show a specific promotional banner, a countdown timer, or a new product collection grid. Maestro allows you to schedule visibility at the section and block level within your existing theme.
This granular control means you can build your sales pages days or weeks in advance. You can set the "Holiday Hero Banner" to appear on December 1st and disappear on December 26th without ever touching the code on those specific days. This level of precision is what truly separates professional store management from amateur setups.
3. Recurring Schedules and Grouping
For brands that run weekly drops or weekend specials, setting up individual schedules can become repetitive. Maestro solves this with recurring schedules. You can set a specific block to appear every Friday at 6:00 PM and hide every Sunday at midnight.
Furthermore, the ability to group these actions ensures that your store remains cohesive. If you have three different sections that all relate to a "Flash Sale," you can group them together. This ensures they all go live and expire at the exact same moment, providing a unified experience for your users.
How to Set Up Your First Schedule in 4 Steps
Getting started with the Maestro Theme Scheduler is designed to be a frictionless process. Here is the workflow I recommend to my clients who want to optimize their store management immediately.
Step 1: Install and Access the Dashboard
Navigate to the Shopify App Store and install Maestro Theme Scheduler. Once installed, you will find the dashboard within your Shopify admin under the Apps section. The interface is clean and minimalist, focusing on your upcoming and active schedules.
Step 2: Select Your Target Content
Decide whether you are scheduling a full theme change or a specific section. For most daily operations, you will select the Section or Block option. Navigate to the page where the content exists, and Maestro will help you identify the specific ID of the element you wish to control.
Step 3: Define the Timing Logic
Select your start date and time. If the change is temporary, select an end date and time. Ensure your store's time zone settings are aligned with your target audience to maximize the impact of your conversion rate optimization efforts.

Step 4: Preview and Activate
Before the schedule goes live, use the built-in preview tool to ensure everything looks correct. Once you are satisfied, hit "Activate." The app will now monitor the clock and execute the changes automatically. You can monitor all active schedules from your main dashboard to ensure your campaign strategy is on track.
Advanced Strategies for Shopify Plus Merchants
While the basics are easy to master, there are advanced ways to leverage Maestro for shopify store setup that go beyond simple on/off toggles. As a Shopify expert, I often suggest these high-level strategies for brands looking to push the boundaries of automation.
Content Personalization by Time
You can use Maestro to change the "vibe" of your store based on the time of day. For example, a coffee brand might show high-energy, "start your morning" content from 6:00 AM to 11:00 AM, and then switch to "afternoon pick-me-up" messaging for the rest of the day.
Coordinated Multi-Platform Launches
When launching a new collection, timing is everything. By scheduling your Shopify theme changes to align perfectly with your email marketing and social media posts, you create a powerful "omnichannel" moment. This synchronization significantly boosts customer trust and brand authority.
Integrating with Custom Shopify Themes
A common concern among merchants is whether automation tools will break their custom shopify themes or slow down their site. Maestro is built with a "lightweight first" philosophy. It does not inject heavy code into your storefront that would negatively impact your page load speed.
If you are working with a bespoke design from a partner like XCO Agency, Maestro integrates seamlessly with your custom Liquid sections. It treats your custom code with the same precision as standard Shopify sections, ensuring that your unique brand identity remains intact while your operations become more efficient.
Maximizing Conversion Rate Optimization (CRO)
Automation is not just about saving time, it is about making more money. Consistent store updates are a key driver of CRO. When a returning customer sees fresh content every time they visit, it signals that the brand is active and reliable.
Using Maestro to hide out-of-stock sections or expired promotional codes automatically prevents customer frustration. There is nothing that kills a conversion faster than a customer trying to use a "Welcome20" code only to find out it expired yesterday but the banner is still live. Maestro eliminates these conversion killers.

Taking the Proactive Step
In the competitive world of e-commerce, the difference between a good store and a great one often comes down to operational excellence. Relying on manual updates in 2026 is a reactive strategy that leaves your brand vulnerable to human error and missed opportunities.
Adopting the Maestro Theme Scheduler is a proactive step toward a more professional, automated, and profitable Shopify presence. Whether you are managing a single store or a complex Shopify Plus ecosystem, the ability to "set it and forget it" is the ultimate competitive advantage.
If you are ready to stop staying up until midnight and start scaling your store more effectively, I highly recommend exploring the full capabilities of our tools. You can find more details on our Maestro Theme Scheduler page or dive into our FAQs if you have specific technical questions.
For those looking for a more comprehensive growth strategy or custom development to take their store to the next level, feel free to book a meeting with our team at XCO Agency. We specialize in turning complex e-commerce challenges into streamlined, automated success stories.
Mastering your store's timing is the first step toward mastering your market. Start scheduling today and give your team the freedom to focus on what truly matters: growing your brand and delighting your customers.