
As a Shopify expert, I often see merchants burning the midnight oil just to push a Sale banner live at exactly 12:00 AM. It is a grueling cycle that leads to burnout and, more importantly, human error. Whether you are running a high-growth brand or just finalizing your initial shopify store setup, manual theme management is a bottleneck you cannot afford.
The reality of modern e-commerce is that timing is everything. A flash sale that starts ten minutes late or a promotional hero image that lingers three days past the deadline can hurt your brand integrity and your conversion rate optimization efforts. This is where the magic of automation comes into play.
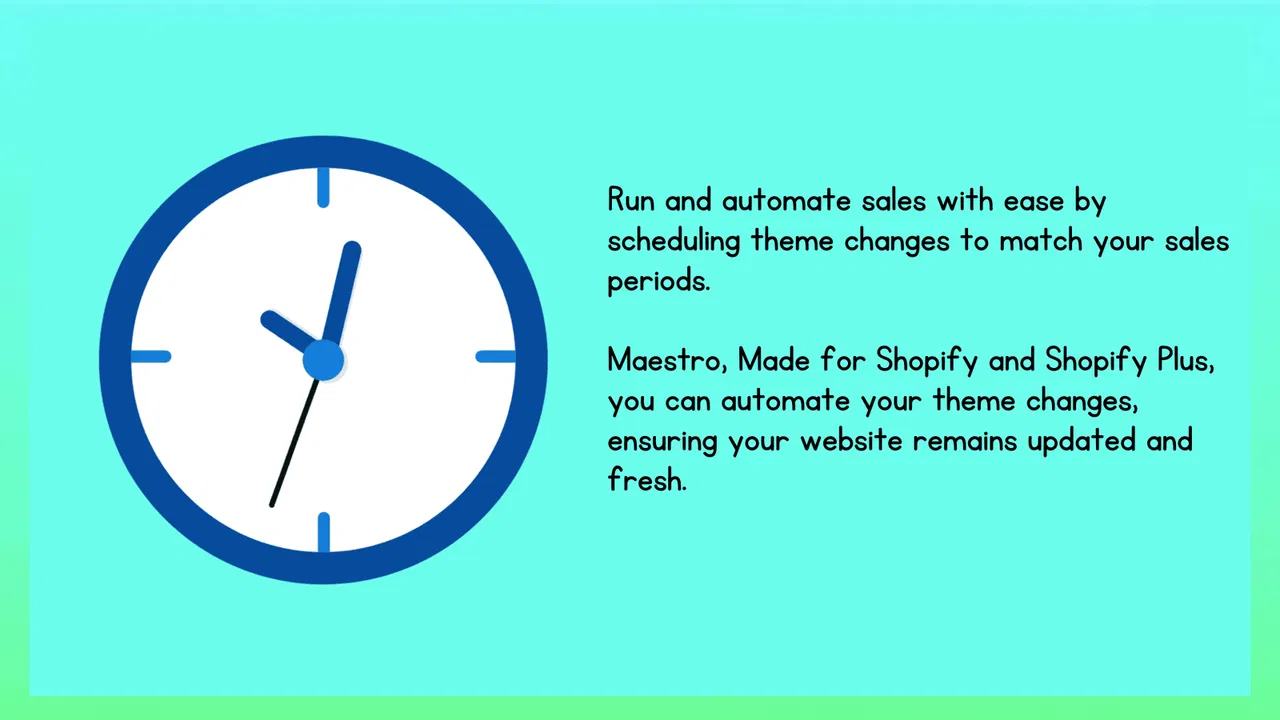
In this guide, I will walk you through the fundamentals of Maestro Theme Scheduler. This tool is designed to give you back your time while ensuring your custom shopify themes are always displaying the right content to the right audience at the right moment.
Why Automated Theme Management is a Game Changer
Before we dive into the how, it is vital to understand the why. Many merchants view theme updates as a simple administrative task. However, strategic scheduling is a powerful lever for growth. Here are the primary benefits of moving away from manual updates:
- Precision Timing: Launch campaigns across different time zones without needing a global team awake at all hours.
- Reduced Stress: Prepare your Black Friday or seasonal shifts weeks in advance.
- Consistency: Ensure that every part of your store, from the announcement bar to the featured collection, changes simultaneously.
- Operational Efficiency: Free up your team to focus on high-level strategy rather than clicking Publish in the Shopify admin at midnight.
By integrating automation into your workflow, you transform your store from a static page into a dynamic marketing engine.

Getting Started with Maestro Theme Scheduler
Setting up Maestro Theme Scheduler is the first step toward a more professional and automated e-commerce operation. The app is built to feel like a native extension of your Shopify experience, which minimizes the learning curve.
Step 1: Installation and Initial Configuration
Navigate to the Shopify App Store and locate Maestro Theme Scheduler. Once installed, you will be greeted by a streamlined dashboard.
- Connect your themes: Ensure the app has access to your theme library.
- Review your timezone settings: This is a critical step. Maestro operates based on your store's timezone settings, so double-check that your Shopify admin matches your intended launch times.
- Explore the UI 2.0: The latest version of the app features a clean, minimalist interface that makes navigating between different schedules a breeze.
Step 2: Understanding the Dashboard
The dashboard is your command center. Here, you will see a list of all your active, pending, and completed schedules.
- Scheduled Actions: This tab shows you what is coming up next.
- Smart Automation: This area allows you to set more complex rules, such as recurring schedules for weekly promotions.
- Section and Block Visibility: This is where you will spend most of your time fine-tuning specific elements of your pages.
How to Schedule an Entire Theme Publication
Sometimes a simple banner change is not enough. For major launches or complete seasonal rebrands, you need to switch your entire live theme.
The Process for Full Theme Swaps
- Select Create New Schedule: Choose the Theme Publication option from the main menu.
- Choose Your Theme: Select the specific theme version you have been working on in your Shopify admin. This might be a duplicate of your live theme with new assets or a completely new build.
- Set the Date and Time: Use the calendar picker to define exactly when this theme should go live.
- Set an End Date (Optional): If this is a temporary theme for a 24-hour flash sale, you can schedule the previous theme to revert back automatically.
- Save and Confirm: Review your selection and hit save. The app will handle the rest.
This level of control ensures that your custom shopify themes are deployed flawlessly, even while you sleep.
Mastering Section and Block Visibility
While switching themes is great for big events, most of your daily automation will happen at the section and block level. This is the true magic of Maestro Theme Scheduler. It allows you to toggle specific parts of a page without touching the rest of the site.
Why Schedule Sections Instead of Themes?
- Efficiency: You do not need to manage 20 different theme duplicates.
- Agility: You can run multiple overlapping promotions on different pages.
- Testing: It is easier to swap out a single hero section to see how it affects your conversion rate optimization.
Step-by-Step Section Scheduling
- Navigate to Section Visibility: In the Maestro app, select the option to schedule a section or block.
- Pick Your Page: Choose whether you want to edit the Home Page, a Product Page, or a Custom Collection Page.
- Select the Target Element: The app will pull a list of the sections currently present in your theme. Select the one you wish to control.
- Define the Action: Choose whether to Show or Hide the section at the scheduled time.
- Automate the Reversion: I always recommend setting an end time. If your sale ends on Sunday, schedule the section to hide at 11:59 PM Sunday.
This granular control is what separates amateur stores from professional e-commerce powerhouses. You can see more about how this impacts overall store performance in our optimization audit report.
Advanced Features for Beginners: Recurring Schedules
Once you are comfortable with one-off schedules, it is time to look at recurring actions. Many businesses have "Deal of the Week" or "Free Shipping Weekends." Setting these up manually every week is a waste of resources.
With Maestro, you can set a section to become visible every Friday at 5:00 PM and hide every Sunday at midnight. This set-it-and-forget-it approach ensures your store stays fresh without any recurring effort from your team.
- Navigate to the Recurring Actions tab.
- Set the frequency: Daily, weekly, or monthly.
- Define the parameters: Choose the specific theme and section.
- Monitor: Check the dashboard occasionally to ensure your promotional assets are still up to date.

Enhancing Store UX and Conversion Rates
Automating your theme is not just about saving time: it is about creating a better user experience. A store that updates its content regularly feels alive and trustworthy. When customers see that a "Limited Time Offer" actually ends when it says it will, it builds brand authenticity.
If you are looking to further professionalize your store, consider small but impactful changes like adding a custom font or removing the Powered by Shopify link. These details, combined with the power of Maestro, create a cohesive and high-converting environment.
Mobile-Friendly Management
We know that e-commerce does not always happen behind a desk. Maestro Theme Scheduler is designed to be mobile-friendly. You can adjust your schedules or push an emergency update from your phone while on the go.

Best Practices for Maestro Beginners
To get the most out of this tool, keep these expert tips in mind:
- Always Use a Buffer: If your sale starts at 9:00 AM, consider scheduling the update for 8:55 AM. This allows you to do a quick manual check before the main traffic surge arrives.
- Label Your Schedules Clearly: Use naming conventions like [BFCM 2026] Hero Banner or [WEEKLY] Friday Promo. This will save you hours of confusion as your list of schedules grows.
- Test in a Preview Theme: If you are making significant changes, schedule them on a draft theme first. Verify everything looks perfect before applying those schedules to your live theme.
- Coordinate with Marketing: Ensure your email marketing and social media teams know exactly when the site content will change. Synchronization is key to maximizing conversion.
From Setup to Success
Mastering automated theme magic is a journey. You might start by simply scheduling an announcement bar, but soon you will be coordinating complex, multi-page campaigns that run entirely on autopilot.
The path to e-commerce growth is often cluttered with technical hurdles and manual tasks. Tools like Maestro Theme Scheduler are designed to clear those paths, allowing you to focus on what matters most: your products and your customers.

If you are ready to take your shopify store setup to the next level, start by auditing your current manual processes. How many hours a week do you spend on theme updates? How many times has a promotion stayed live longer than it should have?
By moving to an automated workflow, you are not just buying an app: you are investing in a more scalable, reliable, and professional business model. Whether you are working on Shopify or Webflow, the principles of timely, relevant content remain the same.
Final Thoughts on Mastering the Magic
Automation is no longer a luxury for enterprise-level brands. It is a vital step for any merchant looking to stay competitive in a fast-paced market. Maestro Theme Scheduler provides the tools you need to manage your store with the precision of a seasoned pro.
After completing your first few schedules, you will realize how much mental energy was being drained by "babysitting" your Shopify store. Embrace the automation, trust the system, and watch your conversion rates grow.
If you need help optimizing your store further or want to explore advanced integrations like Shopify Flow, stay tuned for the next parts of our Maestro series. In the meantime, you can explore more tutorials on Maestro Products Scheduler or dive into improving your store's usability.
Are you ready to stop manual updates and start mastering the magic? Download Maestro Theme Scheduler today and experience the freedom of automated theme management.