
As a Shopify expert, I often observe store owners staying up until the stroke of midnight just to manually click a button. Whether it is launching a Black Friday sale, updating a seasonal hero banner, or switching to a fresh theme for a product drop, the manual approach is a recipe for burnout. You are seeking a way to reclaim your time while ensuring your store remains dynamic and high-converting.
The reality of modern e-commerce is that timing is everything. If your sale banner goes up three hours late, you lose revenue. If your custom Shopify themes are not updated to reflect your latest marketing push, your conversion rate optimization suffers. This is where automation steps in to bridge the gap between your creative vision and your operational execution.
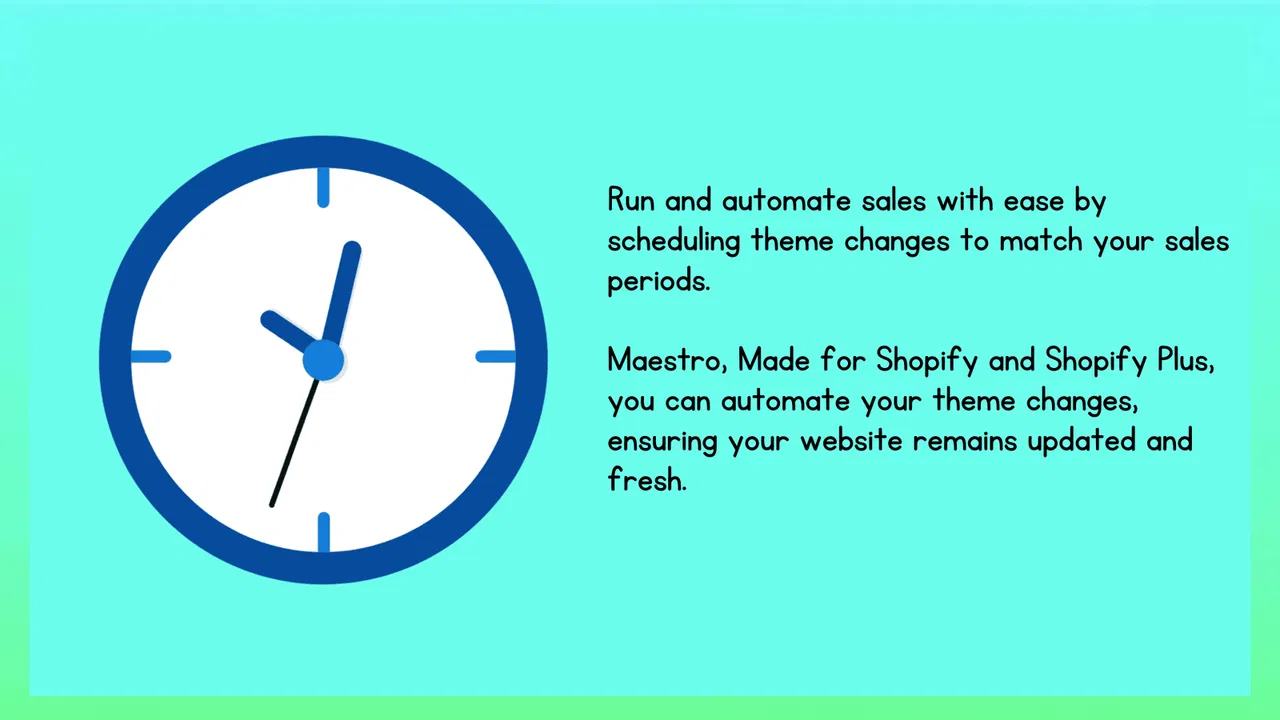
In this guide, I will walk you through the basics of the Maestro Theme Scheduler. We will move from the foundational concepts to a complete setup so you can stop babysitting your Shopify admin and start focusing on growth.
Why Automated Scheduling is Vital for Your Store
Before we dive into the how, we must understand the why. Many merchants believe that manual updates are "safer" because they can see the change happen in real-time. However, human error is the greatest risk to your store performance. Automation through the Maestro Theme Scheduler provides several key advantages:
- Precision Timing: Launch campaigns at exactly 12:00 AM without being awake.
- Consistency: Ensure that your homepage, product pages, and banners all update simultaneously.
- Reduced Stress: Eliminate the anxiety of forgetting a scheduled update or hitting a technical snag during a high-traffic period.
- Improved CRO: Keep your content fresh and relevant to your audience's current needs, which is a cornerstone of conversion rate optimization.
By automating these repetitive tasks, you empower your team to focus on high-level strategy rather than low-level maintenance.

Understanding the Maestro Ecosystem
Maestro Theme Scheduler is not just about switching themes. It is a comprehensive tool designed to manage the visibility of almost every visual element on your Shopify site. When you first open the app, you will notice a clean, minimalist interface that prioritizes ease of use.
There are two primary ways to use the tool. The first is theme scheduling, where you swap one entire theme for another. This is perfect for major site overhauls or holiday-specific designs. The second is content scheduling, which allows you to toggle specific sections or blocks within a theme. This is the "secret weapon" for merchants who want to keep their core site structure but update promotional banners or featured collections.
Step 1: Installing and Navigating the Dashboard
Your journey begins with a simple installation. Navigate to the Shopify App Store and add Maestro Theme Scheduler to your store. Once installed, the dashboard serves as your mission control.
- Open the App: Navigate to your Shopify Admin, click on Apps, and select Maestro Theme Scheduler.
- Explore the Menu: You will see options for "Schedule Theme" and "Schedule Content."
- Check Your Settings: Ensure your store's time zone is correctly configured within the app settings to match your primary market.
The interface is designed to be intuitive. If you have ever used a digital calendar, you already have the skills necessary to master this setup.
Step 2: Scheduling Your First Theme Update
Let's look at the process of scheduling a full theme change. This is a vital step if you have developed custom Shopify themes for different seasons or marketing events.
- Select "Schedule Theme": Click the primary action button on your dashboard.
- Choose Your Target Theme: Pick the theme you want to go live. This theme must already exist in your Shopify theme library.
- Set the Start Date and Time: Choose exactly when the new theme should become the "Live" theme.
- Optional End Date: If this is a temporary change, such as a weekend sale, set an end date. Maestro will automatically revert to your previous theme once the time expires.
- Review and Save: Double-check your dates. Once you save, the task is queued and ready to execute.

Step 3: Mastering Section and Block Visibility
While theme scheduling is powerful, section scheduling is where you will likely spend most of your time. This feature allows you to show or hide specific parts of a page without affecting the rest of the site.
As a Shopify expert, I recommend using this for:
- Promotional Banners: Schedule a "Free Shipping" top bar to appear only during specific hours.
- Limited Time Collections: Show a "Flash Sale" collection on your homepage that disappears the moment the sale ends.
- Urgency Blocks: Use countdown timers or specific call-to-action blocks that only trigger during a launch window.
To do this, select "Schedule Content," choose the specific section from your theme's JSON data, and define the visibility window. This level of granularity is what separates a standard store from a high-performance e-commerce machine.
Automation and Time Management
The core philosophy of the Maestro Theme Scheduler is to give you back your time. When you align your store updates with your sales periods, you create a seamless experience for your customers. They see the right offer at the right time, and you are likely off the clock or working on your next big idea.
Step 4: Recurring Schedules for Ongoing Success
One of the more advanced features for beginners to explore is the recurring schedule. If you run a "Motivation Monday" sale or a "Flash Friday" event every single week, you do not need to set it up manually every time.
- Navigate to the Schedule Creator: Choose the content or theme you want to repeat.
- Select Recurring: Instead of a "One-Time" event, choose the "Weekly" or "Monthly" frequency.
- Define the Pattern: Select the days of the week and the specific times for the content to toggle on and off.
- Set an Expiry: You can choose to have this repeat indefinitely or end after a certain number of occurrences.
This feature is a major boost for stores that rely on habitual consumer behavior and consistent weekly promotions.
Managing Your Store on the Go
We live in a mobile-first world, and that includes store management. You are not always at your desk when inspiration strikes or when a plan needs to change. The Maestro Theme Scheduler interface is fully responsive, allowing you to manage your schedules from your smartphone or tablet via the Shopify mobile app.
Whether you are traveling or just away from your laptop, you can check the status of your upcoming launches, edit times, or disable a schedule entirely if a shipment is delayed. This flexibility is a proactive step toward maintaining a resilient business.

Best Practices for Maestro Beginners
To ensure your store setup is as smooth as possible, follow these professional tips:
- Test Your Themes: Always ensure the theme you are scheduling is fully tested and bug-free in preview mode before you set it to go live.
- Use Descriptive Names: When creating schedules, name them clearly, such as "Summer Sale Banner 2026," so you can easily find them later in your list.
- Monitor Your Overlaps: Be careful not to schedule two different theme changes at the exact same time. Maestro is smart, but clear instructions are always better.
- Leverage Shopify Speed Optimization: Ensure your themes are optimized for speed before scheduling them. A slow theme will hurt your conversion rate regardless of how well it is timed. You can learn more about this at XCO Agency Shopify Speed Optimization.
Promoting Your Scheduled Updates
Scheduling the update is only half the battle. You also need to ensure your customers know something is happening. Use the automated nature of your store to your advantage.
When you know a banner is going live at 8:00 AM, you can schedule your email marketing and social media posts to hit at 8:05 AM. This synchronized approach creates a professional, polished brand image that builds trust with your audience.

Taking the Next Step in Your Shopify Journey
Mastering your store setup with the Maestro Theme Scheduler is a significant leap toward operational excellence. By moving away from manual updates, you reduce the risk of errors and free up mental energy for the creative and strategic parts of your business.
As you become more comfortable with these tools, you might find that you need more custom Shopify functionalities or specialized design services. At XCO Agency, we specialize in helping merchants push the boundaries of what their stores can achieve. Whether you are looking for Shopify Design Services or comprehensive Growth Strategies, our team is here to support your journey.
Automating your store is not just a technical upgrade; it is a lifestyle upgrade for the entrepreneur. Start small by scheduling a single banner, and soon you will be managing entire seasonal transitions with a few clicks.
If you are ready to see how automation can transform your workflow, visit the Maestro Theme Scheduler App Page to get started today. For those who want a more personalized approach to their e-commerce strategy, you can always Book a Meeting with our experts to discuss your specific needs.
Remember, a well-managed store is a profitable store. Take the proactive step toward automation today and watch your efficiency reach new heights.