
As a Shopify expert, I often work with merchants who are exhausted by the "midnight grind." You know the one. It is 11:58 PM on a Sunday, and you are hunched over your laptop, waiting to manually hit "Publish" on a new theme for a Monday morning sale. Or perhaps you are frantically toggling visibility on a promotional banner while your coffee goes cold. It is a tedious, error-prone process that scales poorly.
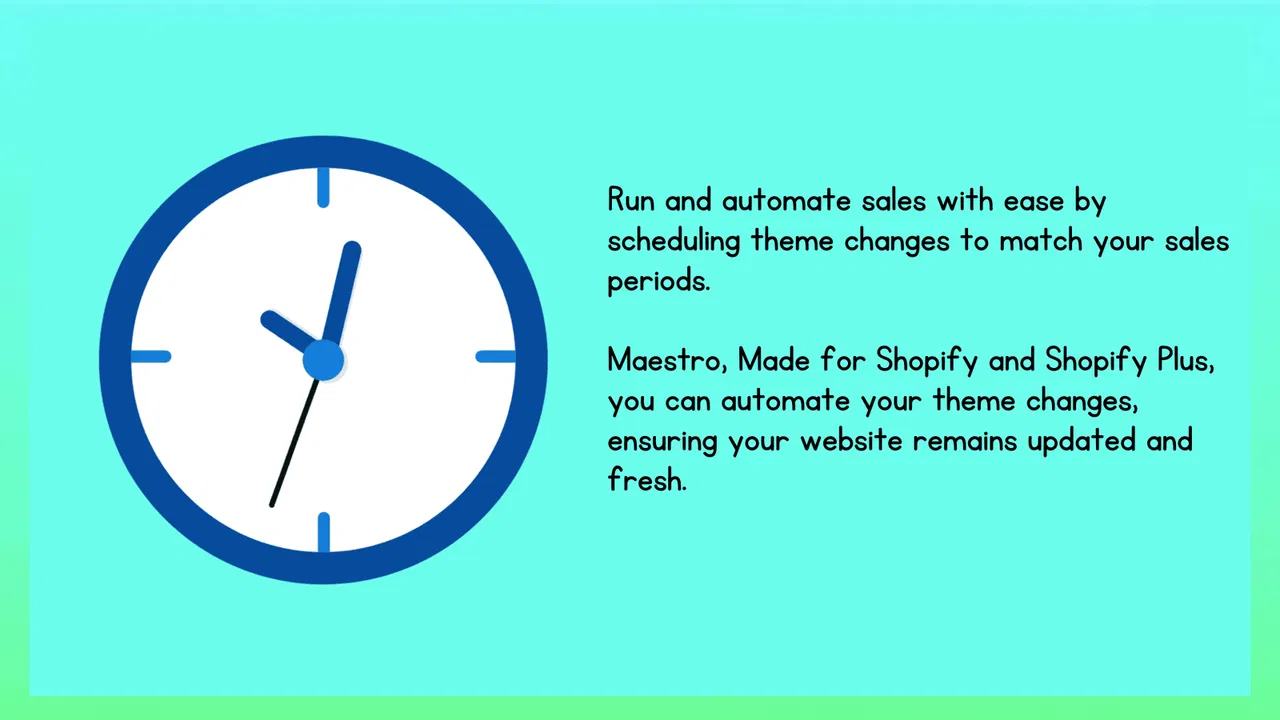
If you are seeking a way to regain your time while maintaining a dynamic, high-converting storefront, you have likely come across the concept of automation. Specifically, the Maestro Theme Scheduler. This tool is designed to take the manual labor out of your Shopify store setup, allowing you to schedule everything from full theme swaps to individual section visibility.
In this guide, I will break down why this automation is vital for your conversion rate optimization (CRO) and provide a step-by-step roadmap to mastering the app.
Why Automate Your Shopify Store Setup?
Before we dive into the "how," let's talk about the "why." E-commerce moves fast. If your store looks the same on Tuesday as it did during your weekend flash sale, you are losing money. Custom Shopify themes are powerful, but they are only as effective as the content they display.
Here is why automation is a non-negotiable for modern brands:
-
Eliminate Human Error
- Manual updates often lead to broken links, missing images, or "Coming Soon" banners that stay up three days too long.
- Scheduling ensures that your content goes live exactly when intended, without the risk of someone forgetting to click a button.
-
Scale Your Marketing Efforts
- High-growth stores often run multiple campaigns simultaneously across different time zones.
- Automation allows you to set up a month of content in one afternoon, freeing you to focus on strategy rather than execution.
-
Boost Conversion Rate Optimization
- Freshness matters. When customers see that your store is updated frequently with relevant offers, trust increases.
- Targeted scheduling allows you to show specific blocks or sections during peak hours, maximizing your ROI.

Step 1: Installing Maestro Theme Scheduler
The first step toward a more automated life is getting the right tools in your shed. Maestro Theme Scheduler is designed to integrate seamlessly with the Shopify admin.
-
Navigate to the Shopify App Store
- Search for "Maestro Theme Scheduler" and select the application.
- Ensure you are logged into your Shopify admin account.
-
Click "Install"
- The app is free to install, which makes it an easy entry point for beginners.
- Grant the necessary permissions for the app to interact with your themes and sections.
-
Verify Your Installation
- Once installed, you should see the Maestro interface within your Shopify Apps dashboard.
- Take a moment to explore the clean, minimalist UI. It is built to be intuitive, even if you are not a developer.
Step 2: The Core Workflow: The 1-2-3 of Theme Scheduling
As a Shopify expert, I recommend starting with the most basic function of the app: scheduling a full theme change. This is perfect for major seasonal shifts, such as moving from your "Spring Collection" to a "Summer Sale" look.
-
Duplicate Your Current Theme
- Never work directly on your live theme if you are making major changes.
- Go to Online Store > Themes and click "Duplicate" on your active theme.
-
Customize the Duplicated Theme
- Open the theme customizer for your copy.
- Change your banners, update your featured collections, and adjust your typography to match your upcoming campaign.
- Save your changes. This theme is now your "Campaign Theme."
-
Set the Schedule in Maestro
- Open the Maestro Theme Scheduler app.
- Select your "Campaign Theme" from the list of available themes.
- Pick a start date and time.
- (Optional) Set an end date and time to automatically revert to your original theme once the sale is over.

Step 3: Granular Control with Section and Block Scheduling
While full theme swaps are great for big events, the real magic happens at the section level. Most merchants do not need to change their entire store; they just need to swap a hero banner or hide a specific announcement bar.
Maestro allows you to control specific elements of your custom Shopify themes without touching the rest of the site.
-
Identify the Target Section
- Decide which part of your homepage or product page needs to change.
- Common targets include promotional banners, newsletter sign-ups, or "Deal of the Day" countdowns.
-
Navigate to the Visibility Scheduler
- Inside the Maestro app, look for the "Section Visibility" or "Block Visibility" options.
- This feature allows you to "Show" or "Hide" specific elements based on a timeline.
-
Configure the Automation
- Select the specific section from your theme’s architecture.
- Choose the action: "Show" to make it live or "Hide" to remove it.
- Set the trigger time. If you are preparing for a "Flash Friday" sale, you can set the "Flash Sale" banner to appear at 8:00 AM and disappear at 8:00 PM automatically.
Step 4: Mastering Recurring Schedules
If you run consistent weekly promotions (like "Wellness Wednesday" or "Weekend Steals"), setting them up manually every week is a waste of resources. Maestro offers a recurring feature that acts like a "set it and forget it" button for your store.
-
Select the "Recurring" Option
- When creating a new schedule, look for the frequency settings.
- You can choose daily, weekly, or custom intervals.
-
Define Your Time Slots
- For a weekend sale, you might set a specific "Weekend Free Shipping" block to show every Saturday at 12:01 AM and hide every Sunday at 11:59 PM.
-
Review the Automation Calendar
- Maestro provides a visual timeline of your scheduled actions.
- Ensure there are no overlaps that might confuse your customers or clutter your UI.
Advanced Tips for Custom Shopify Themes
For those using heavily customized themes or even platforms like Webflow for their landing pages, Maestro serves as the bridge between design and timing.
Here are a few professional tips to maximize the app’s potential:
-
Test on a Development Theme First
- If you are testing a complex multi-block schedule, always run it on a non-live theme first.
- Maestro allows you to preview how schedules interact, preventing "ghost sections" where content appears in the wrong place.
-
Sync with Your Marketing Calendar
- Align your Shopify store setup with your email marketing and social media posts.
- If your newsletter goes out at 10:00 AM, ensure your Maestro schedule is set for 9:55 AM. This prevents customers from clicking a link in an email only to find the store hasn't updated yet.
-
Utilize Mobile-Friendly Management
- Sometimes you need to make a change while on the go.
- The app is optimized for mobile admin use, allowing you to tweak your schedules from your phone.

Improving User Experience and Conversions
Automation is not just about convenience for the merchant: it is about a better experience for the shopper. A store that updates its "Limited Time" offers precisely on time feels more professional and authoritative.
To truly understand how these changes impact your bottom line, I recommend checking out our guide on how to boost your store’s UX and conversion rate with an optimization audit report. Combining automated scheduling with a data-driven audit is the fastest way to see growth.
Furthermore, if you are looking to refine the look of your store during these scheduled updates, consider small but impactful changes like adding a custom font to your store. When Maestro swaps your theme for a holiday sale, having a unique font can make that "seasonal" look feel much more curated.
Common Pitfalls to Avoid
Even with a powerful tool like Maestro Theme Scheduler, beginners can sometimes trip up. Here is what to watch out for:
-
Over-Scheduling
- Do not schedule too many overlapping theme changes. It can become difficult to track which version of your site is currently live.
- Keep a simple spreadsheet or use the Maestro dashboard to monitor your active automations.
-
Ignoring Time Zones
- Always verify your store’s default time zone settings.
- If your store is set to EST but you are thinking in GMT, your "Midnight Launch" will be five hours late.
-
Forgetting to Revert
- If you schedule a "Show" action for a promo banner, always remember to schedule the "Hide" action for when the promo ends.
- Maestro makes this easy, but it requires that final step during the initial setup.
The Path to a Self-Running Store
Mastering your Shopify store setup is about moving from a reactive mindset to a proactive one. Instead of scrambling to make changes, you are architecting an experience that unfolds automatically.
Maestro Theme Scheduler is more than just a timer: it is a strategic tool for any merchant serious about scaling. Whether you are running a single-product store or a massive catalog, the ability to control your theme’s visibility with precision is a game changer.
If you are ready to take your store to the next level, you can explore the Maestro Theme Scheduler directly. For those who want a more hands-on approach to their store's growth, our team at XCO Agency specializes in high-performance E-Commerce Development & Digital Marketing.
Automation is the foundation of modern e-commerce. By following this 101 guide, you have taken the first step toward a more efficient, professional, and profitable store. Stop fighting the clock and start letting the clock work for you.