
As a Shopify expert, I often work with merchants seeking a way to automate promotions, seasonal content, and storefront updates without slowing down the shopping experience. The concern is valid: every additional section, image, app script, and interactive element can affect page speed.
Maestro Theme Scheduler helps solve the operational challenge by automating when theme sections, blocks, or complete themes appear. However, automation should not be treated as a substitute for performance discipline. A scheduled campaign can still become heavy if it introduces oversized images, complex JavaScript, or too many active sections.
When Maestro is implemented thoughtfully, you can:
- Automate Shopify storefront updates without relying on constant manual publishing.
- Keep custom Shopify themes lean by scheduling native theme content instead of adding overlapping marketing widgets.
- Protect Core Web Vitals across campaign, product, collection, and landing pages.
- Audit multiple scheduled sections and blocks before they affect customers.
- Scale Shopify Plus development with a repeatable framework for high-volume promotional calendars.
This is post #99 in the Maestro Theme Scheduler Ultimate Roadmap Series. In this advanced guide, I will explain how scheduling interacts with storefront performance and provide a practical process for keeping your store fast.
How Maestro Theme Scheduler Affects Storefront Performance
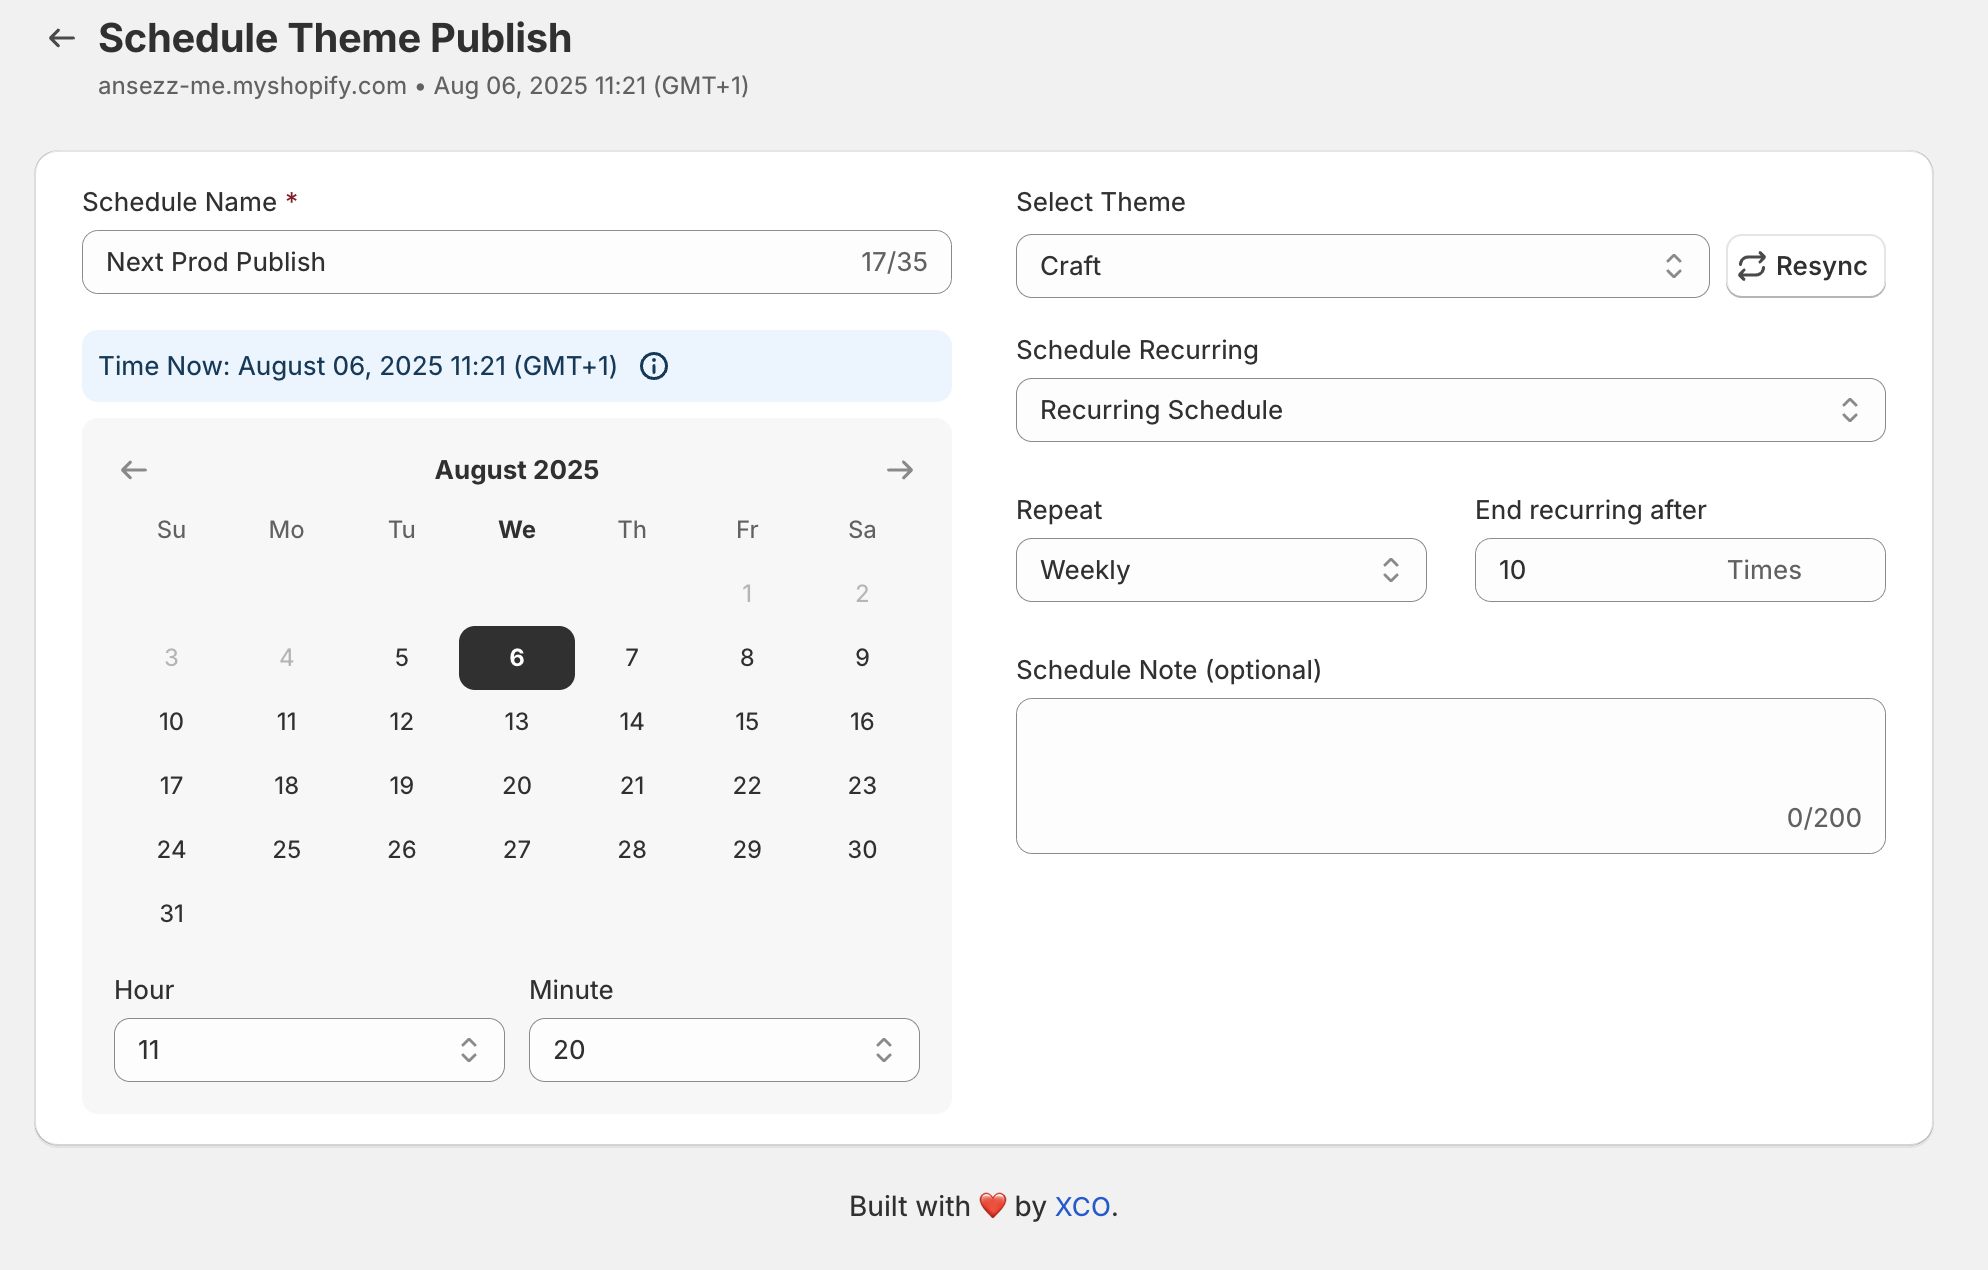
Maestro is designed to manage theme changes and scheduled visibility states. It can help merchants coordinate promotions, seasonal visuals, recurring content changes, and theme publishing from a central workflow.
The important distinction is that Maestro primarily controls when content or theme configurations change. It does not need to become a large storefront widget that renders an independent marketing layer on every page.
That means performance is still determined mainly by:
- The Liquid, HTML, CSS, and JavaScript in your theme.
- The number and complexity of active sections and blocks.
- The size of images, videos, and other media.
- The number of third-party apps and scripts.
- The quality of the page structure above the fold.
A scheduled banner built with lightweight Liquid and optimized imagery can be highly efficient. A scheduled carousel with multiple large images, video backgrounds, animation libraries, and tracking scripts can significantly increase page weight.
For more details about Maestro’s scheduling capabilities, visit the Maestro Theme Scheduler page or install the app from the Shopify App Store.
Design a Fast Base Theme Before Adding Automation
The strongest performance strategy is to create a fast baseline first. Think of your storefront as having two layers:
- The always-on layer, which contains the core shopping experience.
- The scheduled layer, which contains time-sensitive campaign content.
Your always-on layer should include the elements customers need on every visit:
- Navigation and search.
- Collection and product templates.
- Cart and customer account functionality.
- Core trust messaging.
- Essential analytics and integrations.
- A focused above-the-fold experience.
Keep this foundation as simple as possible. Do not assume that scheduled content is automatically lightweight simply because it is temporary. When a schedule becomes active, its sections and blocks still contribute to the rendered page, DOM size, image requests, and browser workload.
For custom Shopify themes, establish a maximum complexity level for every important template. For example, define a reasonable limit for:
- Homepage sections.
- Product page blocks.
- Collection page promotional areas.
- App blocks.
- Carousels and interactive components.
- Third-party scripts.
Shopify’s theme performance guidance recommends minimizing JavaScript, optimizing images, and reviewing apps and third-party code. Maestro should support those principles, not work around them.
Best Practices for Fast Scheduled Content
1. Schedule content instead of duplicating entire experiences
Use section and block scheduling when you only need to change specific storefront content. A full theme publish can be appropriate for a major redesign or coordinated sitewide campaign, but it may create more operational and testing overhead.
Prefer focused scheduling for:
- Announcement bars.
- Promotional banners.
- Seasonal collection highlights.
- Limited-time product badges.
- Campaign calls to action.
- Short-term content sections.
This approach reduces the need to maintain several nearly identical theme versions. It also makes it easier to identify which content changed when performance shifts.
2. Reuse lightweight sections
Create reusable campaign sections instead of building a new section for every event. A single promotional section can support different:
- Headlines.
- Images.
- Links.
- Background colors.
- Product or collection references.
- Start and end dates managed through Maestro.
This keeps your custom Shopify theme easier to maintain and reduces duplicate Liquid logic.
Avoid creating three separate hero sections for three promotions if one optimized hero component can handle the content variations. Reusability is valuable for both performance and Shopify automation.
3. Keep scheduled sections visually focused
A scheduled section should have one clear job. Avoid stacking multiple heavy features into a single campaign update.
For example, a promotional section may include:
- One responsive image.
- A short heading.
- Supporting text.
- One primary call to action.
- Minimal interaction.
Be cautious with:
- Multiple autoplay videos.
- Large sliders with several images.
- Complex product recommendation widgets.
- Animated backgrounds.
- Countdown timers that require continuous JavaScript.
- Embedded third-party forms or chat tools.
If an interactive component is essential, load its JavaScript only when needed. Use progressive enhancement so the primary content remains available through HTML and CSS.
4. Optimize images before scheduling them
Images are often the largest part of a campaign page. Before uploading scheduled assets:
- Resize images to the largest display dimensions required.
- Compress files without compromising important visual details.
- Use Shopify’s CDN and responsive image settings.
- Lazy-load below-the-fold imagery.
- Reserve image dimensions to reduce layout shifts.
- Use a single optimized hero asset instead of several competing slides.
A scheduled hero image can affect Largest Contentful Paint, or LCP, because it may become the largest visible element when the campaign is active. Treat it as a critical asset, not a disposable promotional file.
How to Audit Multiple Scheduled Sections and Blocks
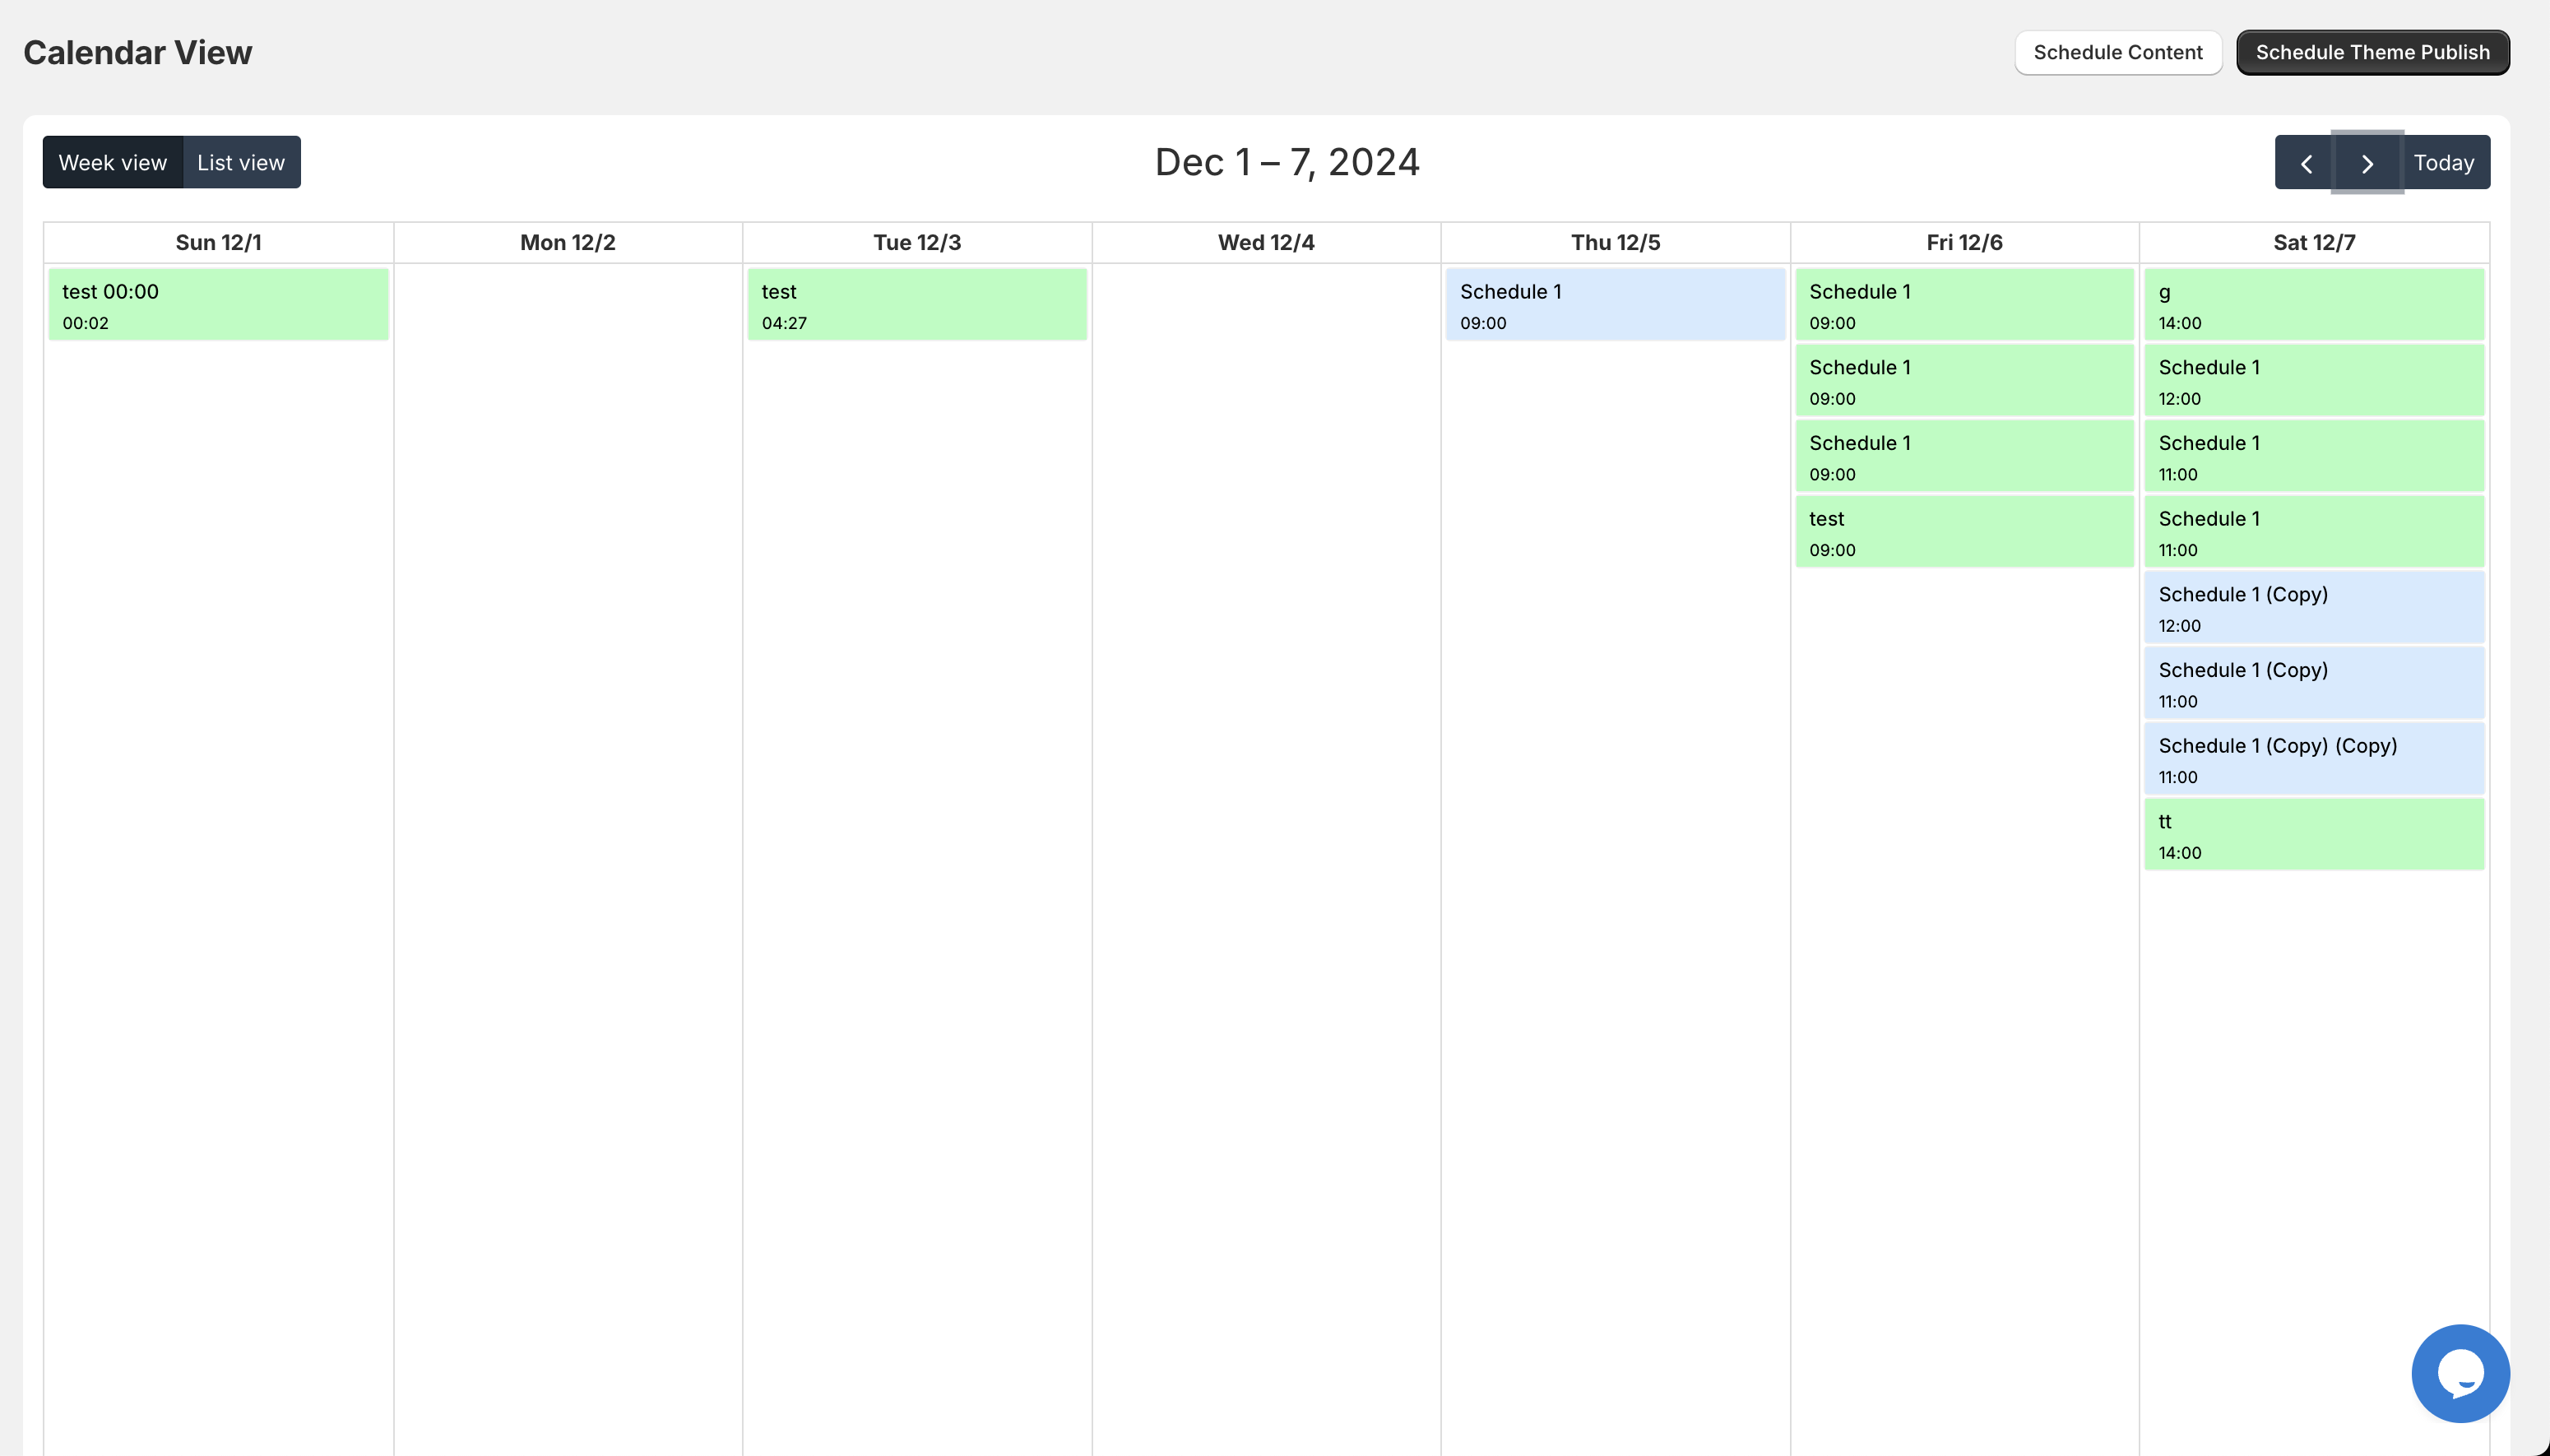
When several schedules overlap, performance auditing must reflect the heaviest possible storefront state. Here are simple steps to build a reliable audit process.
Step 1: Create a schedule inventory
List every active and upcoming schedule in Maestro. Record:
- The page or template affected.
- The section or block being changed.
- The start and end time.
- Whether the schedule is recurring.
- The image, script, or app dependency involved.
- The campaign owner responsible for the update.
Group related changes into campaigns rather than reviewing isolated items only. A homepage promotion may appear efficient by itself but become problematic when combined with a seasonal hero, product carousel, and countdown timer.
Step 2: Identify the heaviest scheduled state
Review the time period when the greatest number of schedules are active at once. This may be a major sale, product launch, or holiday campaign.
Test that state across key templates:
- Homepage.
- Product page.
- Collection page.
- Cart page.
- Landing pages.
- Mobile and desktop layouts.
Do not test only the standard storefront state. The campaign state is where performance regressions are most likely to appear.
Step 3: Measure Core Web Vitals
Use Lighthouse, PageSpeed Insights, and Shopify’s performance reporting to compare the baseline theme with scheduled states.
Focus on:
- LCP: How quickly the main visible content loads.
- INP: How quickly the page responds to customer interactions.
- CLS: Whether content shifts unexpectedly during loading.
- TTFB: How quickly the server begins responding.
- Total Blocking Time: How much JavaScript delays interaction.
Run tests several times and compare patterns rather than relying on one score. Test on mobile networks because mobile customers are usually more sensitive to excessive image weight and JavaScript execution.
Step 4: Inspect network requests and page weight
Open the browser’s developer tools and review the Network panel. Look for:
- Large campaign images.
- Duplicate CSS files.
- Repeated JavaScript bundles.
- Third-party requests.
- App scripts loaded even when the scheduled section is not visible.
- Fonts that block rendering.
- Video or iframe requests above the fold.
Check the rendered HTML as well. A hidden component may still create unnecessary markup or load assets depending on how the theme implements visibility.
Step 5: Review Liquid and section structure
Inspect the affected section files and JSON templates. Shopify’s JSON template documentation explains how templates define sections and their settings.
Look for:
- Repeated Liquid loops.
- Excessive product or collection queries.
- Large numbers of blocks.
- Unnecessary metafield lookups.
- Duplicated markup.
- Deeply nested theme blocks.
- Scripts placed directly inside repeated sections.
Use a single reusable script where possible. Avoid embedding the same script once per block. If a scheduled section needs JavaScript, initialize it through a shared file and use data attributes to identify active components.
Step 6: Simplify or replace expensive elements
After identifying bottlenecks, reduce the cost of the scheduled experience.
- Replace a multi-slide carousel with one strong campaign image.
- Convert a video background into a compressed static image when motion is not essential.
- Remove redundant app blocks.
- Combine related promotional content into one section.
- Defer non-critical JavaScript.
- Lazy-load content below the fold.
- Hide a lower-priority section when a high-priority campaign section becomes active.
This last technique is particularly useful. Scheduling should not only add content. It can also help you swap one section for another so the total page complexity remains stable.
Monitor Performance After Every Major Campaign
Performance optimization is not a one-time task. New promotions often introduce new assets, tracking requirements, and app integrations.
Create a recurring review process:
- Benchmark the page before the campaign begins.
- Test the scheduled version in a preview or staging environment.
- Recheck performance immediately after publishing.
- Review real-user data after sufficient traffic arrives.
- Remove expired campaign assets and unused code.
- Document any performance changes for future launches.
For stores with complex calendars, connect your performance process to your broader Shopify Plus development workflow. Require a performance review before approving a campaign that adds new scripts, videos, or app blocks.
You can also review XCO Agency’s Shopify speed optimization services for support with code optimization, app cleanup, theme tuning, image compression, and ongoing monitoring.
Use Automation to Replace Bloat
The best use of Maestro Theme Scheduler is not simply scheduling more changes. It is building a more efficient operating model.
When native theme sections can handle banners, seasonal messaging, or campaign highlights, you may be able to reduce dependence on multiple apps that inject their own JavaScript and CSS. Always assess each app carefully before removing it, particularly if it supports essential functionality, but challenge unnecessary duplication.
A lean theme plus controlled scheduling can help your team:
- Launch campaigns faster.
- Reduce manual publishing errors.
- Keep code ownership clear.
- Minimize overlapping tools.
- Protect the customer experience during peak traffic.
Conclusion: Make Performance a Vital Part of Scheduling
Merchants should not have to choose between agile Shopify automation and a fast storefront. Maestro Theme Scheduler can coordinate time-sensitive content while your theme remains lightweight, provided each scheduled section is designed and tested with performance in mind.
Keep the base theme lean, reuse optimized components, control the number of active sections, compress every campaign asset, and audit the heaviest scheduled state. These proactive steps will help protect LCP, INP, CLS, and the overall shopping experience as your promotional calendar grows.
If your store needs a more scalable scheduling and performance strategy, book a consultation with XCO Agency. Our Shopify Plus experts can help you optimize your custom Shopify themes, streamline Shopify automation, and build a storefront that stays fast under pressure.
Meta title: Advanced Maestro Theme Scheduler Performance Optimization
Meta description: Learn how to keep Shopify storefronts fast with Maestro Theme Scheduler. Discover best practices for scheduled sections, blocks, images, JavaScript, and performance audits.