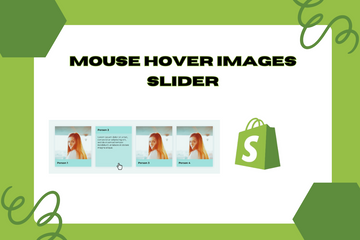
Show multiple product images in different angles/styles on the image slider on mouse hover.
As a Shopify expert, I often encounter store owners seeking ways to enhance their product presentation and improve the overall user experience. One effective feature to achieve this is by implementing a mouse hover image slider. This feature allows users to view multiple product images from different angles or styles simply by hovering their mouse over the product image. By incorporating this functionality, you can provide a more interactive and engaging shopping experience, helping customers make more informed purchasing decisions.
Why Add a Mouse Hover Images Slider?
Adding a mouse hover images slider offers several benefits that can enhance product visibility and improve user experience. Here are some key advantages:
Improved Product Presentation
A hover image slider allows customers to view a product from multiple angles or styles, giving them a better understanding of the product's features and quality.
Enhanced User Experience
Providing an interactive image slider makes it easier for users to explore products, improving their overall shopping experience and reducing the likelihood of returns due to unmet expectations.
Increased Engagement
When customers can easily view detailed images of your products, they are more likely to stay on your site longer and engage more with your offerings, leading to higher conversion rates.
How to Add a Mouse Hover Images Slider
Here are simple steps to add a mouse hover images slider to your Shopify store:
Step 1: Access Your Shopify Admin
Log in to your Shopify admin panel. From the home screen, navigate to Online Store and then click Themes.
Step 2: Edit Code
In the Themes section, find the theme you’re using and click Actions, then select Edit code from the dropdown menu. This action will open the theme’s code editor.
Step 3: Modify the Product Template
Locate the product template file in the Templates directory, usually named "product.liquid" or similar. Add the necessary code to enable the hover image slider functionality. You can use the following example code:

Step 4: Add JavaScript for Image Slider
Add JavaScript to handle the image slider functionality. You can include this script in your theme's JavaScript file:

Step 5: Customize Styles
Adjust the CSS to ensure the image slider fits seamlessly with your store’s design. You can add these styles to your theme’s CSS file:

Step 6: Save Changes
Once you have added the necessary code and styles, click the Save button at the top right of the code editor.
Step 7: Preview Your Store
After saving the changes, preview your store to ensure the hover image slider works correctly and enhances the product viewing experience. Make any necessary adjustments to ensure it looks attractive and functions properly.
Conclusion
Adding a mouse hover images slider to your Shopify store is a powerful way to improve product presentation and enhance user experience. By enabling customers to view multiple product images from different angles or styles, you can provide a more interactive and engaging shopping experience, leading to higher engagement and conversions. As you continue to refine your Shopify store, incorporating this feature can significantly enhance your store's performance and customer satisfaction.