
As a Shopify expert, I often work with high-growth brands that find themselves trapped in a cycle of manual updates. I have seen marketing teams stay up until midnight to hit "Publish" on a new collection or spend hours manually removing "Sale" tags after a promotion ends. This manual labor is not just exhausting; it is a major bottleneck for scalability and a frequent source of human error.
E-commerce merchants are constantly seeking ways to make their operations more efficient. The most effective way to achieve this is through smart, tag-based automation. By combining the power of Product Scheduler by Maestro with Shopify's native automated collections, you can build a self-running storefront that updates itself based on your marketing calendar.
In this guide, I will explain why tag-based workflows are the secret to professional store management and provide a step-by-step framework to automate your most common e-commerce tasks.
The Power of Tag-Based Workflows
Product tags are the "glue" that connects different parts of your Shopify store. While they appear as simple labels, they act as powerful triggers for your theme, your collections, and even your third-party marketing apps. When you automate the application and removal of these tags, you unlock a level of operational precision that is usually reserved for enterprise-level shopify plus development teams.
Why Merchants are Moving Toward Automated Tags
Using a tool like Product Scheduler by Maestro to handle your tagging offers several immediate advantages:
- Eliminate Manual Errors: No more forgotten tags that keep sale prices active long after a promotion has ended.
- Precision Timing: Execute global launches at the exact second, regardless of your time zone.
- Dynamic Collections: Keep your "New Arrivals" or "Best Sellers" collections fresh without moving products manually.
- Theme Integration: Trigger specific custom shopify themes features, such as "Limited Edition" badges, simply by scheduling a tag change.
Setting the Foundation: Automated Collections
Before you start scheduling updates, you must set up the destination for your products. In Shopify, automated collections use selection conditions to include products automatically. Using "Product tag is equal to" as your primary condition is the most flexible approach.
Establish a Tagging Nomenclature
Consistency is vital when working with automation. I recommend creating a simple internal document that lists your standard tags. For example:
-
status:new-arrivalfor your latest drops. -
promo:flash-salefor temporary discounts. -
season:summer-2026for seasonal archiving.
By using a prefix like status: or promo:, you prevent accidental overlaps with other tags used for filtering or SEO. Once these rules are set, your Maestro Theme Scheduler and product automation tools can take over the heavy lifting.

Automating Your Marketing Calendar: Three Core Recipes
Once your automated collections are ready, you can use Product Scheduler by Maestro to orchestrate the movement of your inventory. Here are three recipes that I frequently implement for our clients.
1. The Hands-Off Flash Sale
The goal here is to have products appear in a "Flash Sale" section at 8:00 AM on Friday and disappear at 11:59 PM on Sunday, without any manual intervention.
-
Setup: Create an automated collection where "Product tag is equal to
flash-sale". -
The "Start" Schedule: In Product Scheduler by Maestro, create a schedule for your chosen products to add the tag
flash-saleat Friday, 8:00 AM. -
The "End" Schedule: Use the "Rollback" feature or a second schedule to remove the tag
flash-saleat Sunday, 11:59 PM. - Result: The collection populates and empties itself perfectly on time.
2. The New Arrival Lifecycle
New products often lose their "new" status after 30 days. Keeping this updated manually is a chore that most merchants ignore, leading to "New Arrival" sections filled with products from six months ago.
-
Setup: Navigate to your "New Arrivals" collection and set the condition to "Product tag is equal to
new". -
Schedule: When you launch a new product, schedule it to receive the
newtag immediately. - Expiration: Simultaneously schedule a removal of that tag for 30 days in the future.
- Result: Your storefront always feels current and curated.
3. Inventory-Aware Visibility
For stores dealing with limited stock, you might want to tag items as "Low Stock" to create urgency or "Back Soon" for out-of-stock items. By scheduling these tag changes in coordination with expected restocks, you maintain a professional appearance and clear communication with your customers.
Step-by-Step Implementation Guide
If you are ready to power-up your store operations, follow these simple steps to set up your first tag-based automation.
Step 1: Install and Connect
Ensure you have Product Scheduler by Maestro installed. The app integrates directly into your Shopify admin, allowing you to manage your catalog without leaving the platform.
Step 2: Define Your Schedule
Navigate to the app and click on Create Schedule. You will be prompted to name your event. I suggest using a clear name like "Summer Launch 2026 - Tagging" to keep your dashboard organized.
Step 3: Select Products or Collections
You can select individual products or entire collections to apply your tags to. This is particularly useful for large-scale shopify plus development projects where catalogs may contain thousands of SKUs.
Step 4: Configure the Tag Action
Select the Tags action from the menu. You have two primary options:
- Add Tags: Select the tags you want to apply.
- Remove Tags: Clear out old tags to keep your data clean.
Step 5: Set the Timeline and Rollback
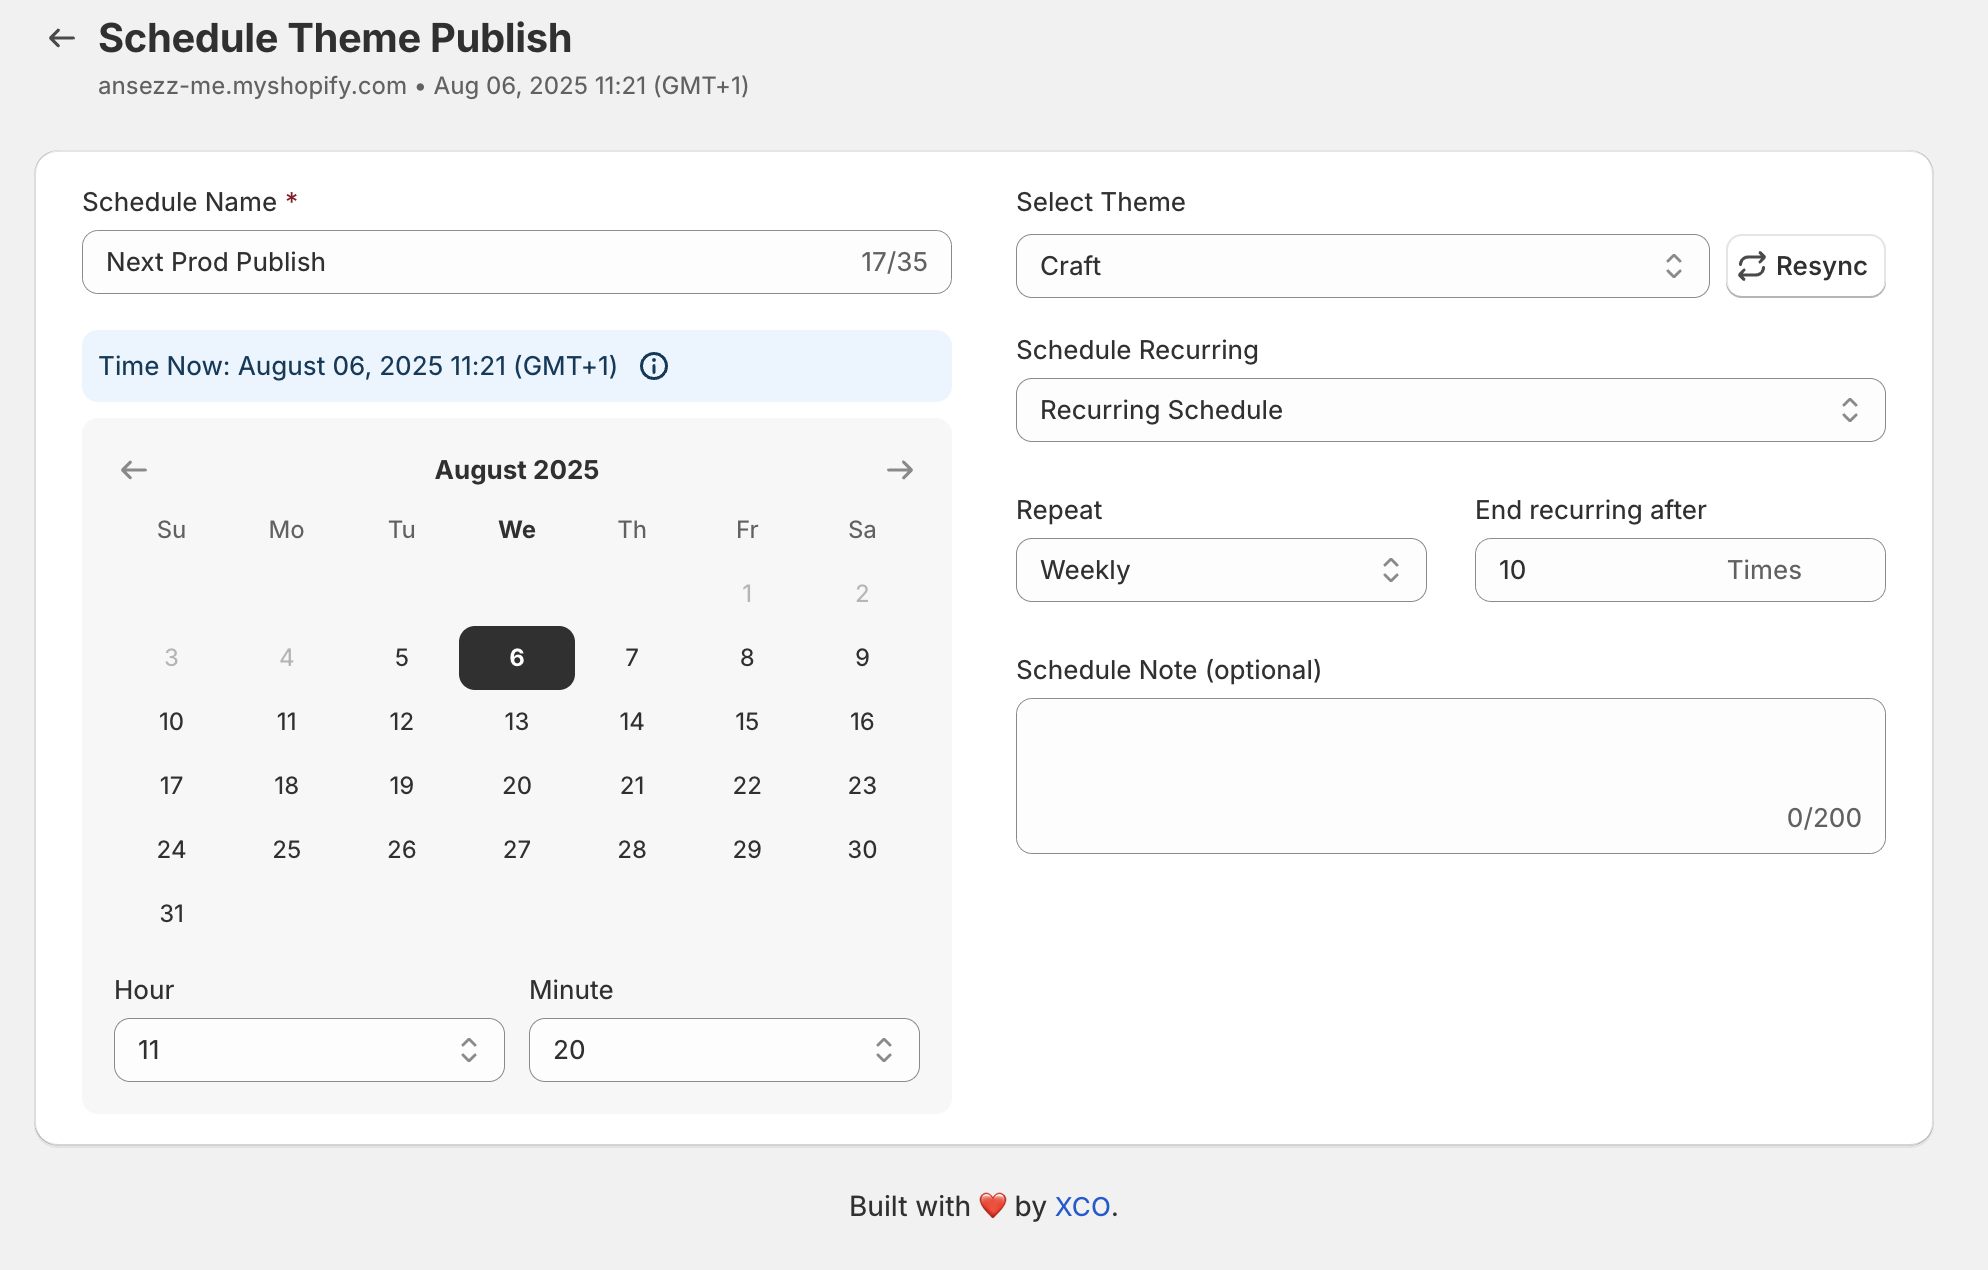
Choose your start date and time. One of the most powerful features of Product Scheduler by Maestro is the Rollback function. By checking this box, you can tell the app exactly when to undo the change. This creates a "set it and forget it" workflow for temporary events.

Advanced Automation: Combining Tags with Shopify Flow
For merchants seeking the ultimate automation setup, tag changes triggered by Maestro can serve as inputs for Shopify Flow. As a certified Shopify Plus Partner, we often build complex logic where:
-
Maestro adds a
launchtag to a product at midnight. - Shopify Flow detects the new tag.
- Flow then triggers a notification to your Slack channel, updates your email marketing segment in Klaviyo, and posts a "New Drop" update to your Instagram via a third-party connector.
This multi-layered approach ensures that your entire ecosystem: not just your storefront: is synchronized. It transforms your store from a static website into a reactive digital engine.
Balancing Technical Detail with Accessibility
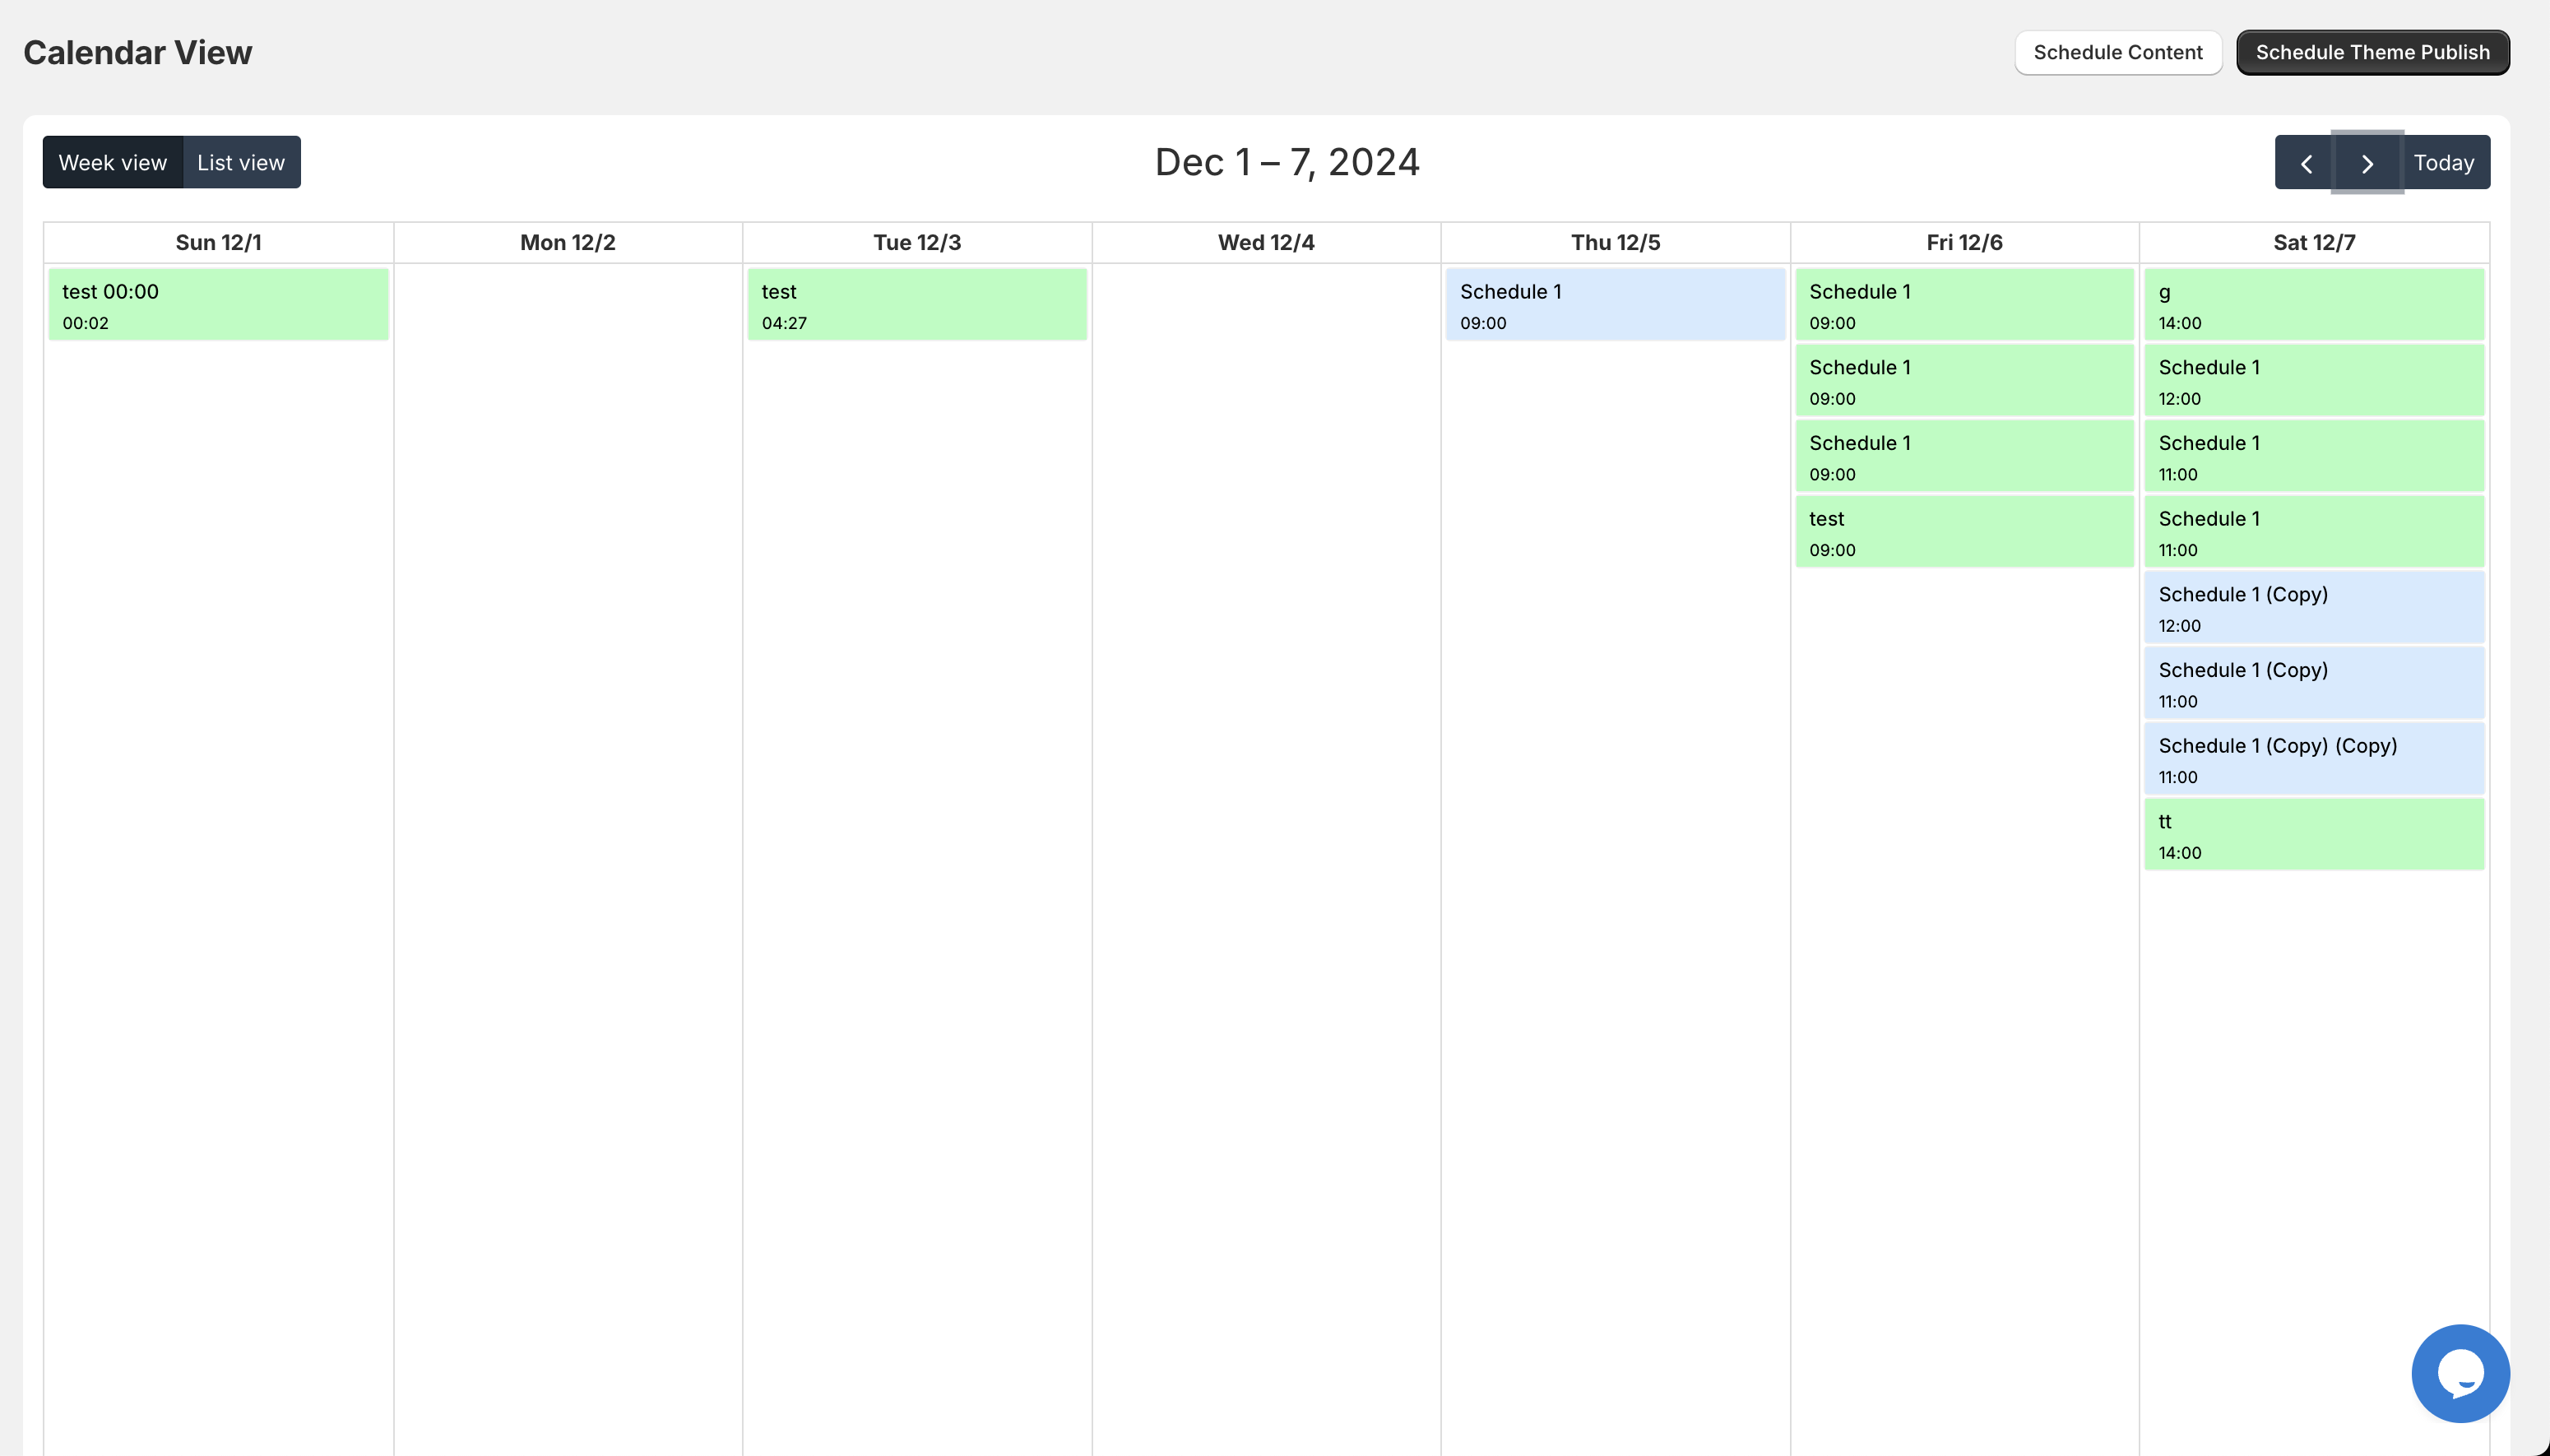
While concepts like tag-based logic might sound technical, the interface provided by Maestro makes it accessible for any store owner. You do not need to understand liquid code or API calls to build these workflows. Shopify will guide you through the collection setup, and Maestro provides a visual timeline so you can always see what is planned for the future.
Managing a high-performing e-commerce store is about making better use of your time. Every minute you spend manually updating tags is a minute you aren't spending on growth strategy or customer acquisition.
Conclusion: A Vital Step Toward Store Maturity
Smart tag-based automation is a vital step for any merchant looking to move from a manual "hustle" to a streamlined "business." By utilizing product tags as triggers and scheduling their lifecycle through Product Scheduler by Maestro, you ensure that your store remains professional, accurate, and engaging for your customers around the clock.
Proactive steps like these are what separate top-tier Shopify brands from the rest. Whether you are managing a few dozen products or a complex enterprise catalog, the ability to automate your catalog's behavior is a game-changer.
Ready to reclaim your time and optimize your store's performance?
- Try Product Scheduler by Maestro today and start your free trial.
- Explore our Shopify Design Services to see how we can build a high-converting, automated theme for your brand.
- Book a meeting with our experts to discuss a custom shopify plus development strategy tailored to your business needs.