
As a Shopify expert, I often encounter merchants who feel chained to their computers during major sales events. They are seeking a way to automate the repetitive tasks that come with managing a high-growth store, especially when those tasks involve staying up until midnight to hit a publish button. The struggle to maintain a fresh, relevant storefront is a common hurdle for brands focusing on rapid growth.
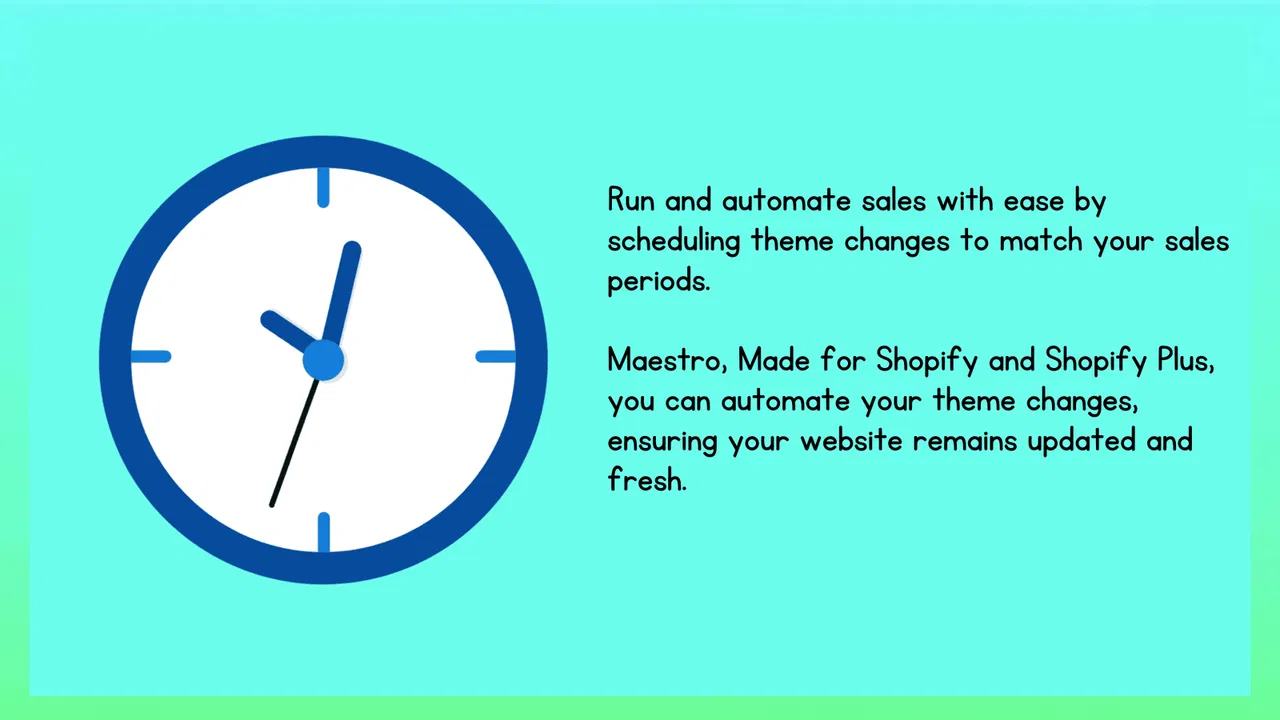
Managing a digital storefront requires constant vigilance. Whether you are launching a new collection, running a flash sale, or updating your homepage for a holiday, the manual effort involved can be overwhelming. This is where automation becomes a vital asset. In this guide, I will walk you through the fundamentals of the Maestro Theme Scheduler, a tool designed to bring "set it and forget it" convenience to your Shopify management workflow.
Why Automated Storefront Changes are Essential
Before we dive into the how, it is important to understand the why. Many merchants rely on manual updates, which often lead to human error or delayed launches. By implementing automated changes, you can significantly enhance your operational efficiency.
Automating your storefront changes provides several key advantages:
- Precision Timing: Ensure your promotions go live at the exact second they are supposed to, regardless of your time zone.
- Reduced Stress: Eliminate the need for late-night or weekend work sessions just to update a banner.
- Brand Consistency: Keep your messaging aligned across all channels by syncing your site updates with your marketing emails and social media posts.
- Improved Workflow: Allow your team to prepare content days or weeks in advance, freeing up time for strategy and growth.
For brands investing in custom shopify themes, having a tool that can handle complex scheduling is not just a luxury; it is a necessity for maintaining a professional edge.

Understanding Maestro Theme Scheduler
The Maestro Theme Scheduler is specifically built to fill the gaps left by standard ecommerce platforms. While Shopify offers basic scheduling for products, it does not naturally allow for the granular scheduling of individual sections or blocks within your theme. This is where the app shines.
As a core part of our ecommerce maintenance services, we often recommend Maestro to clients who need to manage dynamic content without touching code every single time. It allows you to schedule theme publishing, but more importantly, it gives you control over specific elements on your pages.
Key Features for Beginners
- Theme Publishing: You can schedule an entire theme to go live at a specific time. This is perfect for major site redesigns or Black Friday launches.
- Section and Block Visibility: This is the most powerful feature. You can tell a specific section (like a hero banner) to appear on Monday and disappear on Wednesday automatically.
- Recurring Schedules: If you have a "Flash Sale Friday" every week, you can set a recurring schedule so you never have to think about it again.
- No-Code Interface: The app is designed for merchants, not just developers. You do not need to be an expert in Liquid to get started.
Step-by-Step: Your First Scheduled Update
If you are new to the app, the process might seem technical, but it follows a very logical flow. Here are the simple steps to mastering your first automated change.
Step 1: Prepare Your Content
Before you open the app, you need to have your content ready in a theme. I always recommend duplicating your current live theme first.
- Navigate to your Shopify admin and go to Online Store then Themes.
- Click Actions and select Duplicate on your live theme.
- Rename the duplicate theme to something like "Sale Theme - [Date]".
- Customize this theme with the specific banners, colors, or sections you want to show during the sale.
Step 2: Access Maestro Theme Scheduler
Once your theme is ready, open the Maestro app from your Shopify admin.
- Select the "Schedules" tab from the main menu.
- Click on "Create New Schedule" to begin the setup.
- Give your schedule a clear name so you can identify it later in your dashboard.
Step 3: Define the Timeframe
The timing is the most critical part of the process. Ensure you are aware of the time zone settings within the app.
- Select the start date and time.
- Select the end date and time if you want the changes to revert automatically.
- Ensure the time zone matches your store's primary market or your operational headquarters.
Step 4: Select the Action
Now you must decide what the app should do when the clock hits your scheduled time.
- Choose "Publish Theme" if you want to switch the entire look of the store.
- Choose "Toggle Section/Block" if you only want to change specific parts of a page.
- Verify that you have selected the correct theme from the dropdown menu.
Step 5: Save and Monitor
After completing the setup, click Save. Your schedule will now appear in the "Upcoming" list. The app will handle the rest.
Advanced Use Cases for Shopify Plus Merchants
For those involved in shopify plus development, the requirements are often more complex. High-volume merchants need a level of precision that goes beyond a simple banner change.
Managing Global Campaigns
If you are running an omnichannel promotion, your storefront must be in sync with your advertisements. Using the Maestro Theme Scheduler, you can coordinate the exact moment your site reflects your global marketing efforts. This synchronization is a vital step in providing a seamless customer experience.
Handling Flash Sales
Flash sales are high-pressure events. One minute of delay can mean thousands of dollars in lost revenue or a flood of customer support tickets. By using automated scheduling, you can ensure that the "Sale is Live" banners and the discounted collections appear exactly when the marketing countdown hits zero.
Seasonal Transitions
Moving from a summer collection to a fall collection involves more than just swapping images. It often requires changing entire layouts or navigation structures. You can build your entire fall storefront weeks in advance and schedule it to go live while your team is focused on other high-priority tasks.

Boosting Productivity with Ecommerce Maintenance Services
While the app is user-friendly, managing a complex schedule of updates can still be a full-time job for larger stores. This is where professional ecommerce maintenance services provide significant value.
At XCO Agency, we work with merchants to build a long-term automation strategy. This involves:
- Template Design: Creating versatile sections for your custom shopify themes that are "Maestro-ready."
- Strategic Planning: Helping you map out your promotional calendar for the entire quarter.
- Technical Support: Ensuring that automated changes do not conflict with other apps or custom scripts on your site.
By outsourcing the technical management of these tools, you can focus on what matters most: growing your brand and engaging with your customers.
Best Practices for Success
To get the most out of automated scheduling, keep these tips in mind:
- Always Test First: Use a preview link to see how your scheduled theme looks before it goes live. Ensure all links and buttons work as intended.
- Use Descriptive Names: Instead of "Schedule 1," use "2026-04-15 - Spring Launch - Hero Banner."
- Monitor Your Schedules: Occasionally check the "History" tab in the app to ensure all past actions were completed successfully.
- Coordinate with Your Team: Make sure everyone knows what is scheduled so they do not accidentally make manual changes that conflict with the automation.
Mastering these simple steps will transform the way you manage your Shopify store. The transition from manual updates to a "set it and forget it" workflow is a proactive step toward a more professional and efficient business model.

Summary of the Maestro Workflow
The Maestro Theme Scheduler is more than just a publishing tool; it is a comprehensive solution for storefront management. By automating your updates, you save time, reduce errors, and ensure a consistent experience for your customers. Whether you are a small boutique or a massive enterprise utilizing shopify plus development, the ability to control your site's content on a timeline is a game-changer.
If you are seeking to optimize your store’s performance and streamline your promotional workflow, taking control of your theme scheduling is a vital step. You no longer have to be tied to your desk to ensure your site stays fresh.
Are you ready to take your Shopify store to the next level? Our team at XCO Agency specializes in helping merchants implement these types of advanced automation strategies. Whether you need a custom theme build or ongoing maintenance, we are here to support your growth.
Visit our Maestro Theme Scheduler page to learn more about the app, or book a meeting with us to discuss how we can help you master your storefront automation today.