
As a Shopify expert, I often see merchants lose precious hours of sleep just to hit a "Publish" button at midnight. Whether it is a flash sale, a seasonal collection launch, or a weekend-only promotion, the manual struggle of swapping hero images and slideshows is a common bottleneck for growing brands. Let’s be honest: nobody actually enjoys waking up at 12:01 AM on a Saturday to manually update a homepage banner.
If you are looking to reclaim your time and ensure your store remains visually dynamic without the manual overhead, Maestro Theme Scheduler is your new best friend. This tutorial will guide you through the process of automating your visual content swaps, ensuring your high-traffic periods are always supported by the right creative at the right time.
By the end of this guide, you will understand how to:
- Automate hero image swaps for time-sensitive marketing campaigns
- Schedule entire slideshow sequences to rotate based on specific events
- Maintain visual consistency across desktop and mobile without manual intervention
- Leverage recurring schedules for weekly promotions or weekend specials
- Optimize your store performance while running complex visual transitions
The High Stakes of Visual Consistency in Shopify Plus Development
When managing high-volume Shopify Plus stores, the hero section is your most valuable real estate. It is the first thing a customer sees, and it dictates the conversion potential of the entire session. In the world of custom Shopify themes, a mismatched banner or a "Holiday Sale" graphic that lingers three days after Christmas can significantly damage your brand credibility.
Visual automation is not just about convenience; it is about precision. When you schedule your visual content, you eliminate the risk of human error. You ensure that every customer, regardless of their time zone, sees the most relevant and up-to-date marketing message. This level of professional execution is what separates established brands from those still struggling with manual workflows.
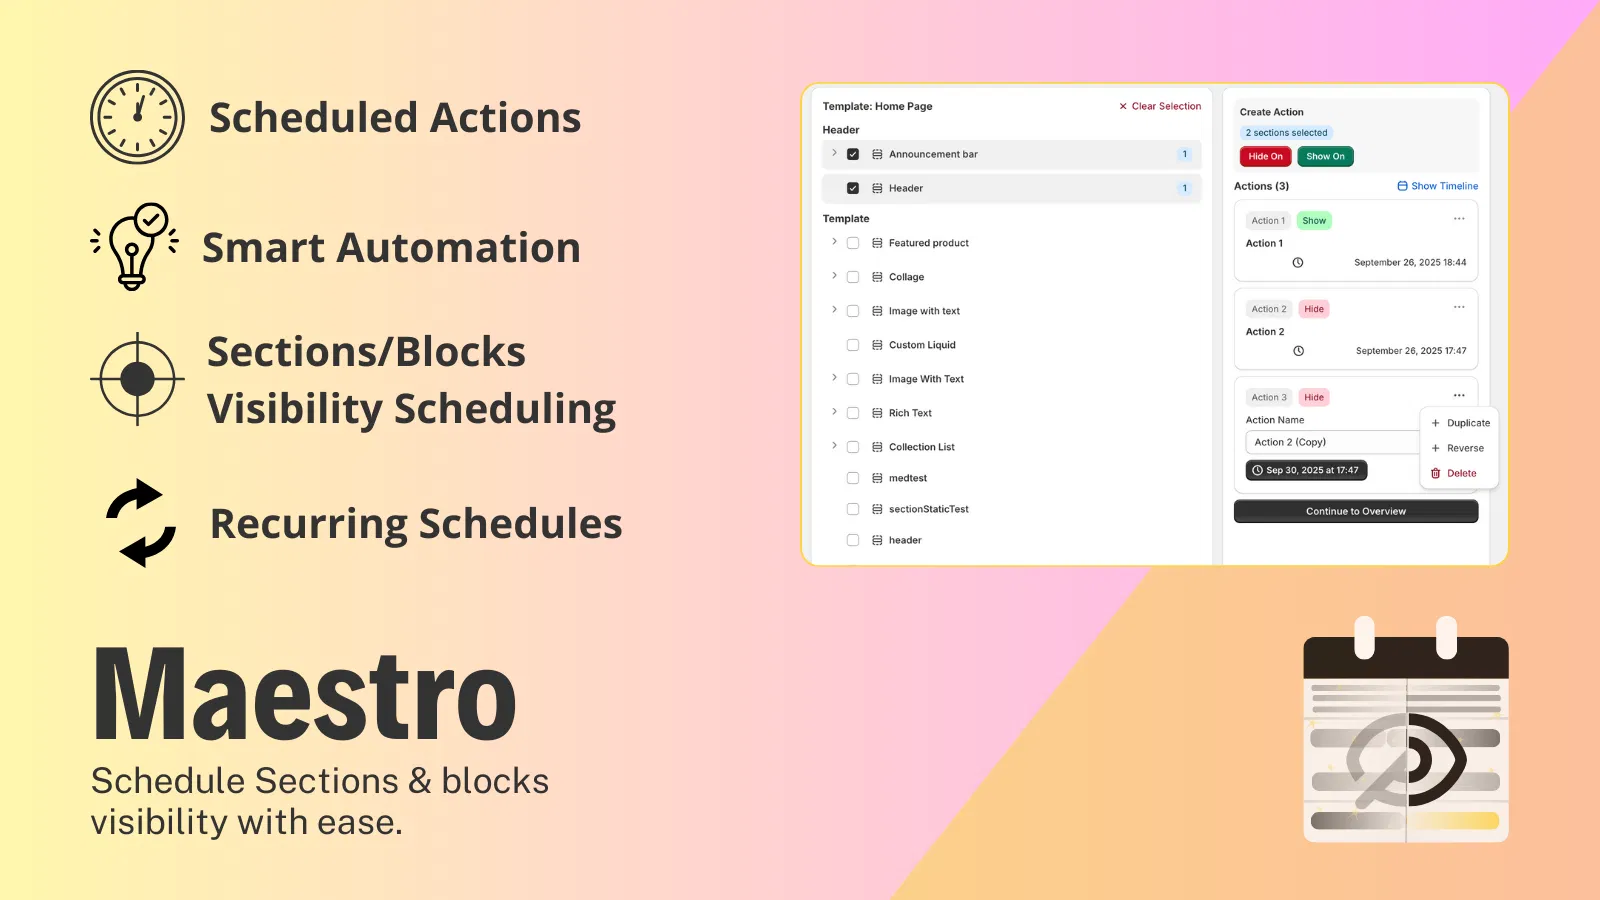
Step 1: Preparing Your Visual Assets for Automation
Before you dive into the Maestro interface, you must ensure your visual assets are prepared correctly. Scheduling a broken image or a slow-loading file will only automate your store’s downfall.
-
Optimize for performance first
- Ensure all hero images are compressed using modern formats like WebP to maintain fast loading speeds.
- Maintain a consistent aspect ratio across all scheduled slides to prevent layout shifts during transitions.
- Navigate to our Shopify speed optimization guide if you are unsure about your current image performance.
-
Define your campaign timeline
- Map out exactly when each visual needs to go live and when it should be removed.
- Prepare "fallback" visuals that will display once a specific campaign ends.
-
Organize your Shopify Theme Editor
- Open your current theme and identify the sections or blocks that will be involved in the swap.
- If you are using a slideshow, ensure each slide block is properly labeled for easy identification within Maestro.
Step 2: Configuring Visibility in Maestro Theme Scheduler
Once your assets are ready and your sections are defined, it is time to set up the automation. Maestro Theme Scheduler allows you to control the visibility of specific sections and blocks with surgical precision.
-
Access the Maestro Dashboard
- Open the Maestro Theme Scheduler app from your Shopify admin.
- Select the theme you are currently working on from the list of available themes.
-
Identify the Hero Section or Block
- Navigate to the "Section Visibility" tab within the app.
- Select the specific hero section or individual slideshow block you wish to schedule.
-
Set the Visibility Parameters
- Select the "Show" action for your start date and time.
- Select the "Hide" action for your end date and time.
- Ensure you have a secondary section scheduled to "Show" immediately after the primary one is hidden to avoid a blank hero area.
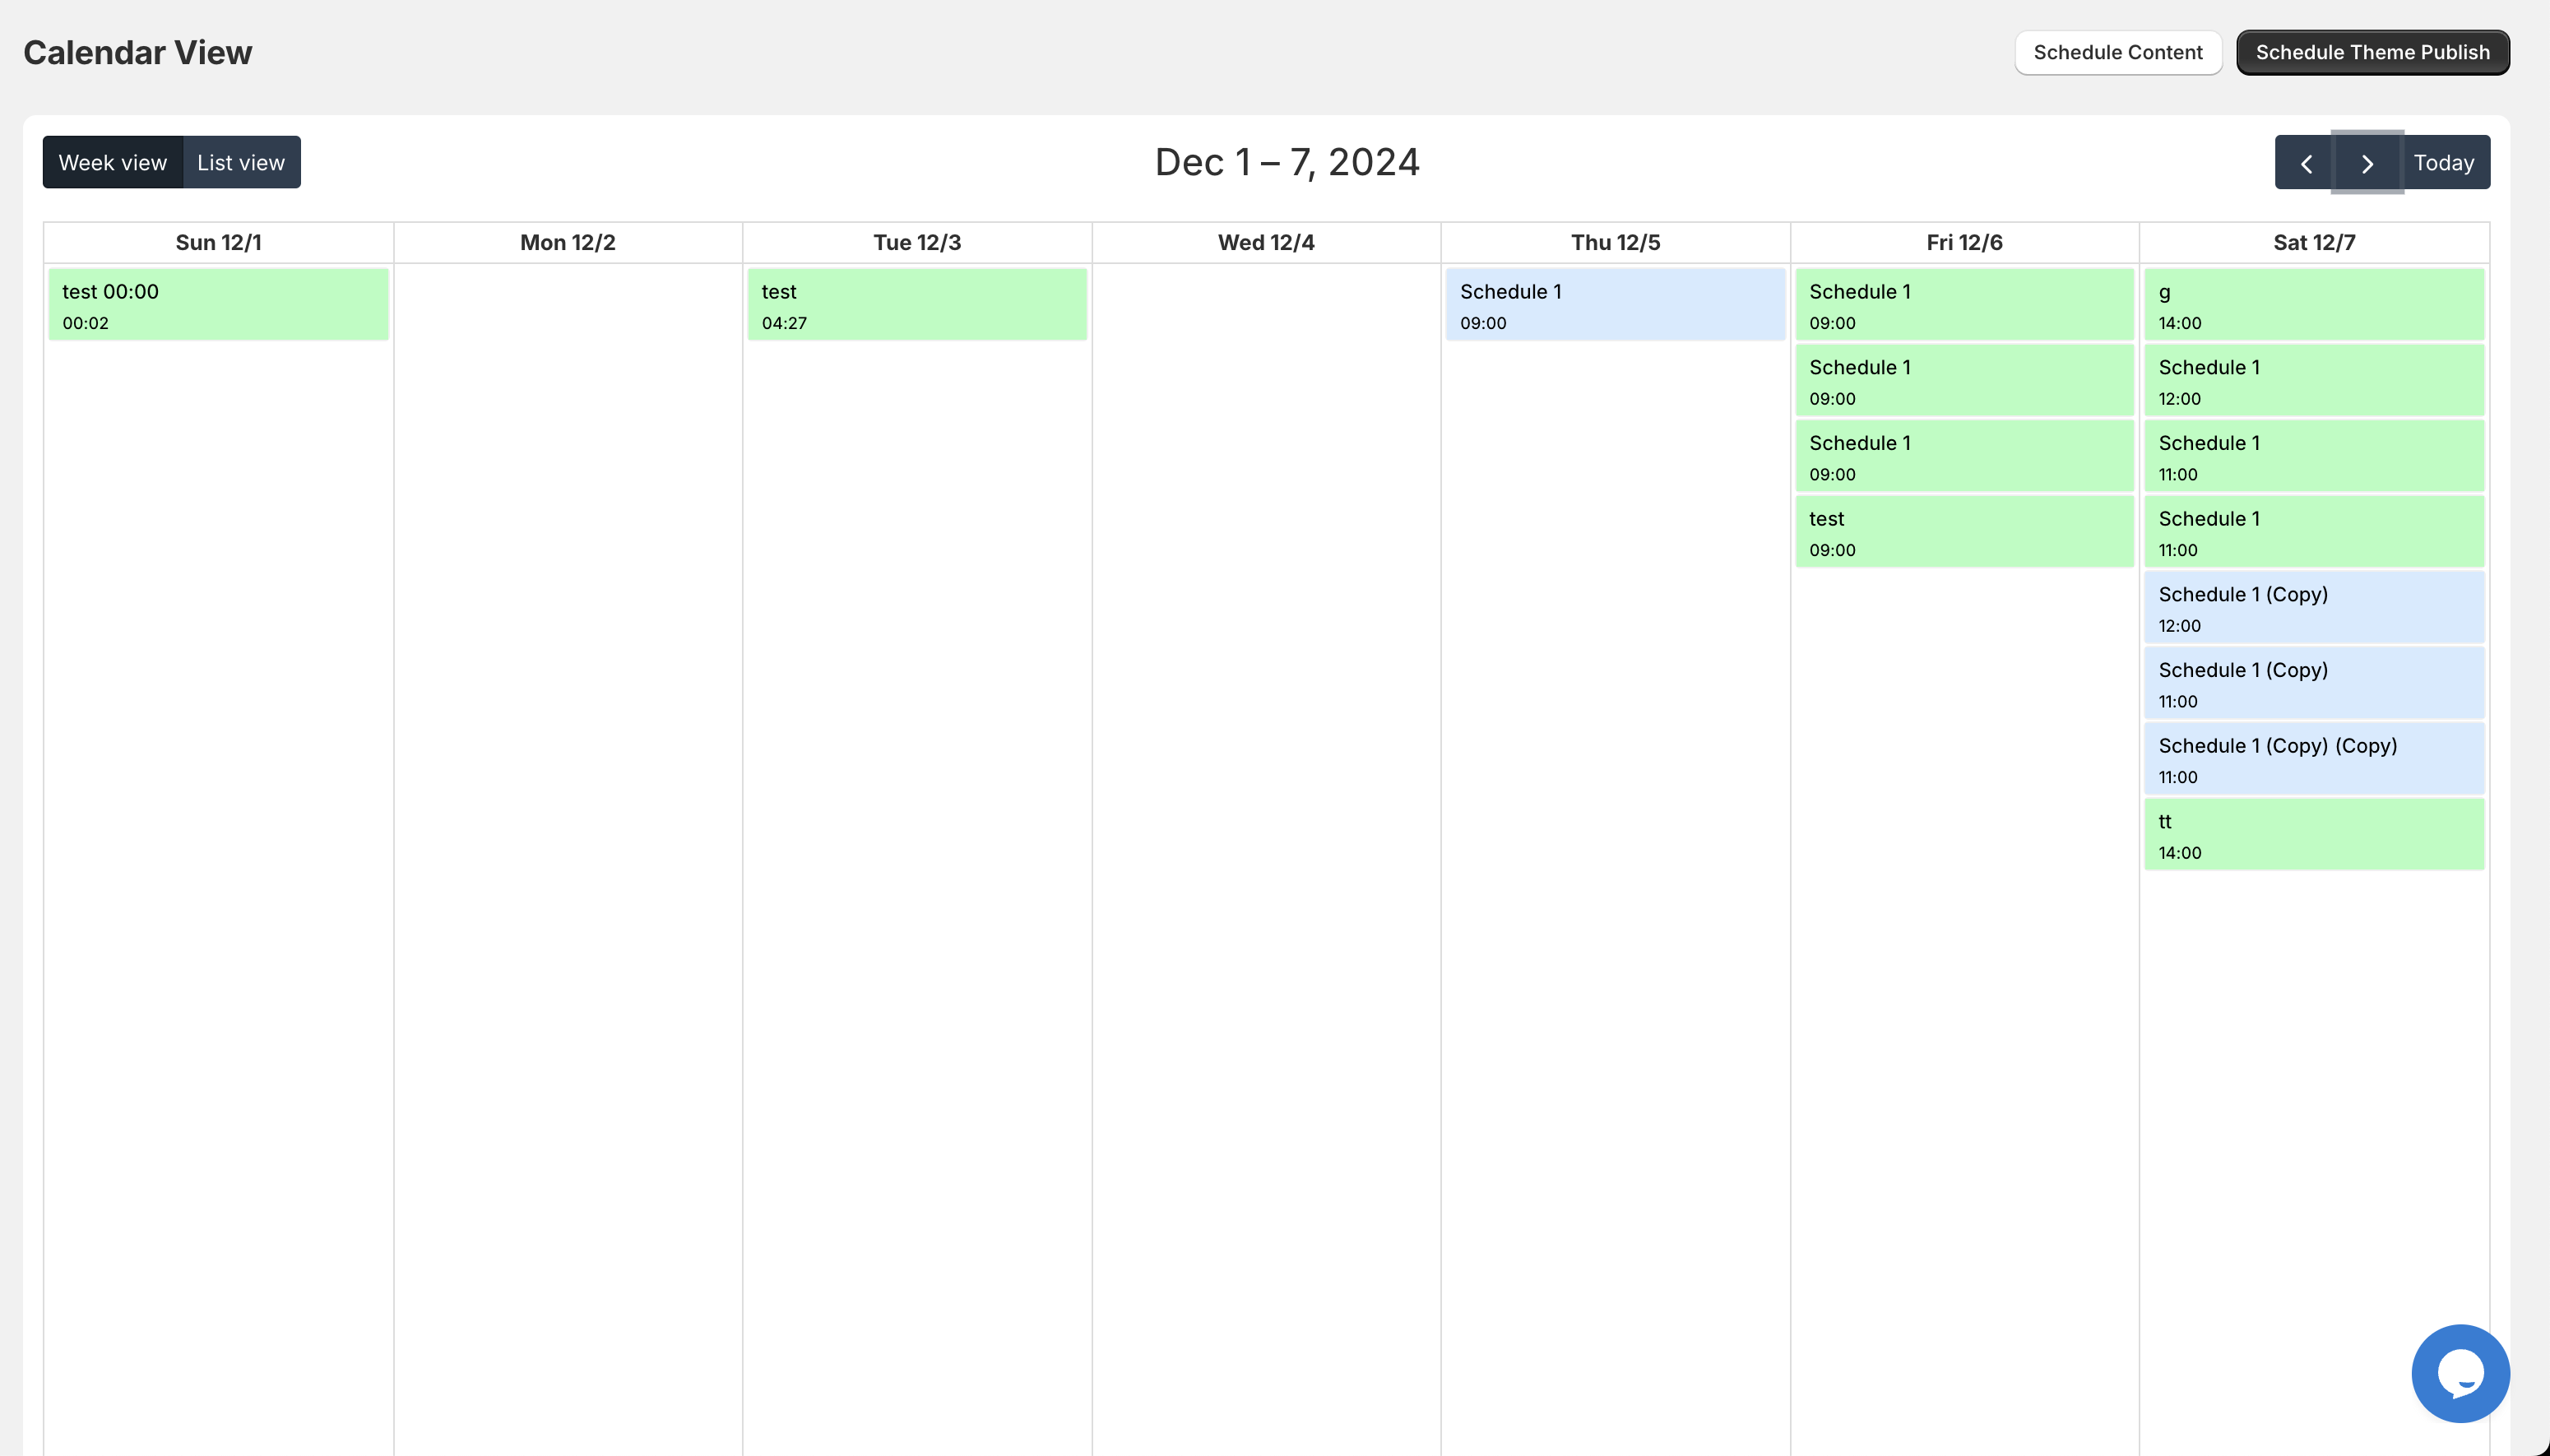
Step 3: Scheduling Recurring Visual Swaps for Weekly Promotions
Many brands run recurring events, such as "Free Shipping Weekends" or "New Arrival Tuesdays." Setting these up manually every week is a waste of resources. Maestro allows you to create recurring schedules that power-up your efficiency.
-
Create a New Recurring Schedule
- Click on the "Add Schedule" button and select the "Recurring" option.
- Choose the frequency (e.g., Weekly) and the specific days the visual should be active.
-
Assign the Section to the Schedule
- Link your "Weekend Promo" hero banner to this recurring schedule.
- Define the exact hour the swap should occur, such as Friday at 6:00 PM.
-
Verify the Automation Flow
- Use the Maestro calendar view to visualize how these recurring swaps overlap with other one-off campaigns.
- Check for any conflicts where two "Hero" sections might accidentally be set to visible at the same time.

Step 4: Advanced Slideshow Management and Theme Swaps
Sometimes, a simple section toggle is not enough. If your campaign requires a complete visual overhaul, including navigation changes and background colors, you might need to schedule an entire theme publish.
-
Prepare a Campaign Theme
- Duplicate your live theme and make all necessary visual changes, including the hero slideshow and banners.
- Label this theme clearly, for example, "Summer Sale 2026 Theme."
-
Schedule the Theme Publish
- In Maestro, navigate to the "Theme Publishing" section.
- Select your "Summer Sale" theme and set the exact time it should go live.
-
Schedule the Revert Action
- Set a second action to republish your original "Default" theme once the sale concludes.
- This ensures that your store returns to its standard branding without any manual oversight.

Step 5: Testing and Quality Assurance
As a Shopify expert, I cannot stress this enough: always test your schedules before a major launch. A proactive step now saves a reactive crisis later.
-
Use the "Preview" Function
- Maestro allows you to preview how your theme will look at a specific point in the future.
- Verify that the hero image appears correctly and that all links within the slideshow are functional.
-
Check Mobile Responsiveness
- Ensure that your scheduled hero images do not crop awkwardly on smaller screens.
- If you are using different sections for mobile and desktop, ensure both are scheduled with identical visibility parameters.
-
Monitor the Schedule Log
- After the scheduled time passes, check the Maestro logs to confirm the action was executed successfully.
- Shopify will guide you through any minor sync issues, but staying vigilant is a vital step for high-stakes launches.
Conclusion: Automate Your Way to Better Conversions
Scheduling your hero images and visual content is a vital step toward a more professional and efficient e-commerce operation. By using Maestro Theme Scheduler, you transition from a reactive merchant to a proactive brand strategist. You no longer need to tether yourself to your laptop at odd hours; instead, you can focus on high-level growth while the automation handles the visual heavy lifting.
Consistent visual updates keep your store fresh, improve customer engagement, and ultimately boost your conversion rates. Whether you are managing a single custom Shopify theme or a complex Shopify Plus development environment, these simple steps will significantly enhance your workflow.
Ready to take your store’s automation to the next level? Explore our Maestro Theme Scheduler to start your free trial, or contact us for professional Shopify design services to build a theme that works for you.