
As a Shopify expert, I often work with merchants who describe their product launch nights as a mixture of caffeine fueled anxiety and frantic tab switching. They are seeking a way to push new collections live at the stroke of midnight without actually having to be awake at the stroke of midnight. The manual approach to a shopify store setup usually involves a high risk of human error, such as forgotten tags, incorrect pricing, or products that remain hidden long after the countdown hits zero.
In the fast-paced world of digital commerce, relying on manual updates is a recipe for burnout. This is where professional ecommerce maintenance services and intelligent automation come into play. By using the Product Scheduler by Maestro app, you can transform a chaotic launch into a silent, automated background process.
Why Automated Scheduling is Non-Negotiable for Growth
Before we dive into the specific steps, it is important to understand why automation is the foundation of a modern e-commerce strategy. Merchants who automate their launches enjoy several key advantages:
- Precision Timing: Your products go live exactly when your marketing campaign starts, ensuring a seamless customer journey.
- Reduced Human Error: Automation eliminates the risk of typos in pricing or missing tags that can break your collection filters.
- Operational Freedom: You can plan your entire seasonal calendar in a single afternoon, leaving you free to focus on conversion rate optimization and brand strategy.
- Consistency: Whether it is a flash sale or a weekly restock, your store maintains a professional and predictable rhythm.
Step 1: Automate Visibility with the Draft Helper
The first step in any successful launch is ensuring your products are ready but hidden until the exact second they should be seen. The Draft Helper feature within the Maestro app is designed specifically for this purpose.
- Select your products: Navigate to the Product Scheduler and choose the items you wish to launch.
- Set the publish status: Choose the Publish action and select your preferred sales channels.
- Schedule the time: Pick the exact date and hour for the items to switch from Draft to Active.
- Plan the exit: If the product is a limited drop, you can simultaneously schedule an Archive or Unpublish action for a later date.

Step 2: Set Dynamic Pricing and Rounding Rules
Nothing kills a launch faster than a pricing error. Whether you are running a temporary sale or adjusting your margins, you need a system that handles the math for you.
- Choose your pricing action: You can increase prices, decrease them, or set a specific fixed value across hundreds of SKUs.
- Apply rounding rules: Ensure your prices look professional by setting rules to round to the nearest .99 or .00 automatically.
- Schedule the rollback: For flash sales, schedule a second task to return prices to their original state once the promotion ends.
- Verify the changes: Use the preview function to ensure your percentage based discounts have calculated correctly before the task runs.
Step 3: Manage Collections and Sort Orders
A product launch is more than just making items live; it is about where those items appear on your site. Managing collection visibility and sorting is vital for a high performing shopify store setup.
- Automate collection membership: Schedule products to be added to or removed from manual collections at specific times.
- Adjust sort orders: During a launch, you likely want your newest items at the top of the page. Schedule a sort order change to push new arrivals to the first row.
- Hide seasonal collections: Ensure that your Winter Sale collection remains hidden until the exact moment your email blast goes out.
- Use recurring schedules: For ongoing promotions, set up daily or weekly cadences to refresh collection content without manual intervention.
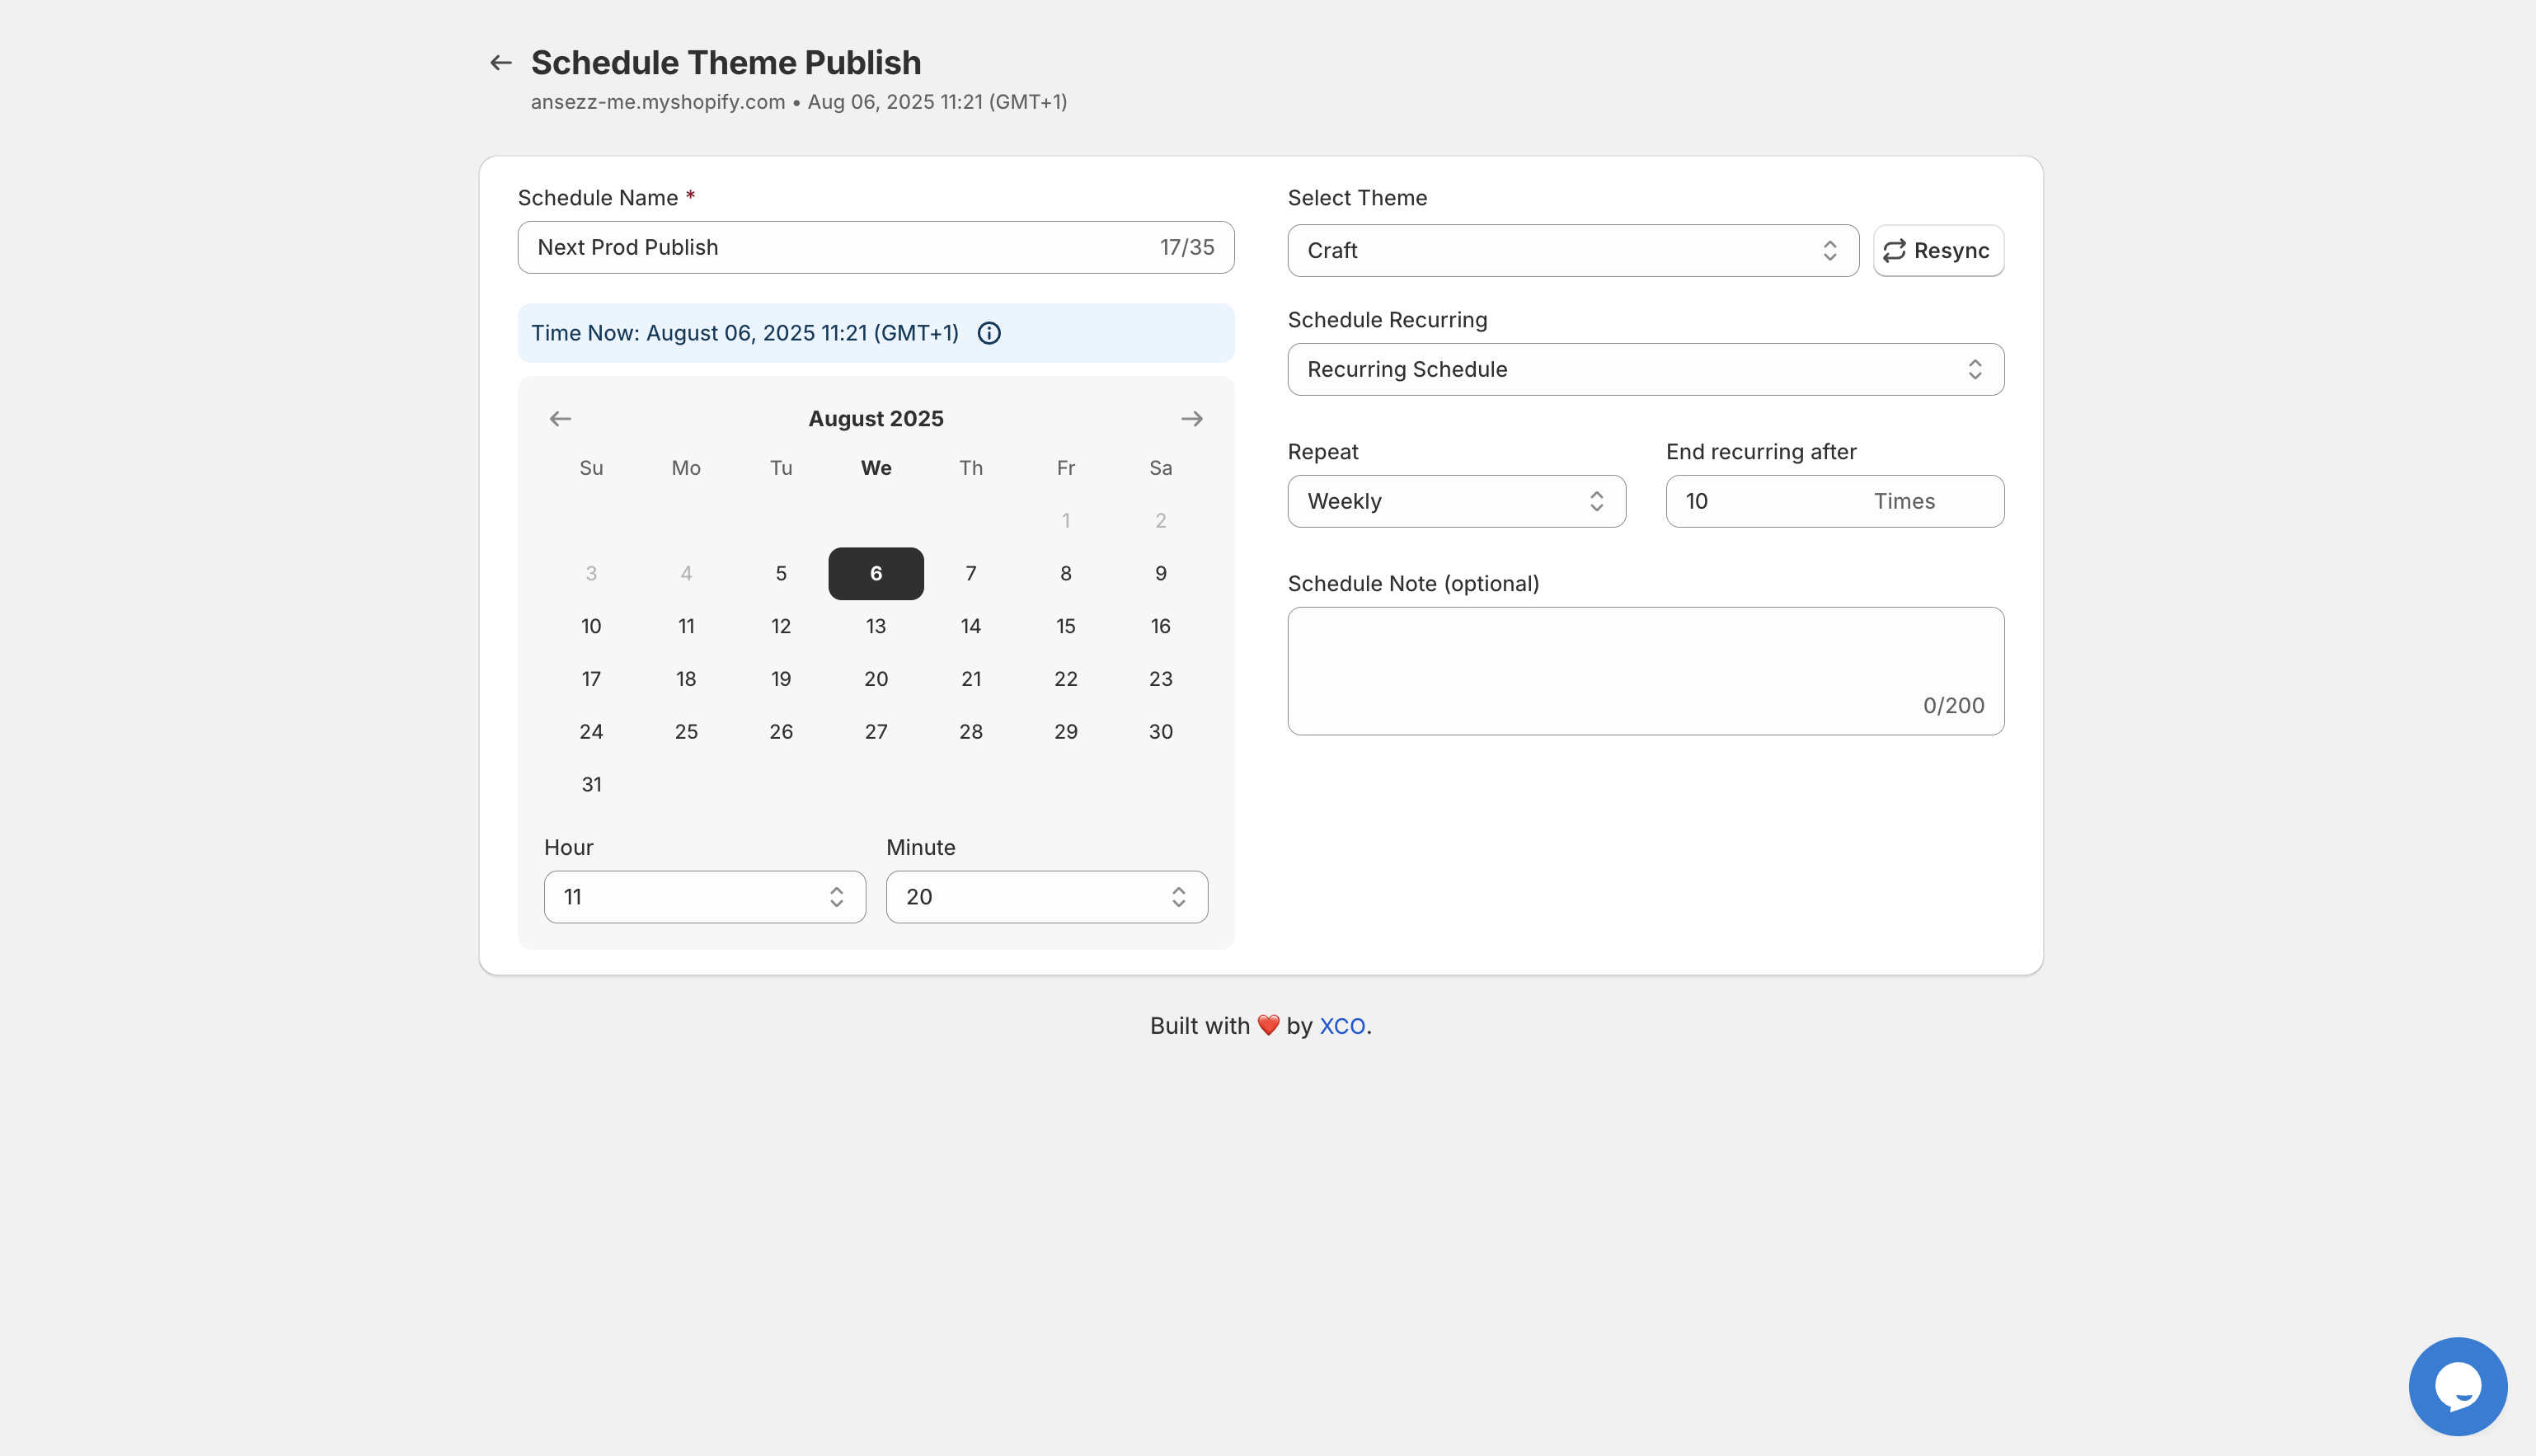
Step 4: Schedule Tagging for Filtering and Badges
Tags are the invisible workhorses of your Shopify store. they power your filters, trigger automated collections, and often control the display of "New" or "Sale" badges.
- Add promotional tags: Set a task to add a "Summer-Sale" tag to a specific group of products the moment your sale starts.
- Automate tag removal: Ensure that "Limited Edition" badges disappear automatically once the promotion window has closed.
- Sync with collection rules: Because many Shopify collections are tag based, scheduling a tag change is a powerful way to move products between categories.
- Maintain site cleanliness: Use scheduled removals to prevent your product pages from becoming cluttered with outdated or irrelevant tags.
Step 5: Automate Inventory for Restocks
Managing inventory levels manually during a high traffic launch is a logistical nightmare. The Maestro app allows you to schedule inventory updates so your restock announcements actually match your stock levels.
- Plan for restocks: If a shipment is arriving on Tuesday, schedule an inventory increase for Tuesday morning so customers can start purchasing immediately.
- Set specific stock counts: Use the Set action to bring all variant counts to a specific number for a fresh launch.
- Monitor variant levels: The app supports products with up to 2048 variants, making it suitable for complex catalogs like apparel or electronics.
- Coordinate with marketing: Ensure your "Back in Stock" emails go out exactly when the inventory automation completes its task.
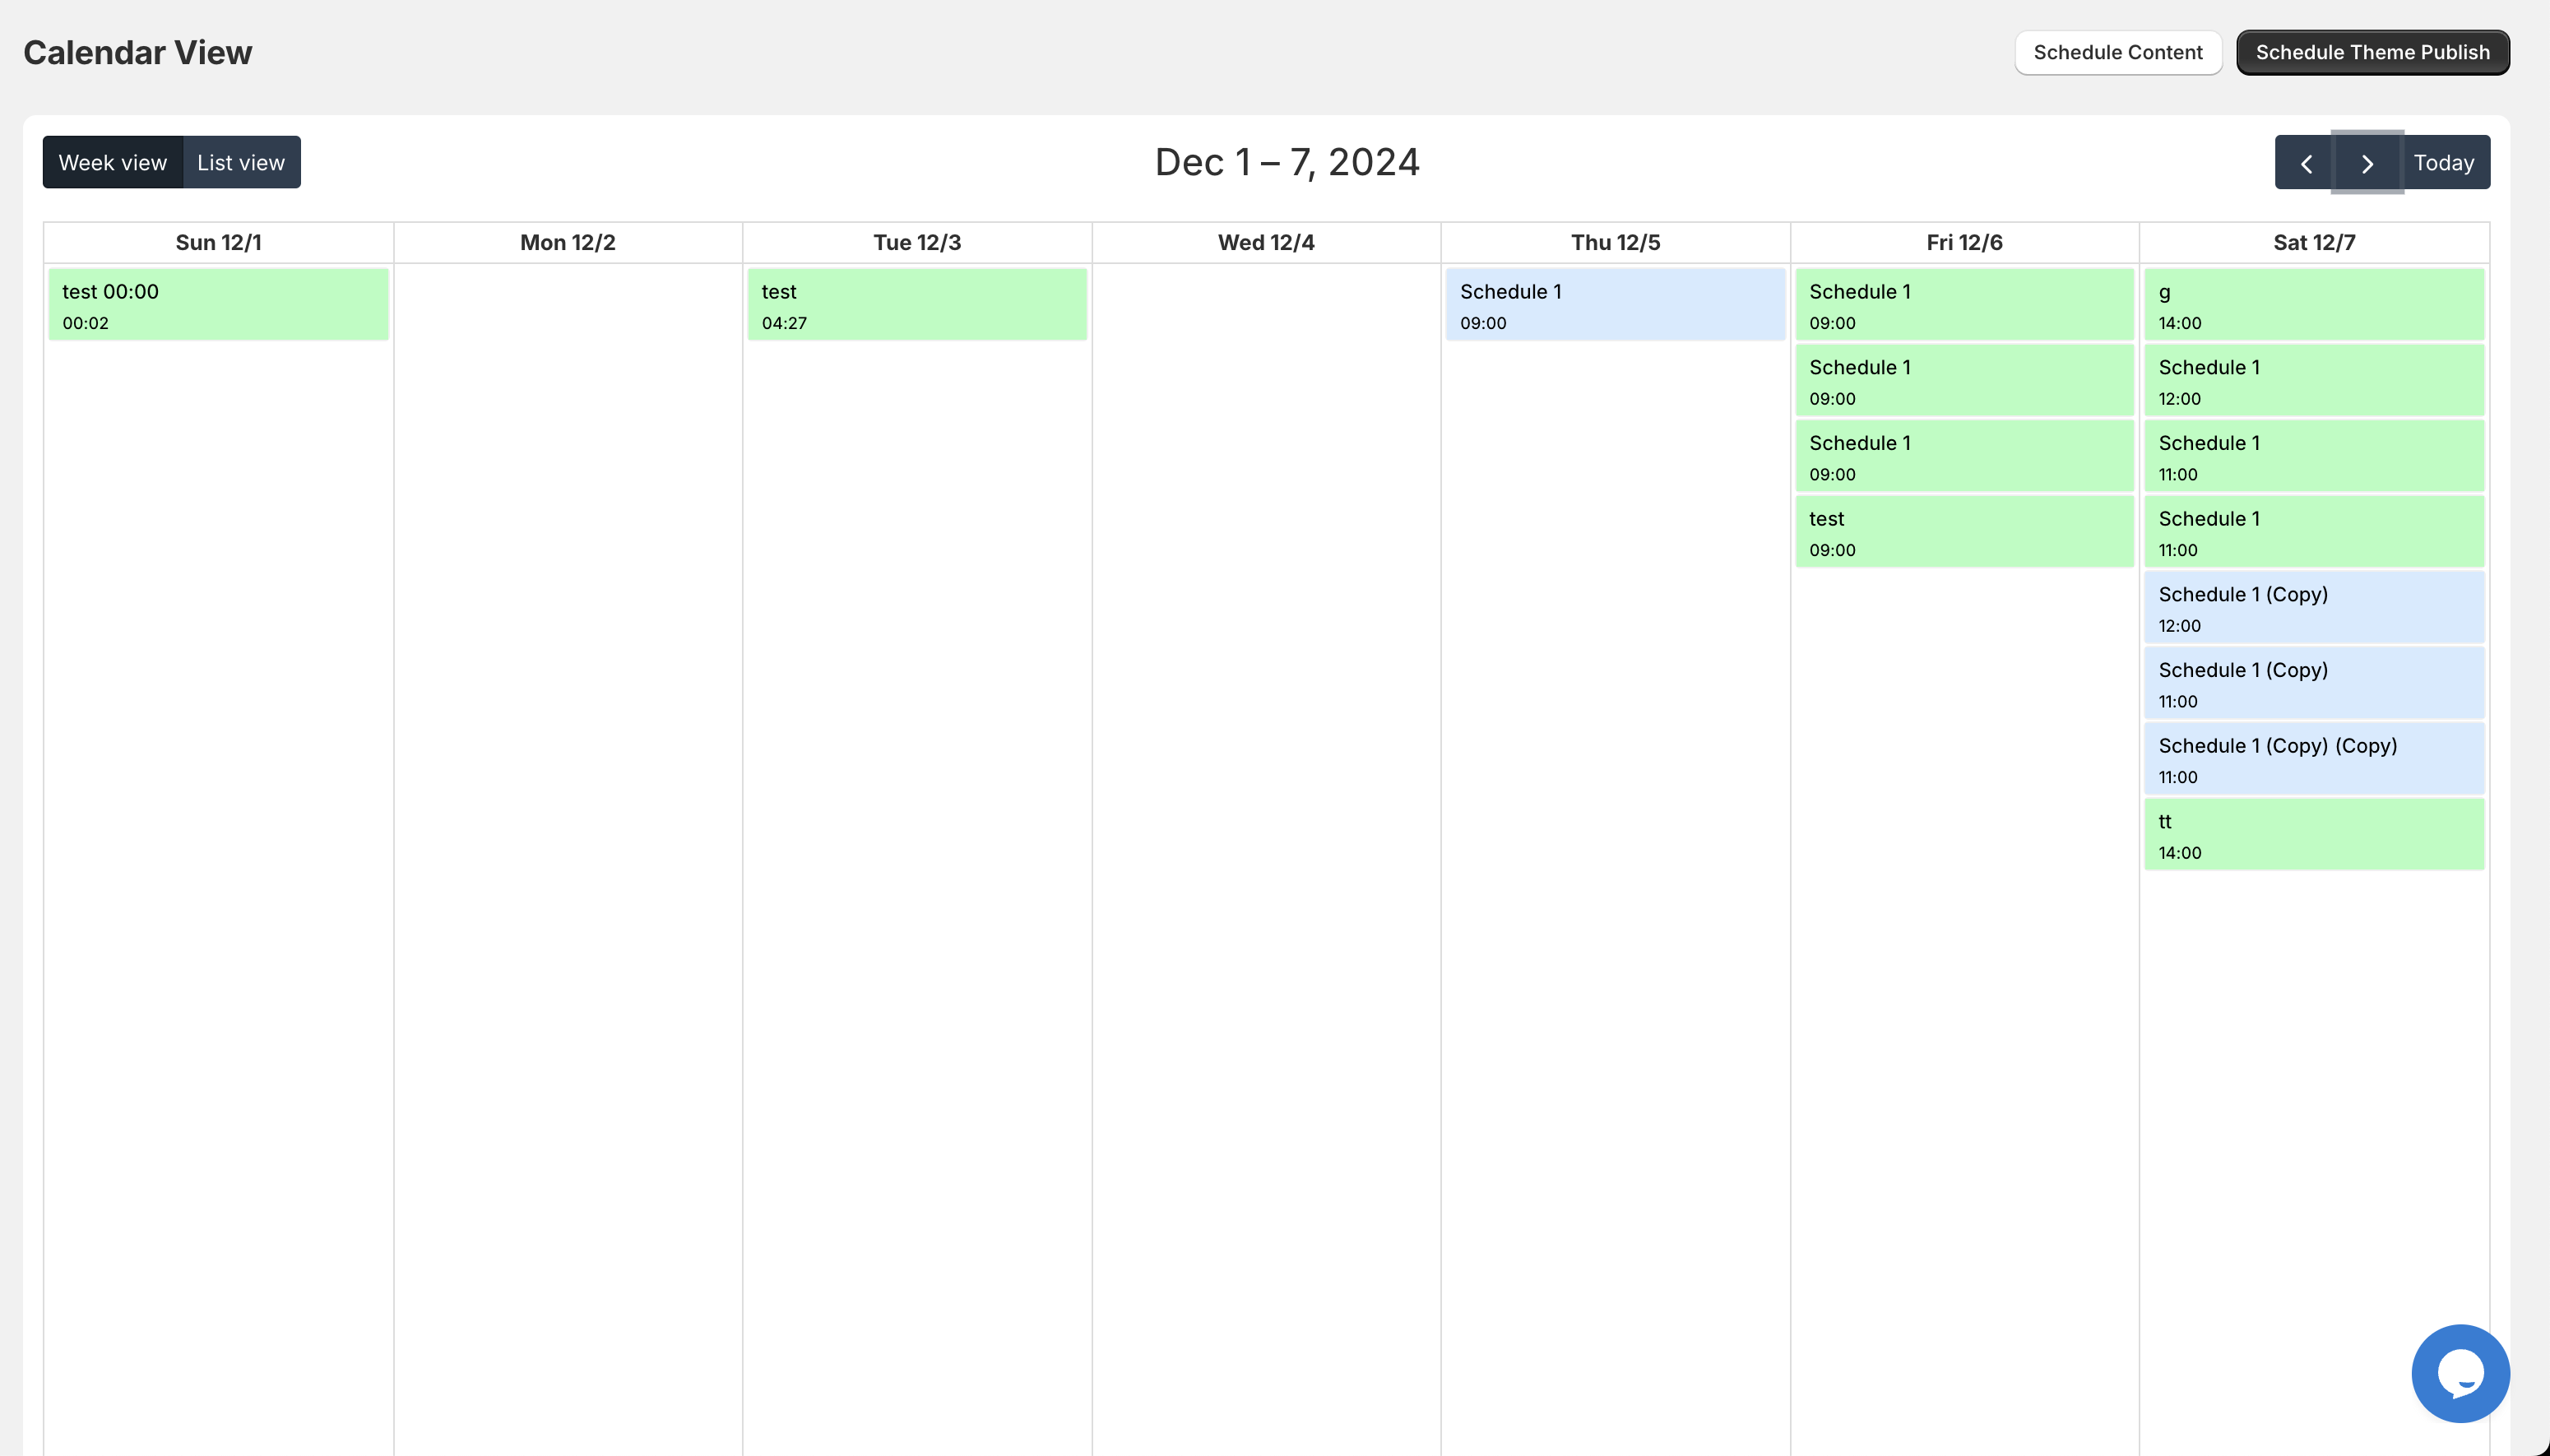
The Professional Advantage of Continuous Maintenance
While automation tools like Product Scheduler by Maestro provide the technical framework for a hands-off store, the most successful brands often pair these tools with professional ecommerce maintenance services. At XCO Agency, we help merchants bridge the gap between "having an app" and "having a high performing system."
Our team specializes in creating robust launch workflows that integrate your scheduling, marketing, and conversion rate optimization efforts. By auditing your store regularly and optimizing your automation tasks, we ensure that every launch is not just flawless, but also profitable.
Conclusion
Automating your product launches is a vital step toward scaling your business without increasing your stress levels. By utilizing the Draft Helper, tag management, and pricing rules within the Product Scheduler by Maestro app, you can reclaim your time and eliminate the need for late night manual updates.
If you are ready to stop the midnight panic and start running a more efficient store, now is the time to embrace these simple steps. Shopify will guide you through the initial setup, and our team at XCO Agency is always here to provide the expert support you need to refine your strategy. Take the proactive step today and turn your next launch into a quiet success.