
As a Shopify expert, I often speak with merchants who feel like they are working for their store rather than the store working for them. The dream of e-commerce is often built on the promise of passive income and streamlined operations, but the reality for many growing brands is a never ending cycle of manual catalog updates. Whether it is staying up until midnight to hit "Publish" on a new collection or manually changing prices for a weekend flash sale, these administrative tasks eat away at the time you should be spending on growth and strategy.
E-commerce maintenance services are vital, but you should not have to rely on manual labor for every minor change. If you are seeking a way to regain your time while ensuring your storefront remains dynamic and relevant, automation is the only path forward. By leveraging the right tools, you can transform your Shopify store into a self-sustaining engine that handles product launches, price adjustments, and inventory visibility without you lifting a finger.
Why Catalog Automation is Essential for Growth
Before we dive into the "how," it is important to understand the significant advantages of moving away from manual catalog management. Automated systems do not just save time; they protect your brand integrity and boost your bottom line through several key benefits:
- Eliminate human error by pre-scheduling updates during business hours instead of rushing at midnight.
- Enhance conversion rate optimization by ensuring sales and promotions go live exactly when your marketing emails hit inboxes.
- Maintain a professional brand image with consistent pricing and perfectly timed product drops.
- Reduce overhead costs associated with routine Shopify store setup and maintenance tasks.
Step 1: Mastering Scheduled Launches with the Draft Helper
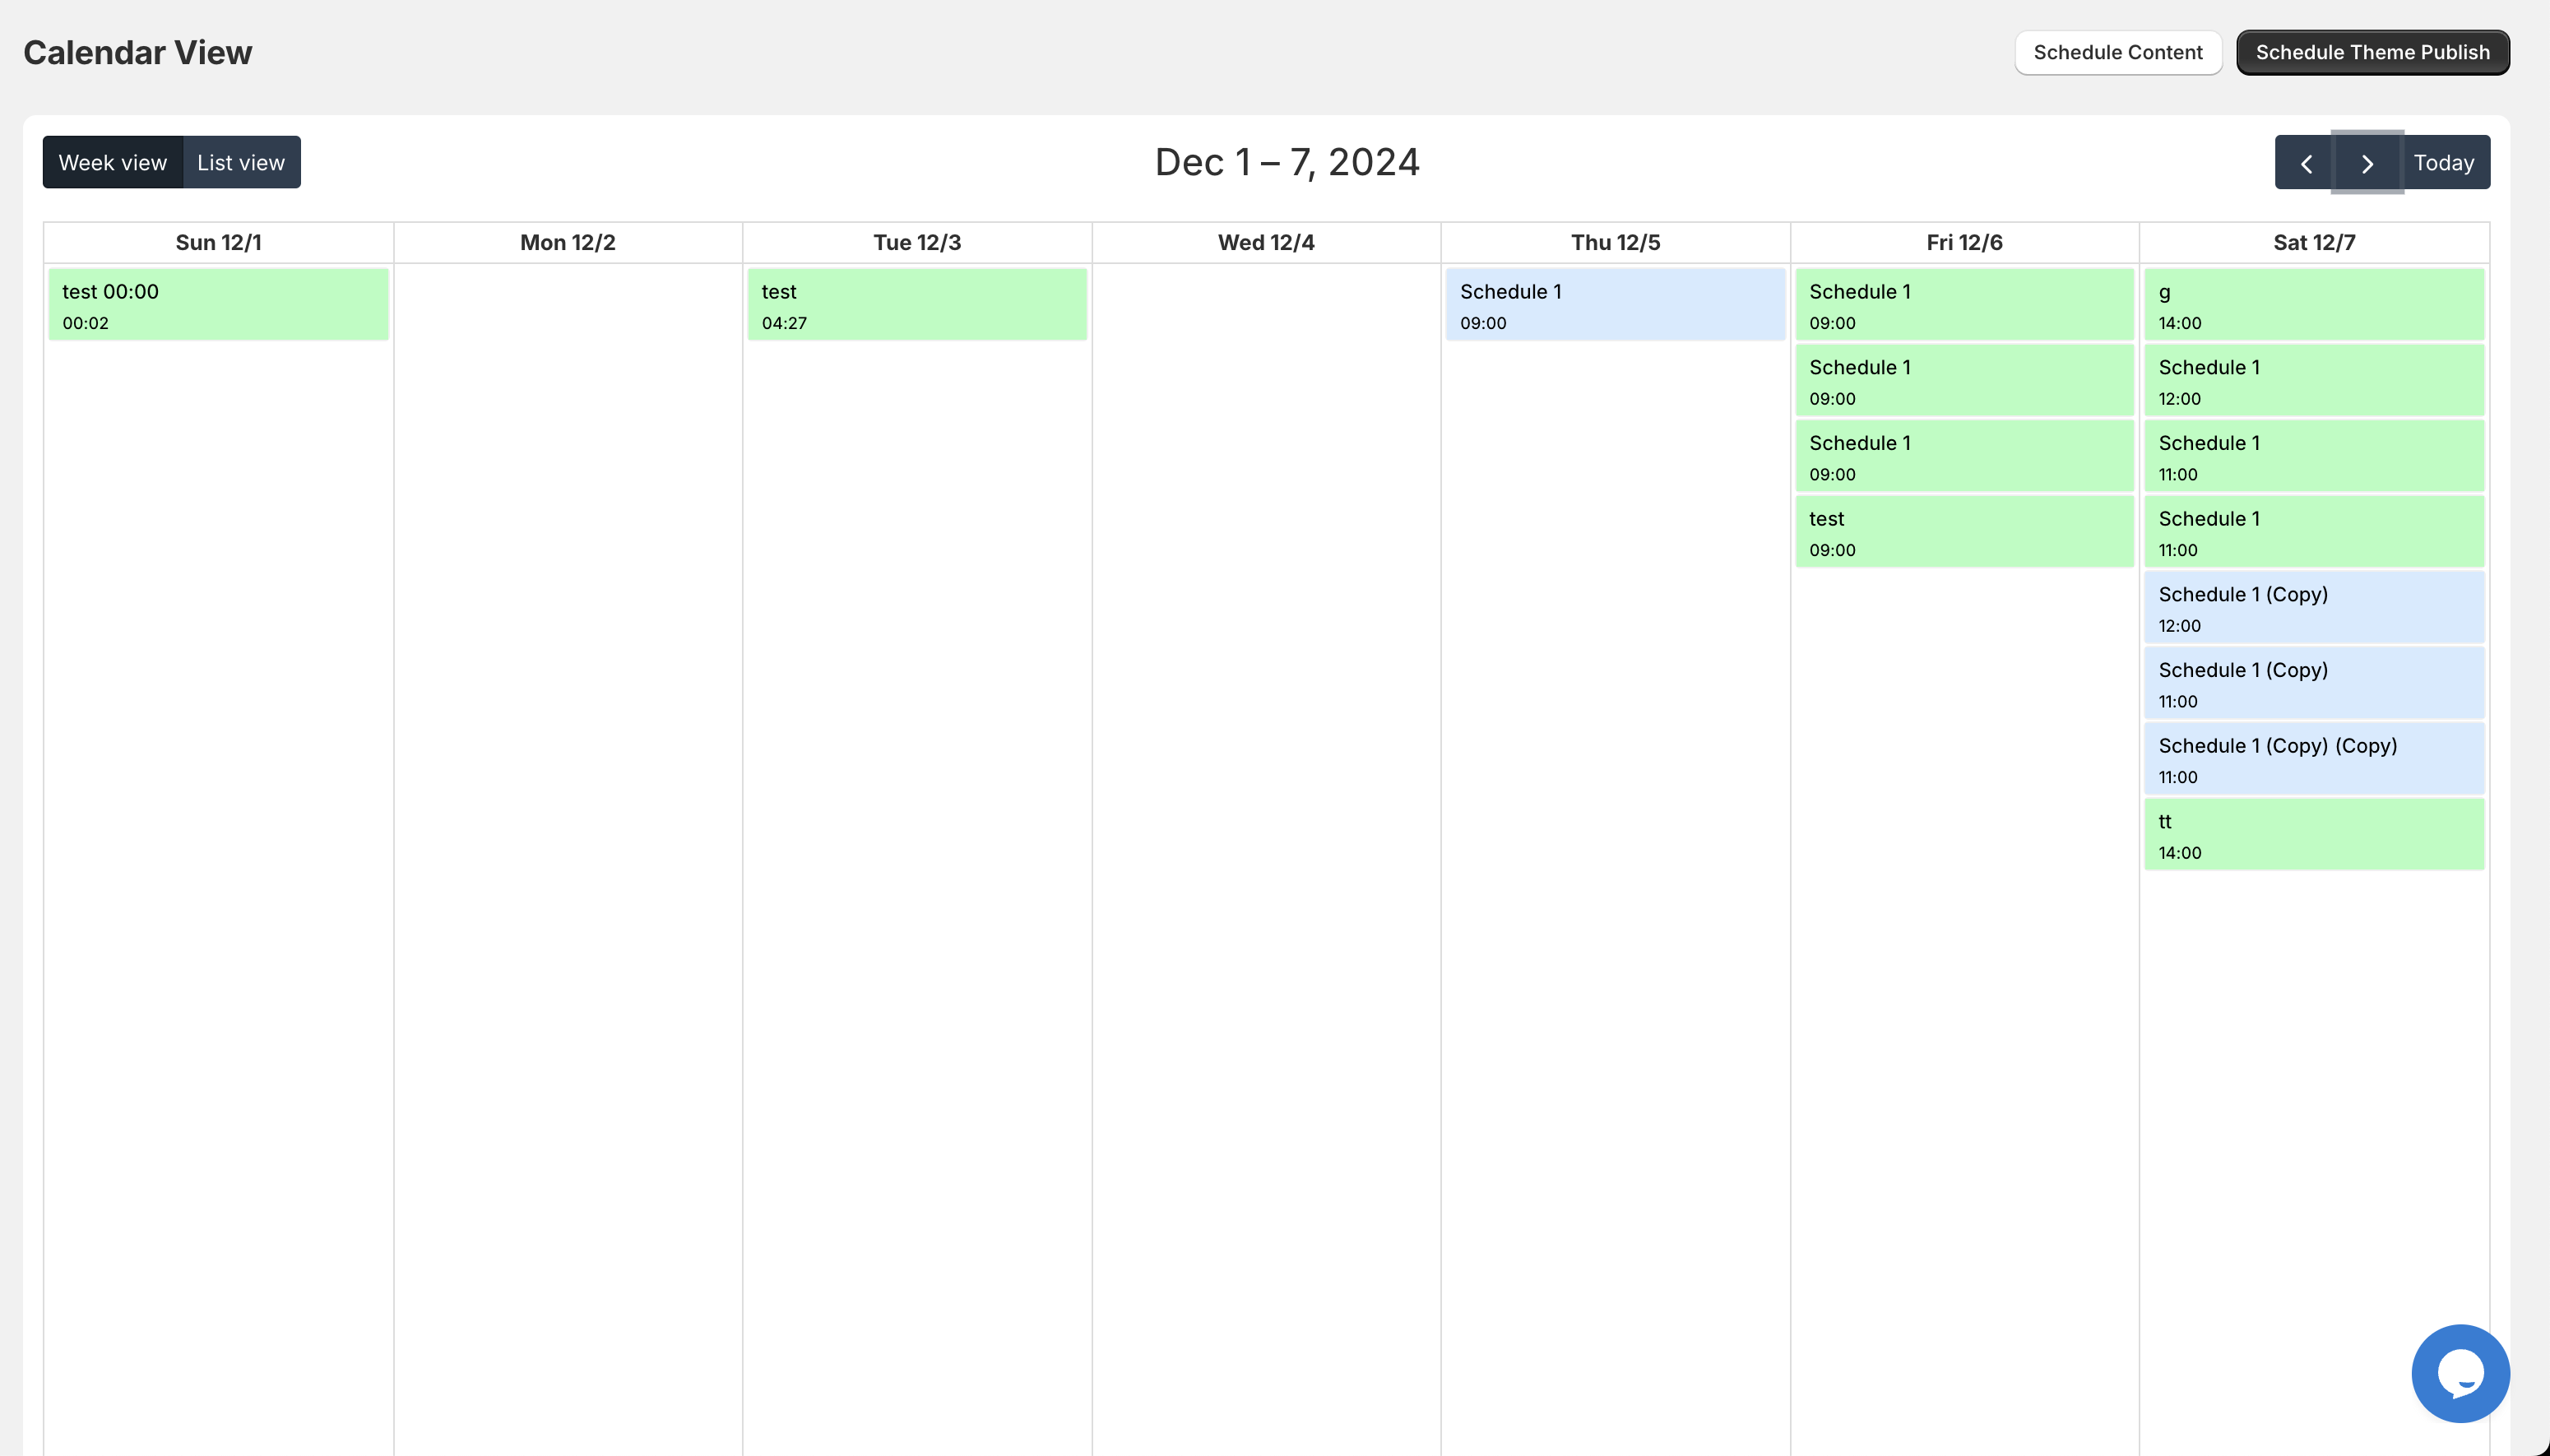
One of the most stressful aspects of running a high volume store is the "Big Launch." I have seen teams spend hours coordinating the transition of products from draft to active status. The Product Scheduler by Maestro app introduces a sophisticated "Draft Helper" that eliminates this tension entirely.
Instead of manually changing product statuses, you can prepare your entire catalog days or weeks in advance. Here are the simple steps to automate your next launch:
- Select the products you wish to launch from your Shopify admin.
- Open the Maestro Product Scheduler and set the "Status" to change from Draft to Active.
- Choose your exact launch date and time, down to the minute.
- Optionally, select the specific sales channels where the products should appear.
Once these steps are completed, Shopify will guide the process automatically. You can rest easy knowing your new arrivals will appear on your site at the precise moment you planned, regardless of where you are or what you are doing.
Step 2: Streamlining Sales with Automated Tag Management
Tags are the silent workhorses of a well organized Shopify store. They power your filters, trigger automated collections, and often control which badges (like "New" or "Sale") appear on your product images. However, manually adding and removing tags for hundreds of products during a seasonal sale is a recipe for disaster.
As part of your ecommerce maintenance services strategy, you should automate your tag lifecycle. For a seasonal sale, you might want a "Summer Sale" tag to appear on Friday morning and vanish by Sunday night.
- Set a start schedule to add the "Sale" tag to a specific group of products.
- Simultaneously set an end schedule to remove that tag when the promotion concludes.
- Use these tags to automatically populate "Sale" collections without manual sorting.
This level of automation ensures that customers never click on a "Sale" filter only to find products that have already returned to full price, which is a vital step in maintaining trust and high conversion rates.
Step 3: Implementing Price Scheduling and Rounding Rules
Pricing is one of the most dynamic elements of e-commerce. Whether you are running a flash sale or adjusting for inflation, your prices need to be accurate. The Maestro app allows you to schedule price changes in bulk, but it goes a step further with "Rounding Rules."
Professional e-commerce sites rarely have messy prices like $19.43. Most brands prefer the psychological impact of ".99" or ".00" endings. When you automate your price changes, you can ensure every new price follows your specific brand guidelines.

Here is how you can power up your pricing strategy:
- Navigate to the pricing section within the Maestro app.
- Choose whether to increase or decrease prices by a percentage or a fixed amount.
- Apply a rounding rule (e.g., "Round to the nearest .99").
- Schedule the "Compare at Price" to update simultaneously, creating an immediate visual discount for your customers.
After completing the setup, the app will handle the heavy lifting. This proactive step ensures that your profit margins are protected while your storefront remains competitive and visually polished.
Step 4: Automating Inventory and Restock Visibility
Nothing kills a conversion rate faster than a "Sold Out" button on a product your customer was excited to buy. Conversely, showing "Coming Soon" for products that are actually sitting in your warehouse is a missed opportunity.
Inventory automation within your catalog management allows you to coordinate stock levels with visibility. If you are expecting a major restock, you can schedule the product to move from "Draft" to "Active" the moment your warehouse team updates the inventory counts.
- Coordinate product publishing with inventory availability to prevent overselling.
- Automate the archiving of seasonal products once inventory hits zero.
- Ensure that out of stock items are moved to the bottom of collections to keep "Add to Cart" opportunities front and center.
Step 5: Managing Collection Visibility and Smart Sorting
The way your collections are organized has a direct impact on how customers navigate your store. For a store that basically runs itself, you need your collections to be as smart as your product pages.
I often work with brands that have dozens of collections. Manually managing which ones are visible on the navigation menu or changing the sort order for a holiday weekend is exhausting. With automated collection management, you can schedule these changes in advance.
- Select the collection you want to manage (e.g., "Holiday Gift Guide").
- Set the visibility to "Visible" for your campaign dates.
- Schedule a "Sort Order" change, such as moving "Best Sellers" to the top for the duration of a promotion.
- Set the collection to "Hidden" automatically once the holiday is over.

Conclusion: Reclaiming Your Time and Accuracy
Automating your Shopify catalog updates is not just about convenience; it is a vital step for any merchant serious about scaling. By using tools like the Product Scheduler by Maestro, you move from being a manual operator to a strategic director of your brand. You reduce the risk of human error, ensure your marketing and storefront are always in sync, and finally achieve that "hands-off" store model that allows you to focus on high level growth.
If you are ready to stop the manual grind and start optimizing your store for peak performance, we are here to help. Whether you need a full Shopify store setup or specialized e-commerce maintenance services, XCO Agency has the expertise as a certified Shopify Plus Partner to elevate your business.
Don't let another midnight launch keep you awake. Contact us today to learn how we can automate your workflow and significantly improve your store efficiency.