
Meta title: Advanced Recurring Schedules with Maestro Theme Scheduler
Meta description: Learn how to build recurring campaign cycles, seasonal promotions, and automated theme updates with Maestro Theme Scheduler for Shopify and Shopify Plus.
As a Shopify expert, I often work with merchants who are seeking a better way to manage complex promotional calendars. Weekly offers, monthly launches, holiday campaigns, regional events, and flash sales can quickly turn a simple storefront update into a spreadsheet that belongs in a small aircraft cockpit.
The challenge is not creating one scheduled update. The challenge is building a reliable system of repeating changes that keeps your storefront accurate without asking your team to remember every Friday, festival, launch window, and rollback.
That is where Maestro Theme Scheduler becomes particularly useful. It helps Shopify merchants automate:
- Recurring theme publishing for repeated campaign formats.
- Section and block visibility for banners, announcement bars, and promotional content.
- Seasonal content rotations across the year.
- Grouped schedules for coordinating multiple related storefront changes.
- Theme and content updates across custom Shopify themes and multiple templates.
In this guide, I will show you how to design sophisticated campaign cycles, avoid schedule conflicts, and build a repeatable automation loop that supports both growing stores and complex Shopify Plus development projects.
Start with a campaign cycle, not an individual schedule
Before opening Shopify Admin, map the campaign as a cycle. A cycle describes what should happen, when it should happen, and what should happen afterward.
For example, a recurring weekend promotion may follow this pattern:
- Show a promotional banner on Friday morning.
- Update the announcement bar with the offer.
- Feature a relevant collection on the homepage.
- Hide the campaign content on Monday morning.
- Return the storefront to its evergreen content.
- Repeat the process every week for a defined number of occurrences.
This is more reliable than creating isolated schedules because each action has a clear relationship with the next one.
Use three layers for every campaign
When designing a recurring schedule, separate your plan into three layers:
-
The storefront foundation
- Your evergreen theme, navigation, standard homepage sections, and always-on messaging.
-
The campaign layer
- Promotional banners, launch content, seasonal colors, featured collections, and sale messaging.
-
The rollback layer
- The content or theme state that should return after the campaign ends.
This structure makes your automation easier to audit. It also prevents a festive banner from lingering on your homepage long after the festive season has packed its bags.
Five advanced recurring schedule patterns
Maestro Theme Scheduler is designed for recurring schedules, seasonal content, weekly promotions, daily updates, and scheduled theme publishing. Here are five practical patterns you can use to build more advanced campaign calendars.
1. The weekly promotion loop
This is the most useful starting point for merchants running regular campaigns.
Example: Friday to Monday promotion
- Show the sale banner every Friday at 12:01 a.m.
- Display the promotion through Sunday night.
- Hide the sale banner on Monday at 12:01 a.m.
- Repeat the schedule for the intended campaign period.
Use this pattern for:
- Weekend sales.
- Free shipping offers.
- Weekly product drops.
- Market-specific promotions.
- Rotating category features.
For a clean setup, schedule the show and hide actions as a matched pair. If your campaign uses several sections, group them together so the banner, collection feature, and announcement bar activate and deactivate as one campaign unit.
2. The multi-phase launch cycle
A product launch usually has more than one moment. There is the announcement, the launch, the urgency phase, and the post-launch transition.
Build the cycle in phases:
-
Teaser phase
- Show a teaser banner and email sign-up section.
- Hide purchase-focused messaging until the launch begins.
-
Launch phase
- Publish the launch theme or activate the main launch sections.
- Show the product collection, launch announcement, and supporting content.
-
Urgency phase
- Replace the launch message with limited-stock or final-hours messaging.
- Feature related products or bundles.
-
Evergreen phase
- Hide launch-specific content.
- Return to your standard collection or merchandising layout.
This approach is especially helpful for brands using custom Shopify themes. Instead of rebuilding a homepage for every product launch, your development team can create reusable sections with clear settings and let Maestro control when each section appears.

3. The monthly content rotation
Monthly rotations keep a store fresh without forcing your team to update every page manually.
Create a recurring structure such as:
- Month 1: New arrivals.
- Month 2: Best sellers.
- Month 3: Seasonal essentials.
- Month 4: Giftable products.
You can schedule changes to:
- Homepage hero content.
- Featured collection pickers.
- Promotional copy.
- Images and slideshows.
- Button URLs.
- Announcement bar text.
- Section colors and layout settings.
When working with a custom Shopify theme, make sure your sections use consistent naming conventions. Names such as Homepage Hero - Seasonal, Promo Bar - Weekend Sale, and Collection Feature - New Arrivals are much easier to manage than Image Banner 4 and Rich Text 7.
4. The annual seasonal calendar
Annual campaigns require a longer planning horizon. Build them as a collection of repeatable seasonal windows rather than one enormous schedule that nobody wants to touch again.
A typical calendar might include:
- January clearance.
- Spring collection launch.
- Summer sale.
- Back-to-school campaign.
- Black Friday and Cyber Monday.
- Holiday gifting.
- End-of-year clearance.
For each event, define:
- The start date and time.
- The end date and time.
- The theme or sections involved.
- The campaign content that should appear.
- The rollback content that should return.
- Any regional or market-specific considerations.
Maestro can help automate theme changes, sections, blocks, banners, images, and promotional content. For major annual events, use a staging theme to test the complete experience before scheduling a production publish.
5. The recurring content and theme hybrid
Not every campaign needs a full theme publish. In fact, publishing an entire theme for a small announcement bar update is often unnecessary.
Use a hybrid model:
| Campaign requirement | Recommended schedule type |
|---|---|
| Complete visual redesign | Theme publish |
| Homepage hero update | Section schedule |
| Flash sale announcement | Block or banner visibility |
| Seasonal color change | Theme setting or theme publish |
| Daily promotional message | Recurring content schedule |
| Coordinated homepage changes | Grouped section schedules |
This distinction helps reduce operational risk. Use full theme publishing when the entire storefront experience needs to change. Use section and block scheduling when you need precise, limited updates.
How to build a recurring campaign cycle in Maestro
Here are simple steps for creating a recurring schedule.
Step 1: Define the campaign objective
Write down the commercial goal before selecting a theme or section.
Choose a clear objective such as:
- Promote a seasonal collection.
- Increase weekend conversion rates.
- Support a product launch.
- Rotate homepage merchandising.
- Create urgency during a limited-time sale.
This keeps your schedule focused. Automation is powerful, but automating clutter only gives you automated clutter.
Step 2: Choose between theme publishing and content scheduling
Navigate to Apps in Shopify Admin and open Maestro Theme Scheduler.
Then choose the appropriate workflow:
- Select Schedule Theme Publish when you need to launch a complete theme.
- Select Schedule Content when you need to show or hide specific sections and blocks.
- Choose a recurring schedule when the campaign repeats.
- Use grouped schedules when several related actions should run together.
Maestro is designed to work with Shopify themes and supports granular scheduling without requiring you to publish the entire theme for every change.
Step 3: Select the theme, template, section, or block
Choose the theme that contains your campaign content. Then select the relevant section or block.
Confirm each item carefully:
- Check the correct theme name.
- Verify the homepage or template.
- Review the section settings.
- Confirm the selected image, collection, product, or URL.
- Preview the content before activating the schedule.
For Shopify Plus development teams, this is a good point to establish a shared naming and ownership system. Marketing should know what each schedule controls, while developers should know which theme components are safe to automate.
Step 4: Set the start and end actions
Create the activation schedule first, then create the rollback action.
For example:
- Show: Friday, 12:01 a.m.
- Hide: Monday, 12:01 a.m.
- Repeat: Weekly
- End after: Twelve occurrences
Set times with enough buffer for your campaign workflow. If your email campaign launches at 8:00 a.m., consider displaying the storefront content earlier so visitors arriving from other channels see a consistent experience.
Step 5: Add recurrence and review the cycle
Select the recurrence pattern that matches your campaign:
- Daily.
- Weekly.
- Monthly.
- Custom cycle, where available.
- A defined number of repetitions for limited campaigns.
Review the full schedule before saving. Check the first occurrence, the last occurrence, and at least one middle occurrence. Recurring schedules are excellent at repeating mistakes with impressive punctuality.
Step 6: Test the schedule before launch
Use a staging theme or a short test window before applying the schedule to a live campaign.
Verify:
- Desktop and mobile layouts.
- Links and buttons.
- Product and collection availability.
- Promotional wording.
- Theme performance.
- Time zone behavior.
- The rollback state after the campaign ends.
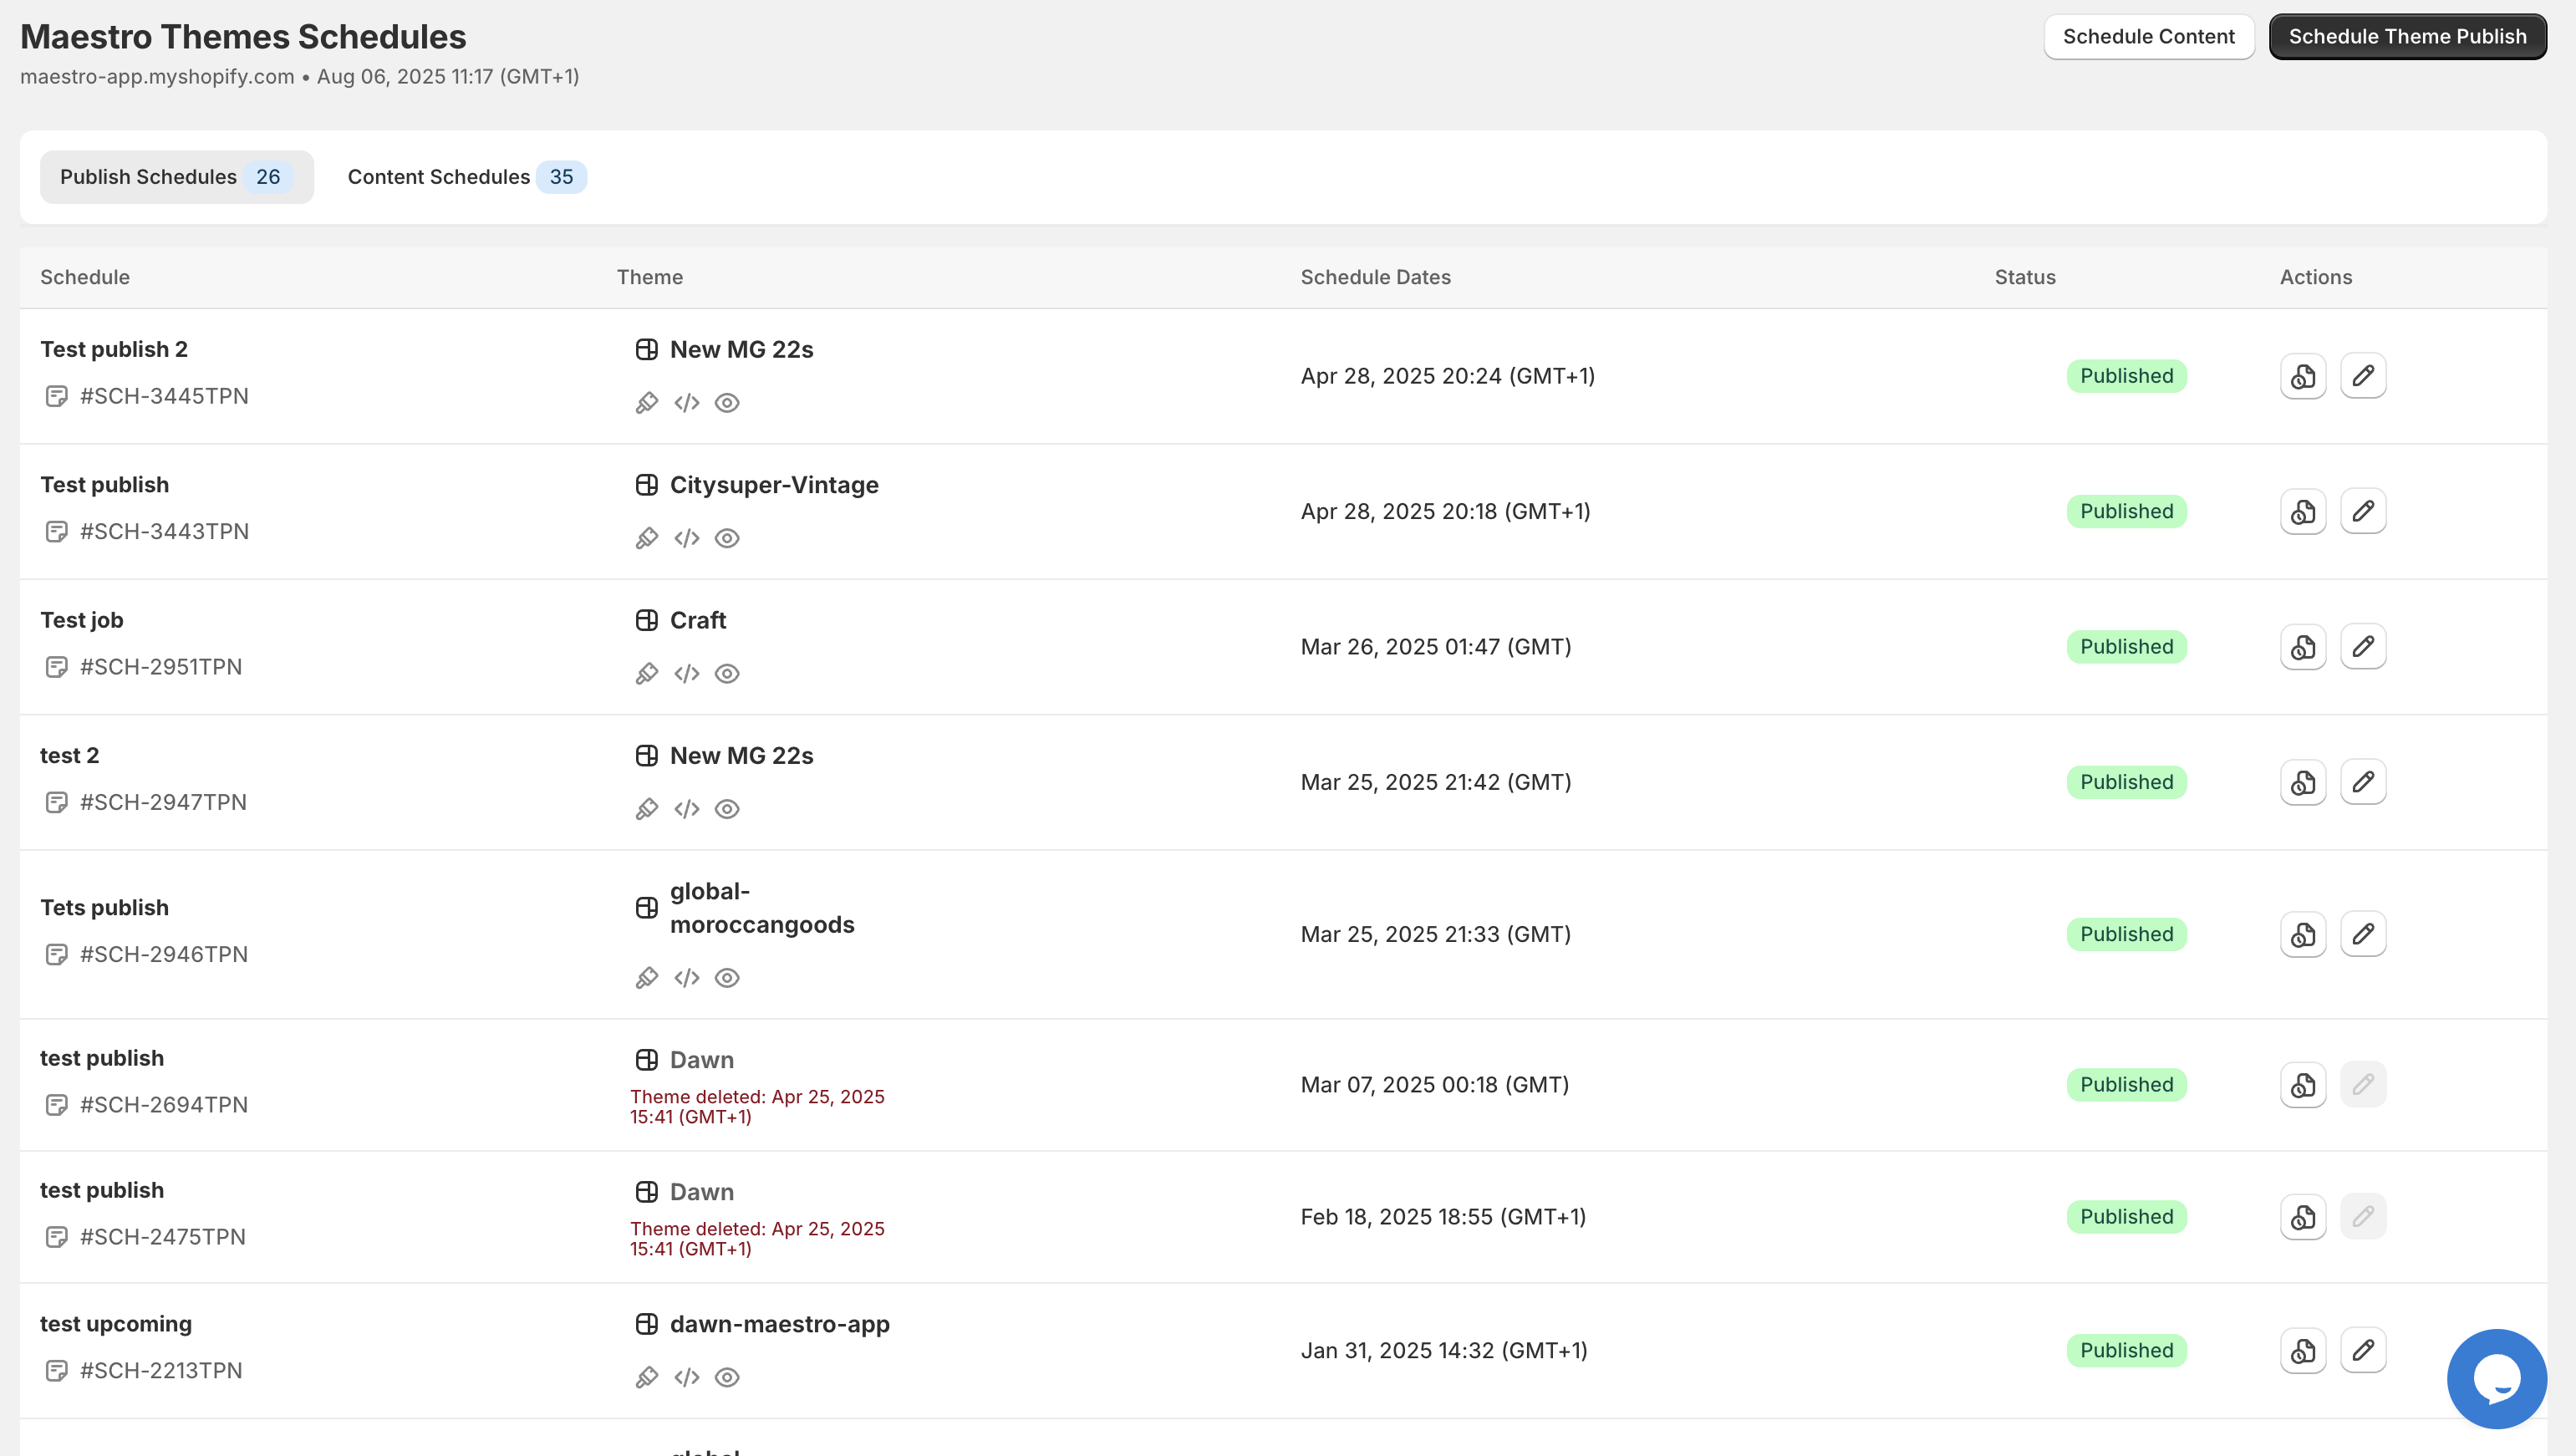
Build reliable automation loops for Shopify Plus stores
Large merchants often manage several markets, storefronts, teams, and promotional calendars at the same time. A reliable automation loop should include four controls:
-
A single source of truth
- Maintain a campaign calendar that lists every recurring schedule and its owner.
-
Clear schedule names
- Include the campaign, market, action, and date range in the name.
-
Conflict checks
- Review overlapping theme publishes and content schedules before launch.
-
A rollback plan
- Confirm which evergreen theme or sections should return when the cycle ends.
Maestro also supports Shopify Flow integration according to its product materials. This can help connect scheduled theme updates with operational workflows, such as team notifications or follow-up actions after a theme update.

Know the limits of advanced recurrence
Maestro Theme Scheduler clearly supports recurring theme changes and recurring section or block visibility for common daily, weekly, monthly, seasonal, and custom campaign cycles.
However, do not assume that every calendar rule is supported. Patterns such as:
- The third Wednesday of every month.
- Every business day except public holidays.
- The first working day after a monthly launch.
- Different recurrence rules for different countries.
may require separate schedules, a chained setup, or confirmation from Maestro support.
When a rule is highly specific, create individual schedules for known dates or contact the Maestro Theme Scheduler team before building your campaign around it.
Final thoughts
Advanced scheduling is not about adding more dates to a calendar. It is about creating a dependable campaign system that connects activation, visibility, recurrence, and rollback.
With Maestro Theme Scheduler, you can boost campaign consistency, enhance storefront control, and significantly reduce repetitive theme management. Start with one weekly promotion, then expand into monthly rotations and annual seasonal cycles once your naming, testing, and rollback processes are working smoothly.
If your store needs custom theme architecture or more advanced Shopify Plus development, explore XCO Agency’s services or book a meeting with our team. Building a well-planned recurring schedule is a vital step toward a more scalable storefront, and automating it is a proactive step toward giving your team fewer last-minute emergencies.
